Skip to primary navigation
Skip to main content
Skip to primary sidebar
Home
About
Recipes
Search
Fake Ginger
menu icon
Recipe Index
About
Subscribe
Facebook
Instagram
Pinterest
subscribe
search icon
Search
Recipe Index
About
Subscribe
Facebook
Instagram
Pinterest
×
Home
»
candy
»
Page 2
candy
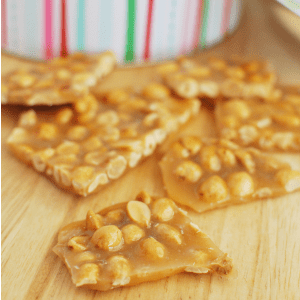
Peanut Brittle
Birthday Cake Marshmallows
Three Musketeers
Cookies & Cream Fudge
Posts navigation
Previous page
1
2