breakfast
-
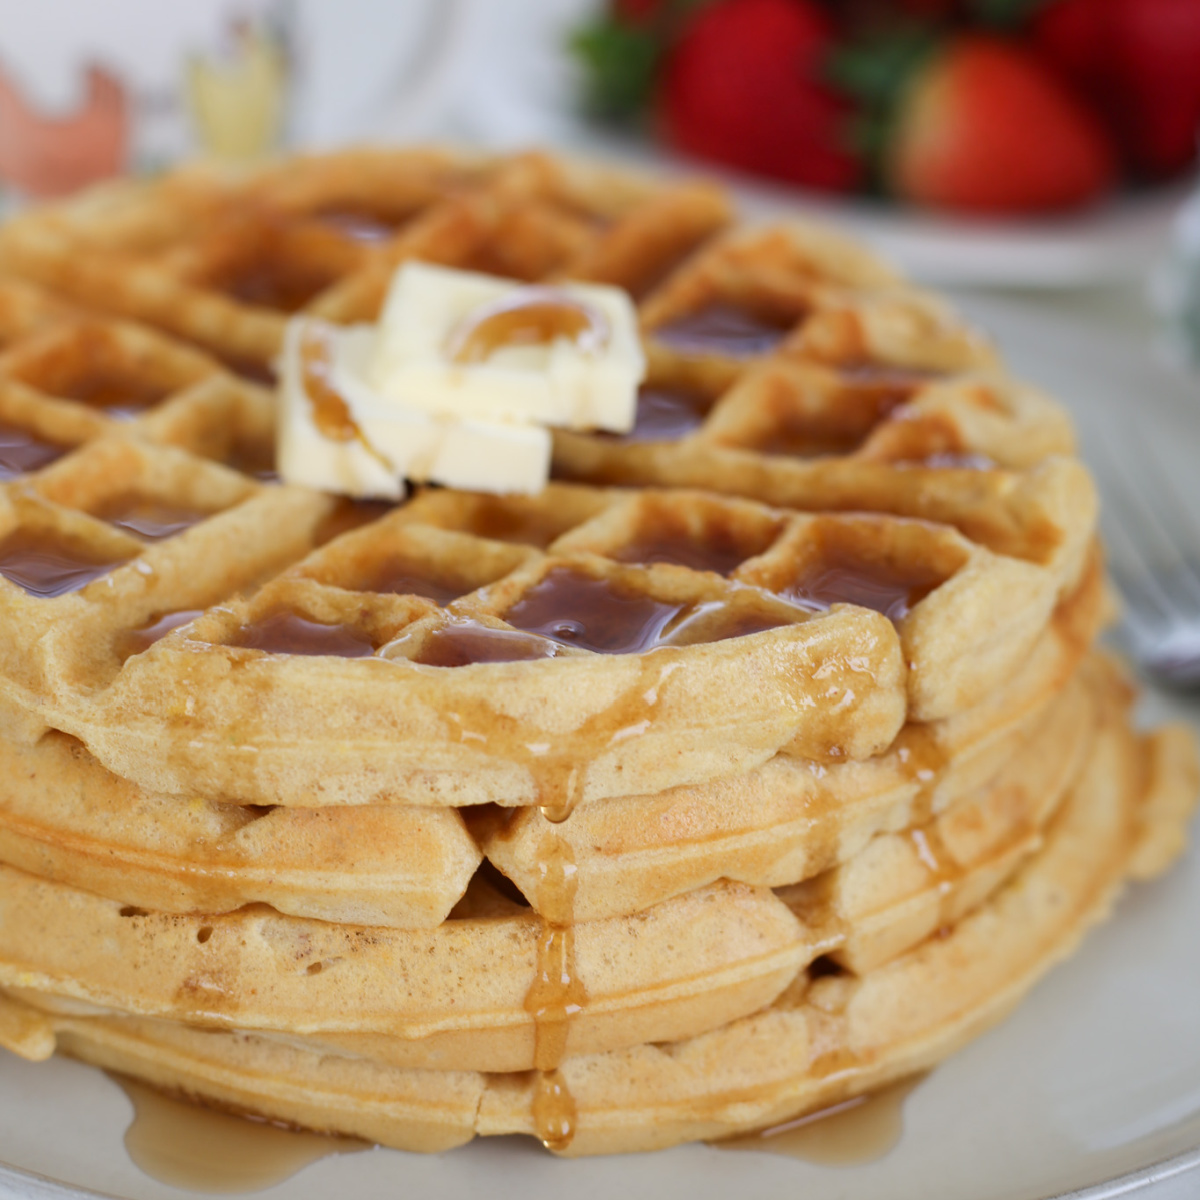
Yeast Waffles
-
Pumpkin Pancakes
-
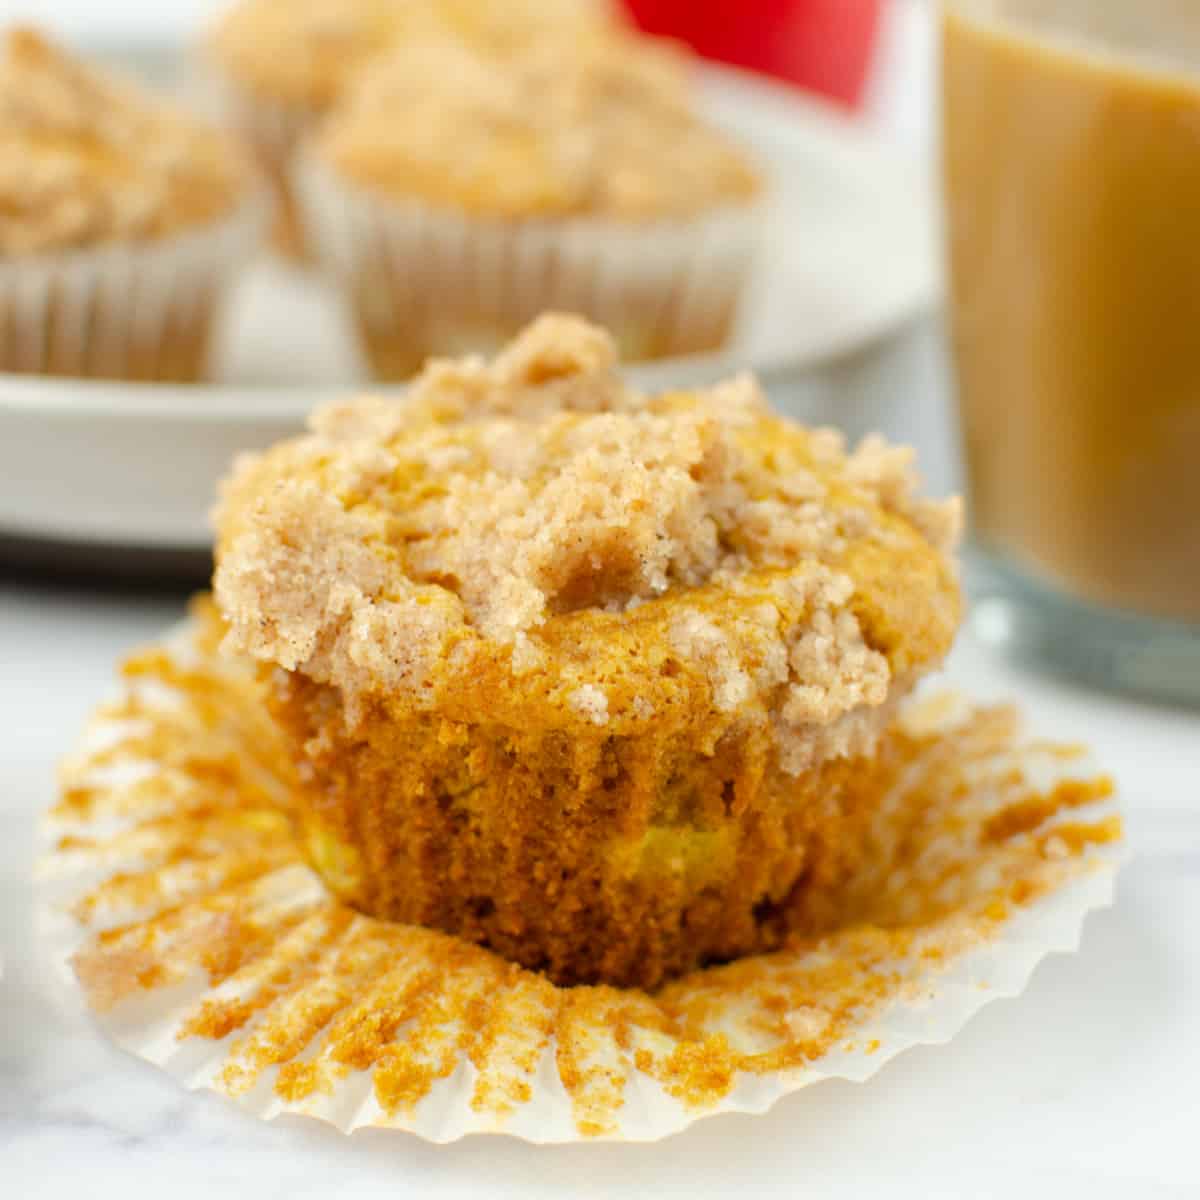
Maple Pumpkin Cream Cheese Muffins
-
Pumpkin Blueberry Muffins
-
Peanut Butter Waffles
-
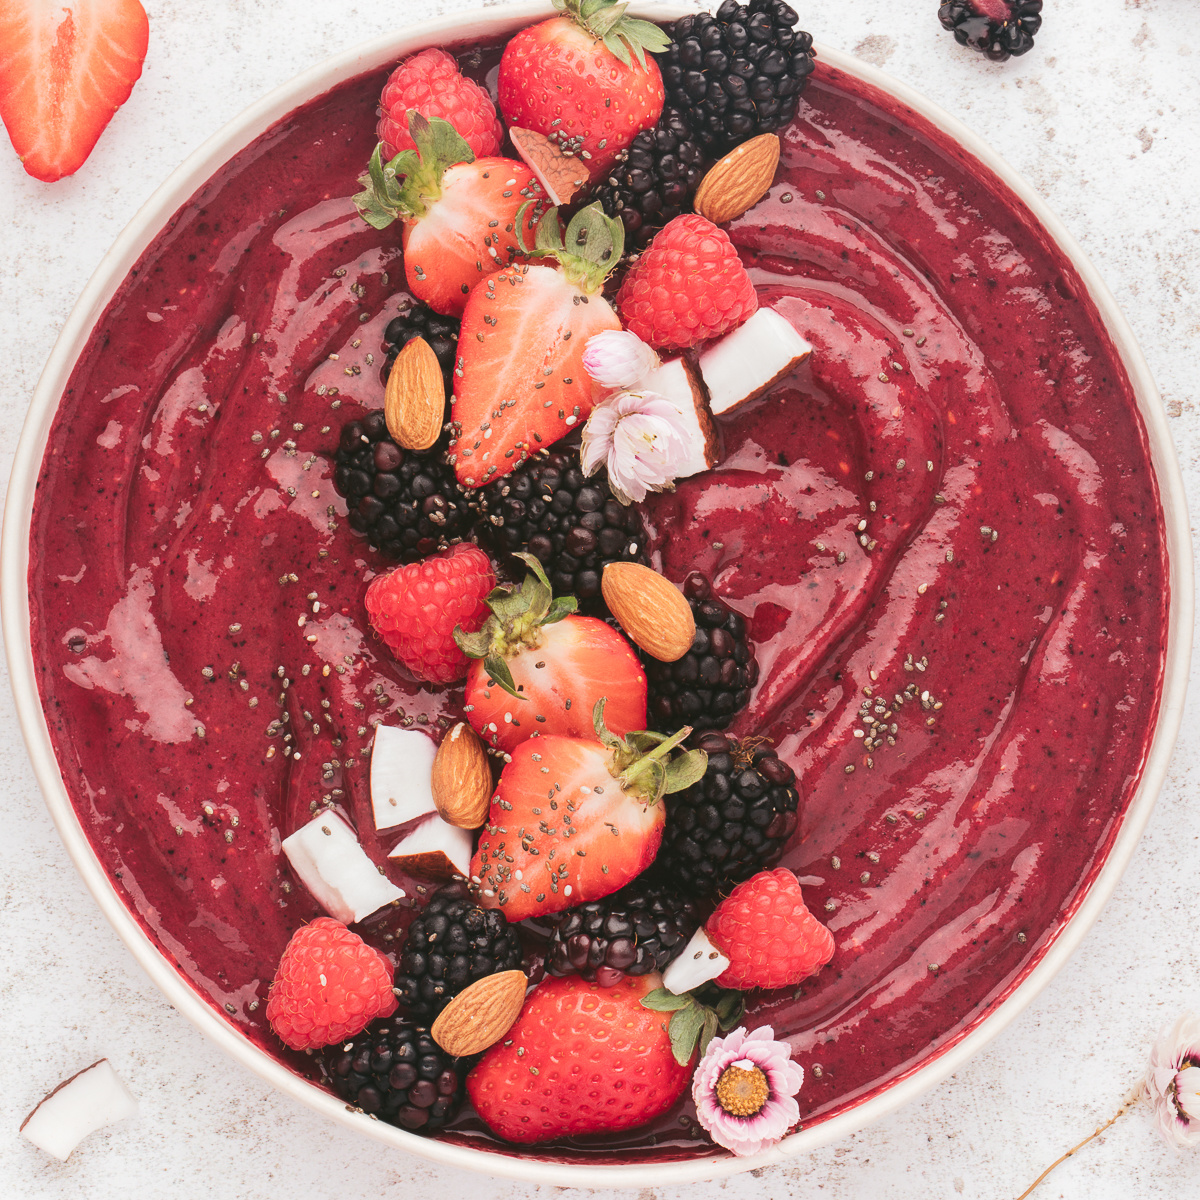
Berry Smoothie Bowl
-
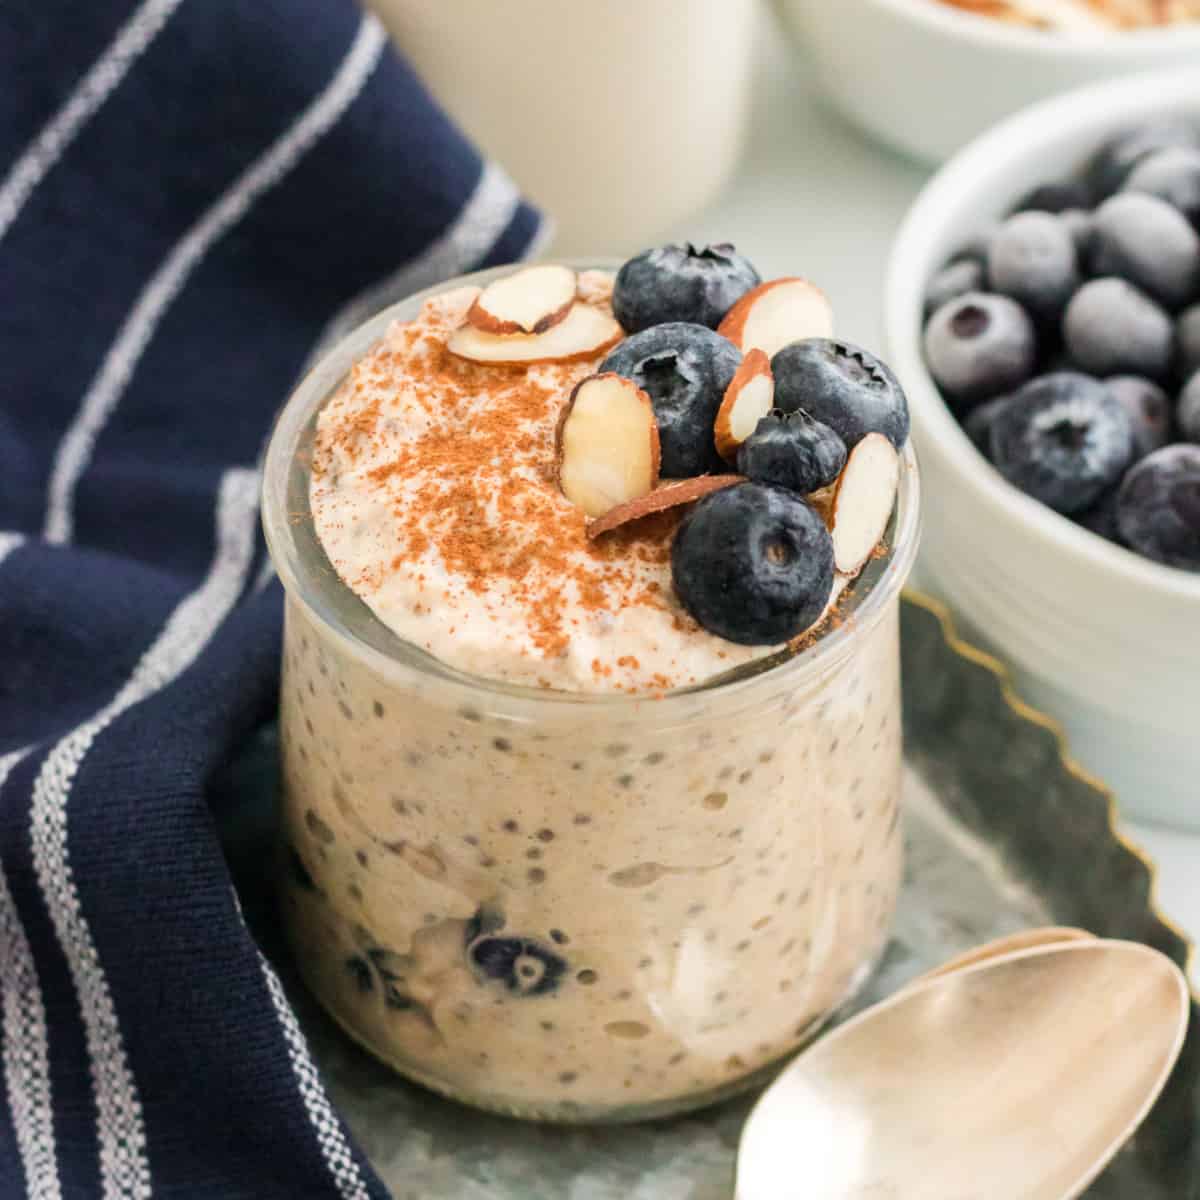
Blueberry Overnight Oats
-
Pumpkin Apple Muffins
-
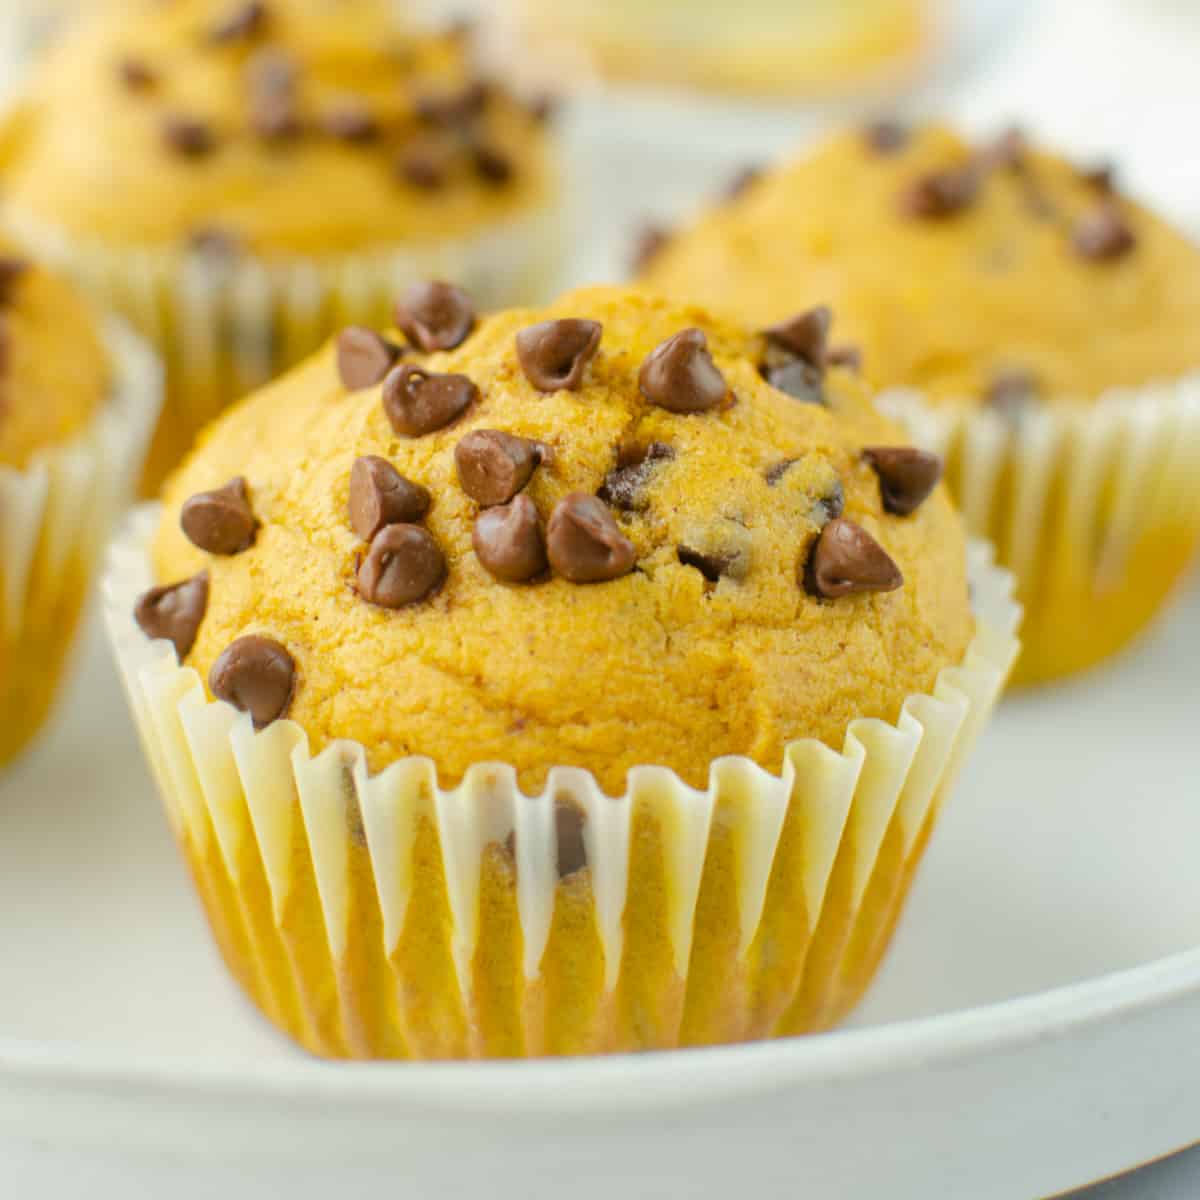
Pumpkin Chocolate Chip Muffins
-
PB&J Overnight Oats
-
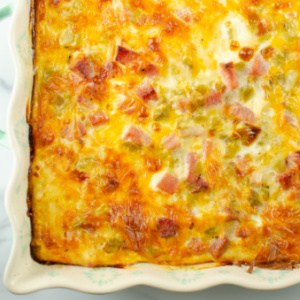
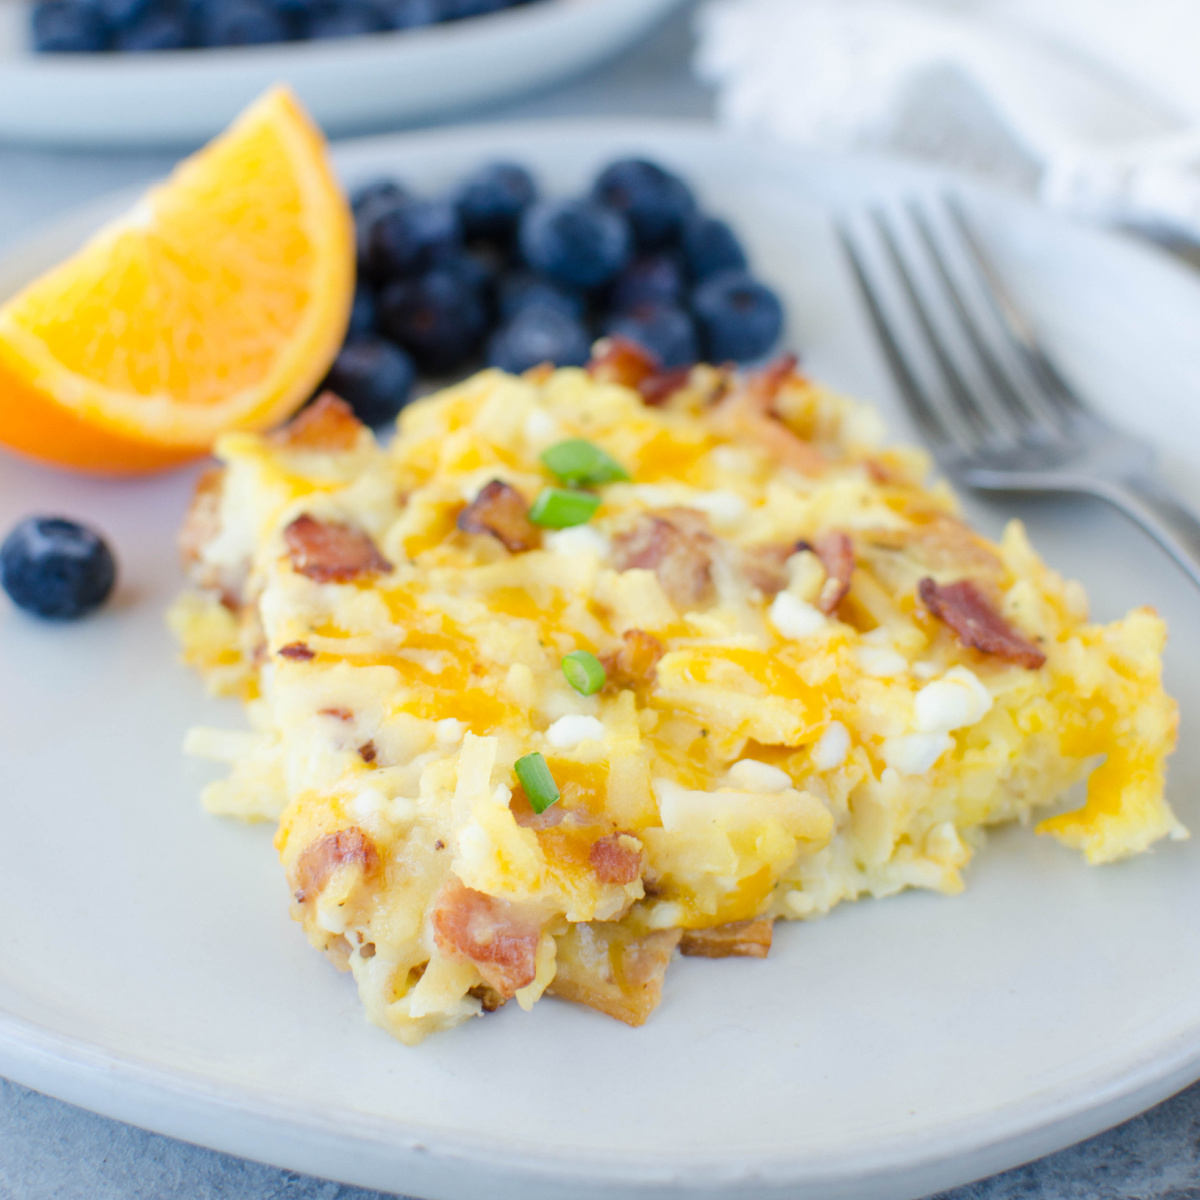
Overnight Ham Breakfast Casserole
-
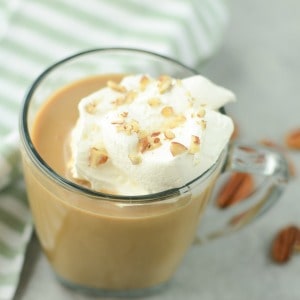
Butter Pecan Coffee
-
Pumpkin Walnut Muffins
-
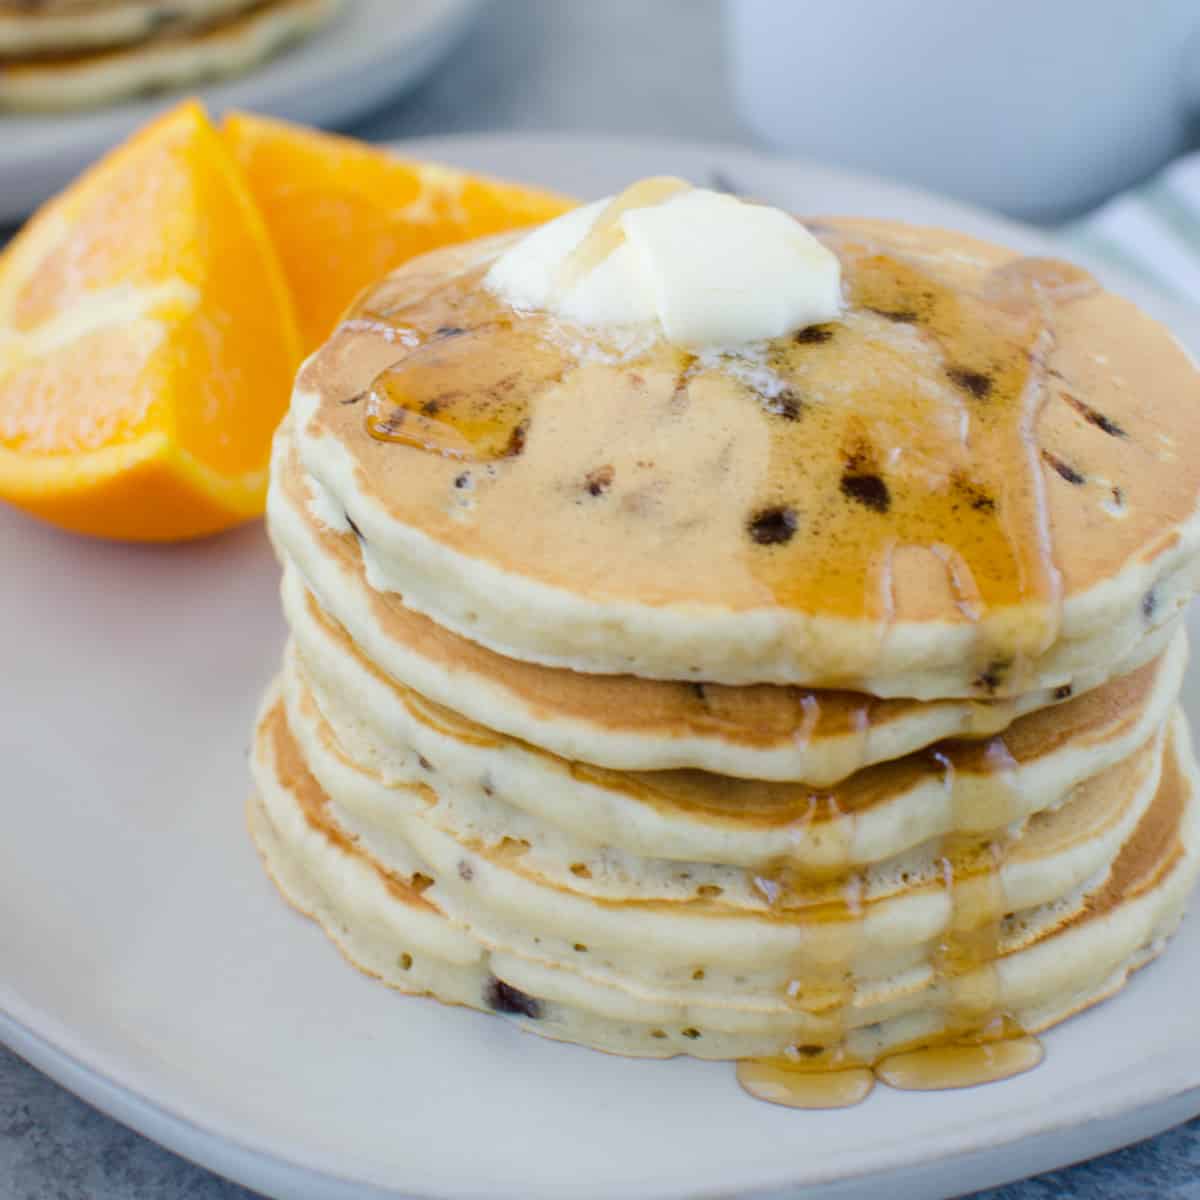
Chocolate Chip Pancakes
-
Amish Breakfast Casserole