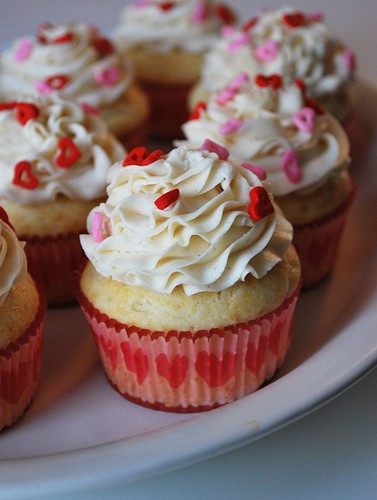
My favorite thing about this time of year is the cheap strawberries. Target had them for $1 a pound this past week! I’m pretty sure we’ve had strawberries for breakfast, lunch, and dinner almost every night. No one’s complaining though!
Strawberry cupcakes are something I’ve wanted to make for awhile but I’ve just never gotten around to it. These guys were everything I hoped for. The cake had a very subtle strawberry taste thanks to the gentle folding but the buttercream – oh, the buttercream. It was exploding with strawberry flavor. And the pink? Totally natural, no food colors at all! That is why I love working with strawberries.

📖 Recipe
Yield: 18 cupcakes
Strawberry Cupcakes with Strawberry Buttercream
Prep Time
20 minutes
Cook Time
22 minutes
Total Time
42 minutes
Ingredients
For the cupcakes:
- 2 ½ cup cake flour
- 1 teaspoon baking soda
- ¼ teaspoon salt
- ¾ cup (1 ½ sticks) unsalted butter
- 1 ¼ cup sugar
- 2 eggs
- ⅓ cup buttermilk
- 1 teaspoon vanilla extract
- 2 cup chopped strawberries
For the frosting:
- 1 stick butter (softened)
- 1 pound powdered sugar
- 1 cup chopped strawberries
Instructions
- Preheat oven to 350 degrees and prepare 2 cupcake pans.
- Sift flour, salt, and baking soda in medium bowl.
- In bowl of mixer, cream butter and sugar until fluffy. Add eggs one at a time until combined. Add buttermilk, oil and vanilla until combined. Add flour mixture and stir until just combined. Fold in berries.
- Fill cupcake pans ¾ way. Bake for 20 minutes. Allow to cool completely before frosting.
- To make the frosting, use a mixer to beat butter until light and fluffy. Add in powdered sugar a little at a time until you reach a slightly stiffer consistency then you wanted. Blend the strawberries into the mixture. The strawberry juices should thin out your buttercream a little bit, add more powdered sugar if needed.
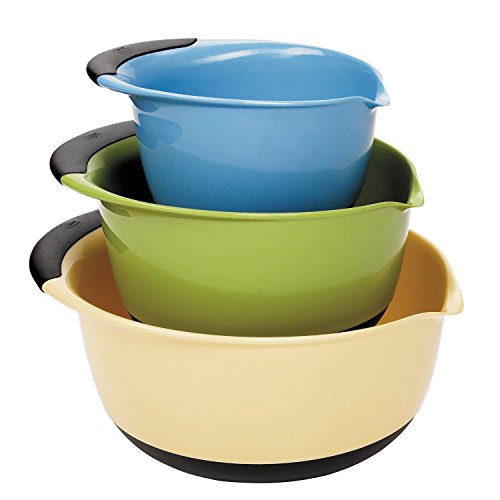
Recommended Products
As an Amazon Associate and member of other affiliate programs, I earn from qualifying purchases.


Nutrition Information:
Yield:
18Serving Size:
1Amount Per Serving: Calories: 290Total Fat: 6gSaturated Fat: 4gTrans Fat: 0gUnsaturated Fat: 2gCholesterol: 36mgSodium: 161mgCarbohydrates: 56gFiber: 1gSugar: 40gProtein: 3g