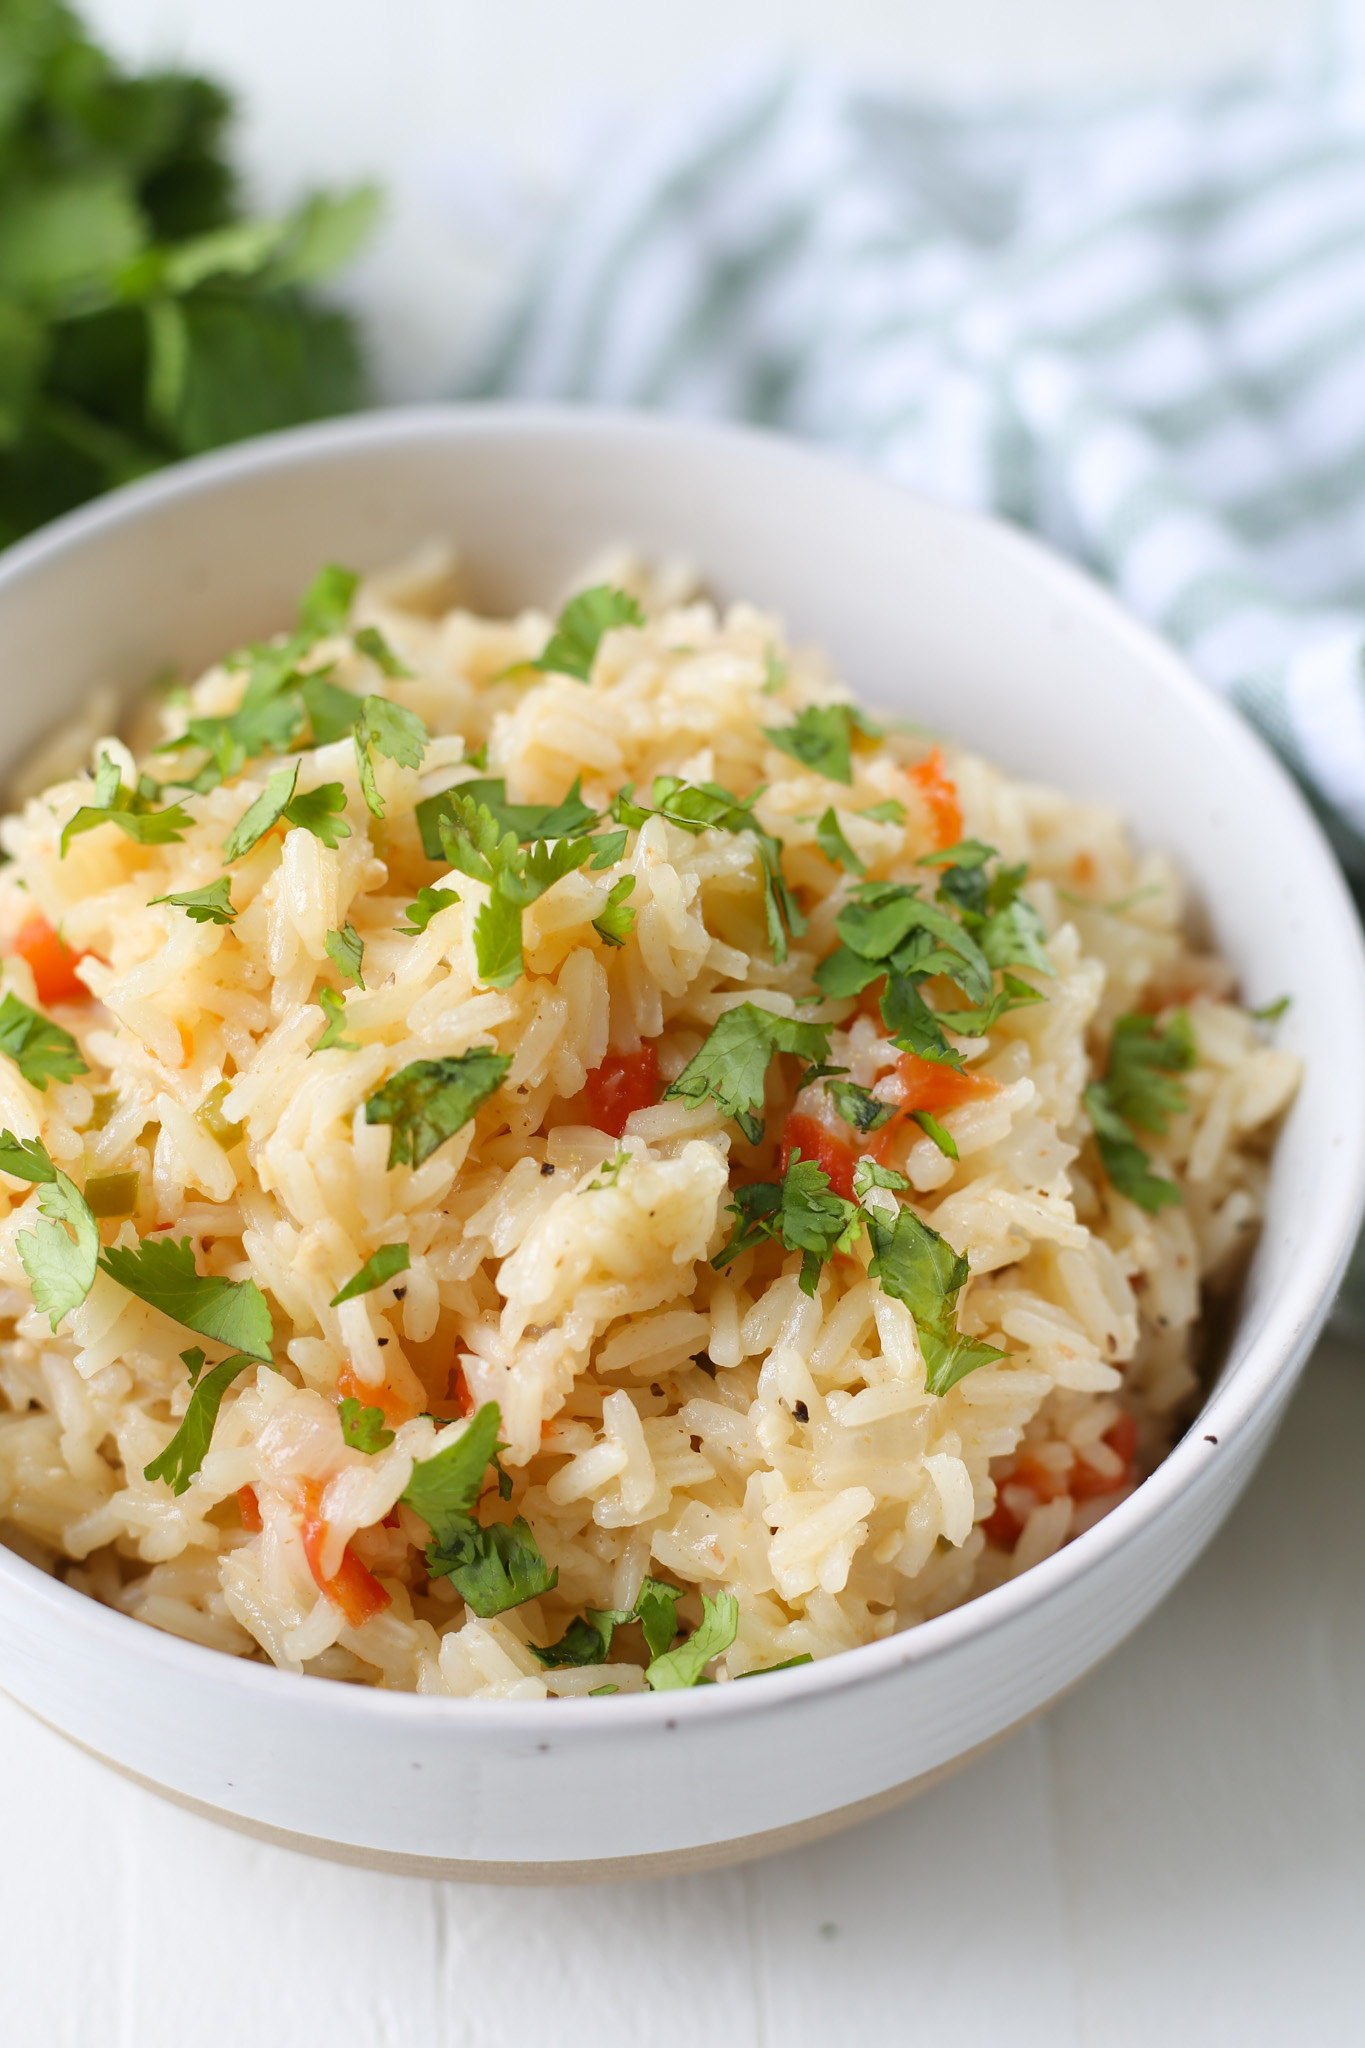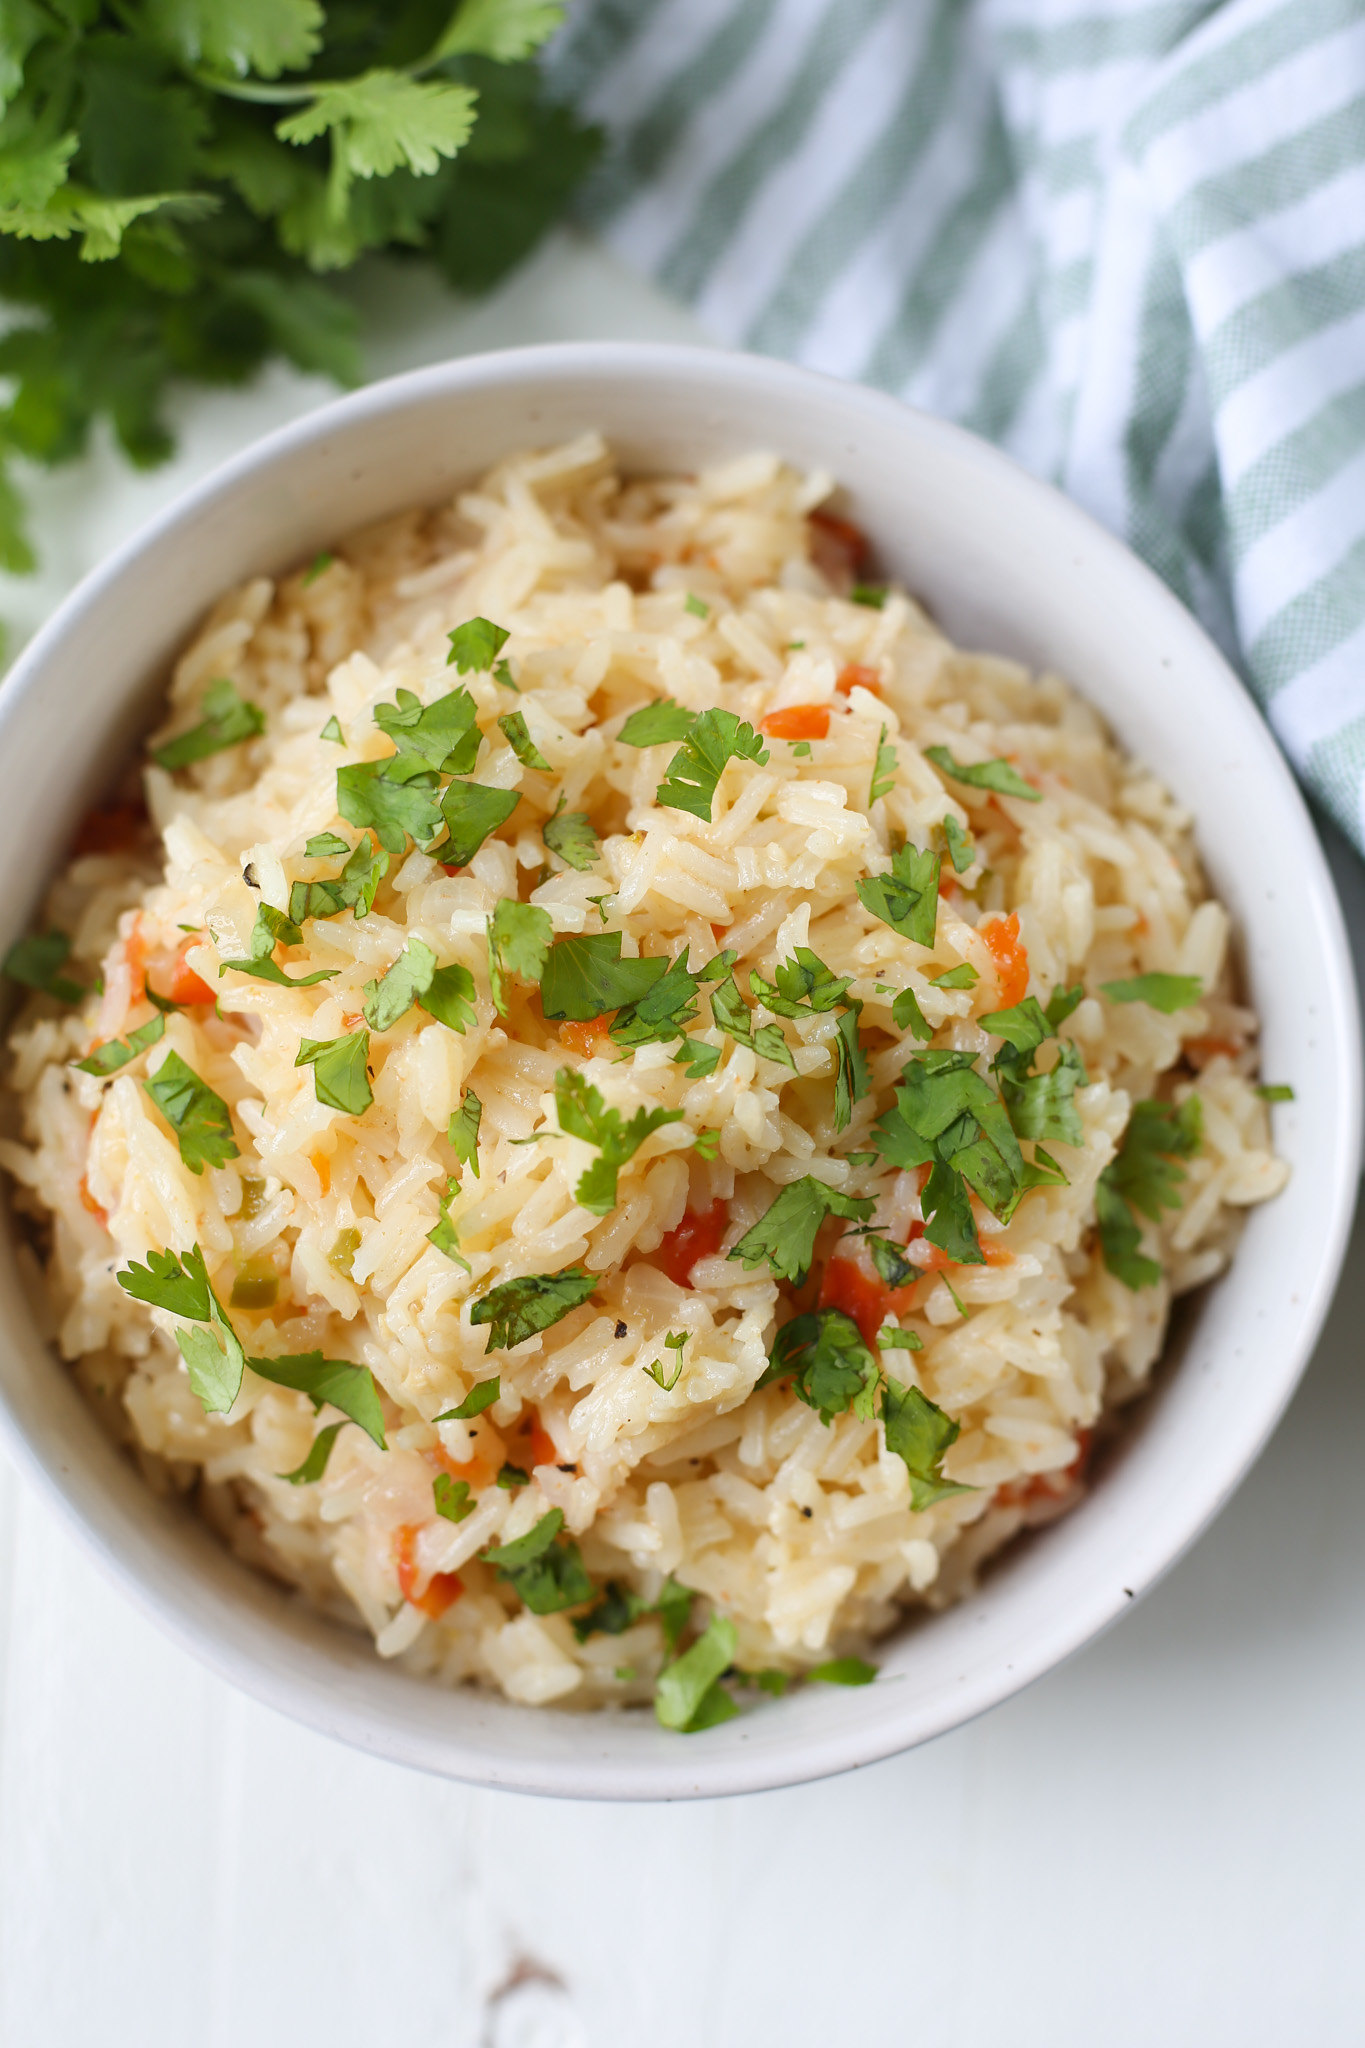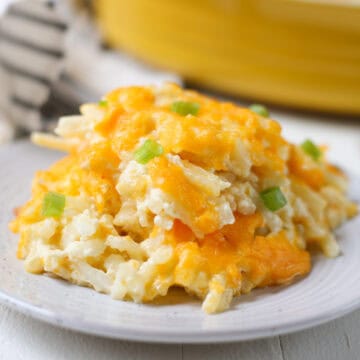
This copycat recipe for Cracker Barrel Hashbrown Casserole tastes just like the real thing! Shredded hashbrowns baked in a creamy, cheesy sauce. It’s the perfect side dish for any meal!

My kids and I only go to Cracker Barrel on roadtrips so it always feels special and fun when we go. I always buy the big box of GooGoo Clusters and I always get the hashbrown casserole.
It is the ultimate comfort food. I mean, it’s cheesy potatoes!
This is such a simple recipe and it only calls for 7 ingredients. It’s delicious as a dinner side dish or for breakfast or brunch!

Ingredients
- Frozen shredded hashbrowns – they need to be defrosted before beginning the recipe. You can let them thaw in the fridge overnight or pop them in the microwave for a few seconds.
- Butter – this needs to be melted before beginning the recipe.
- Sour cream
- Cream of chicken soup
- White onion – dice this pretty finely. You don’t want big chunks of onion in your casserole.
- Cheddar cheese – make sure to reserve ½ cup to add to the top of the casserole.

How To Make Hashbrown Casserole
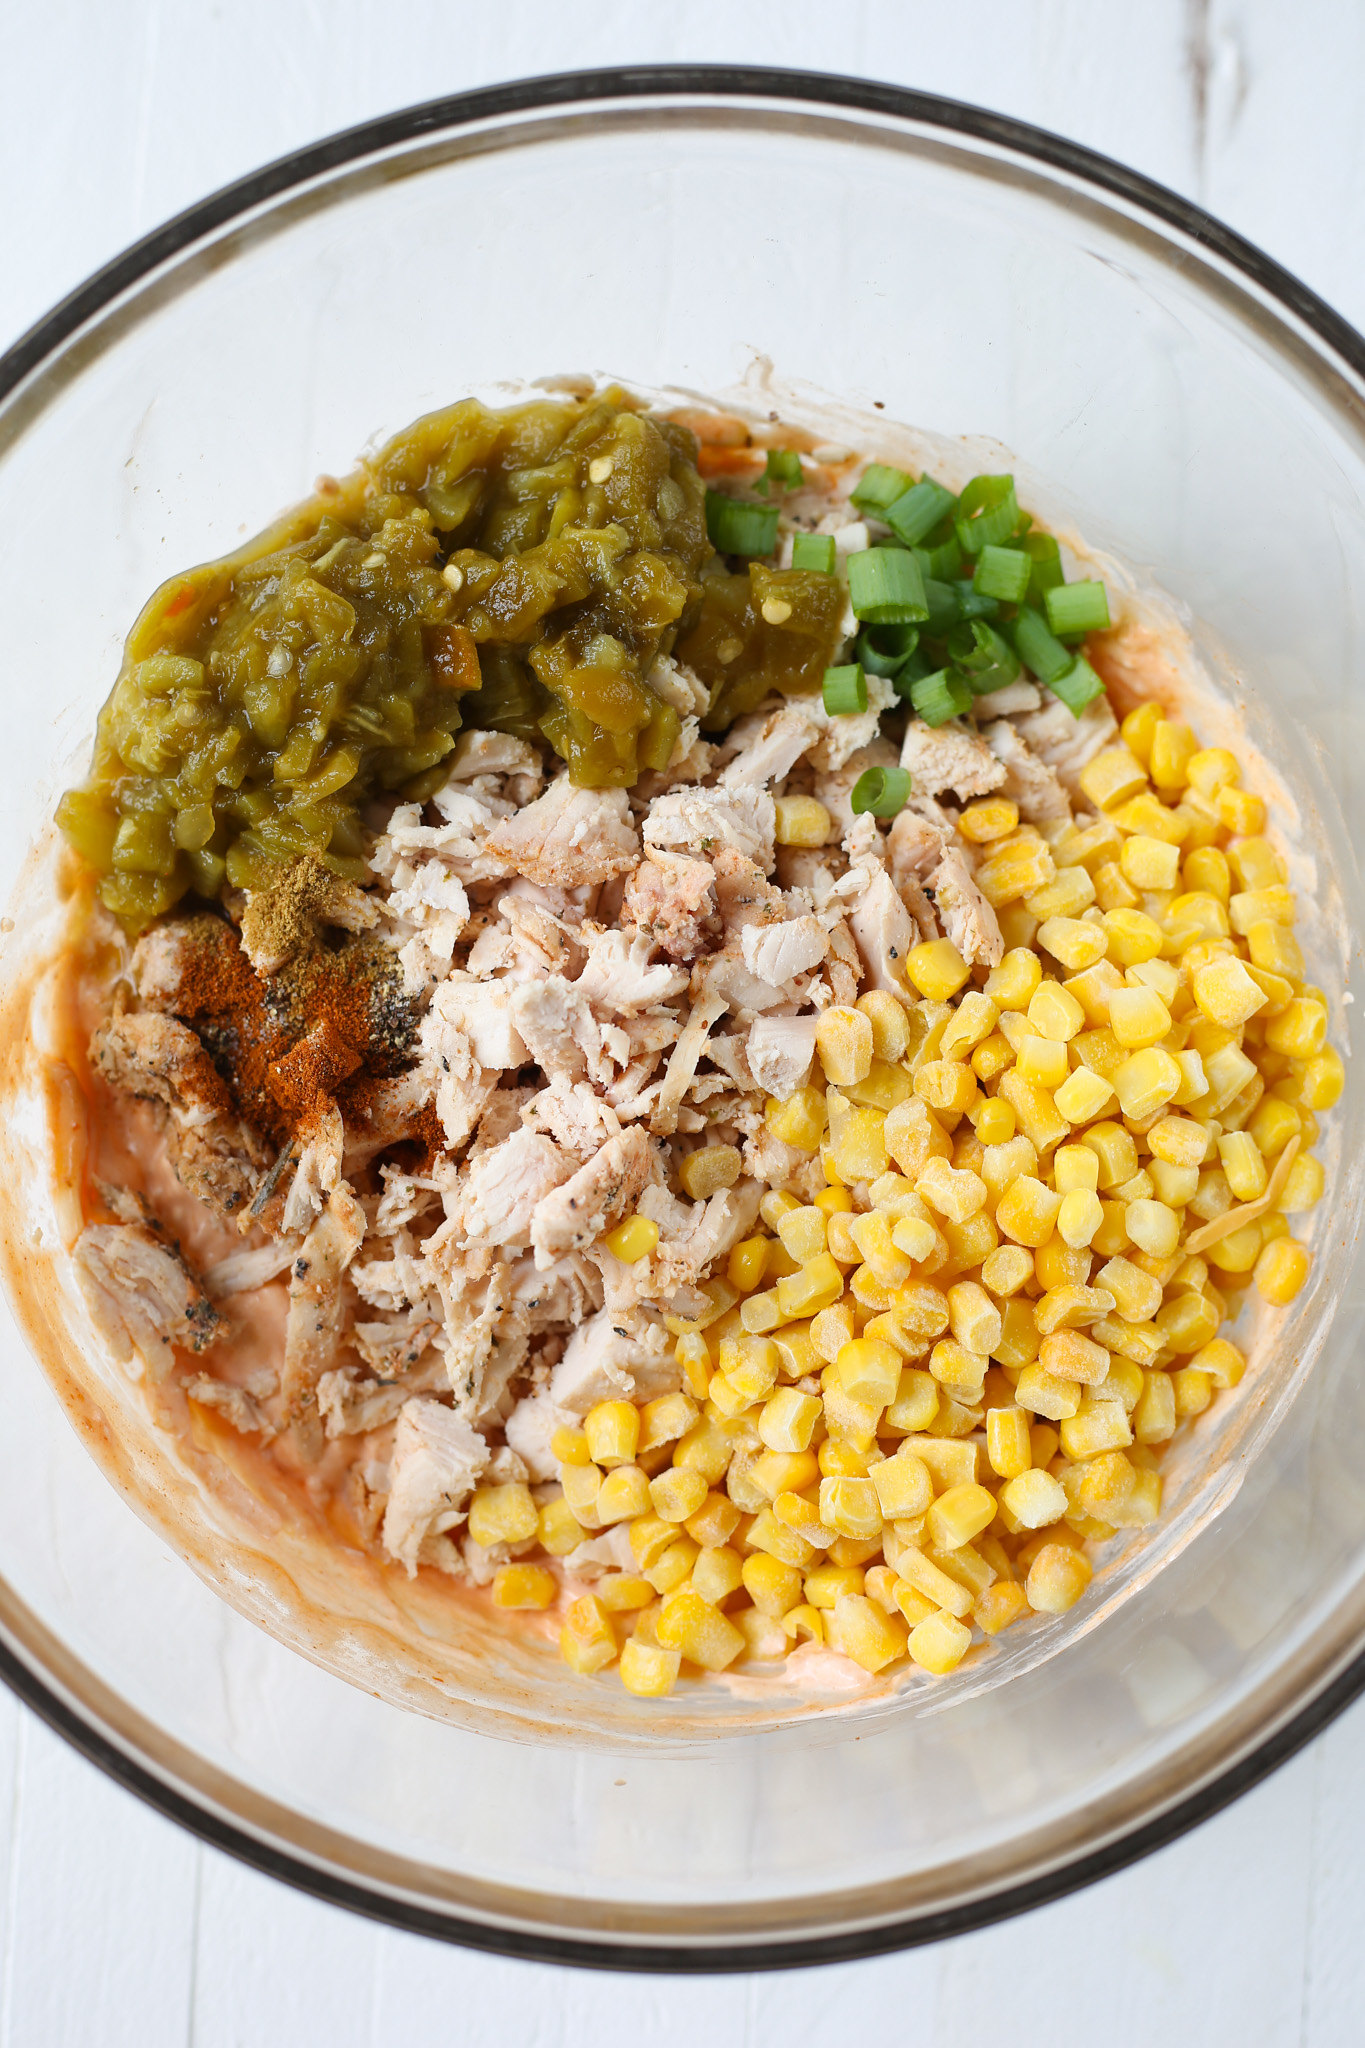
- Combine. Mix all ingredients together.
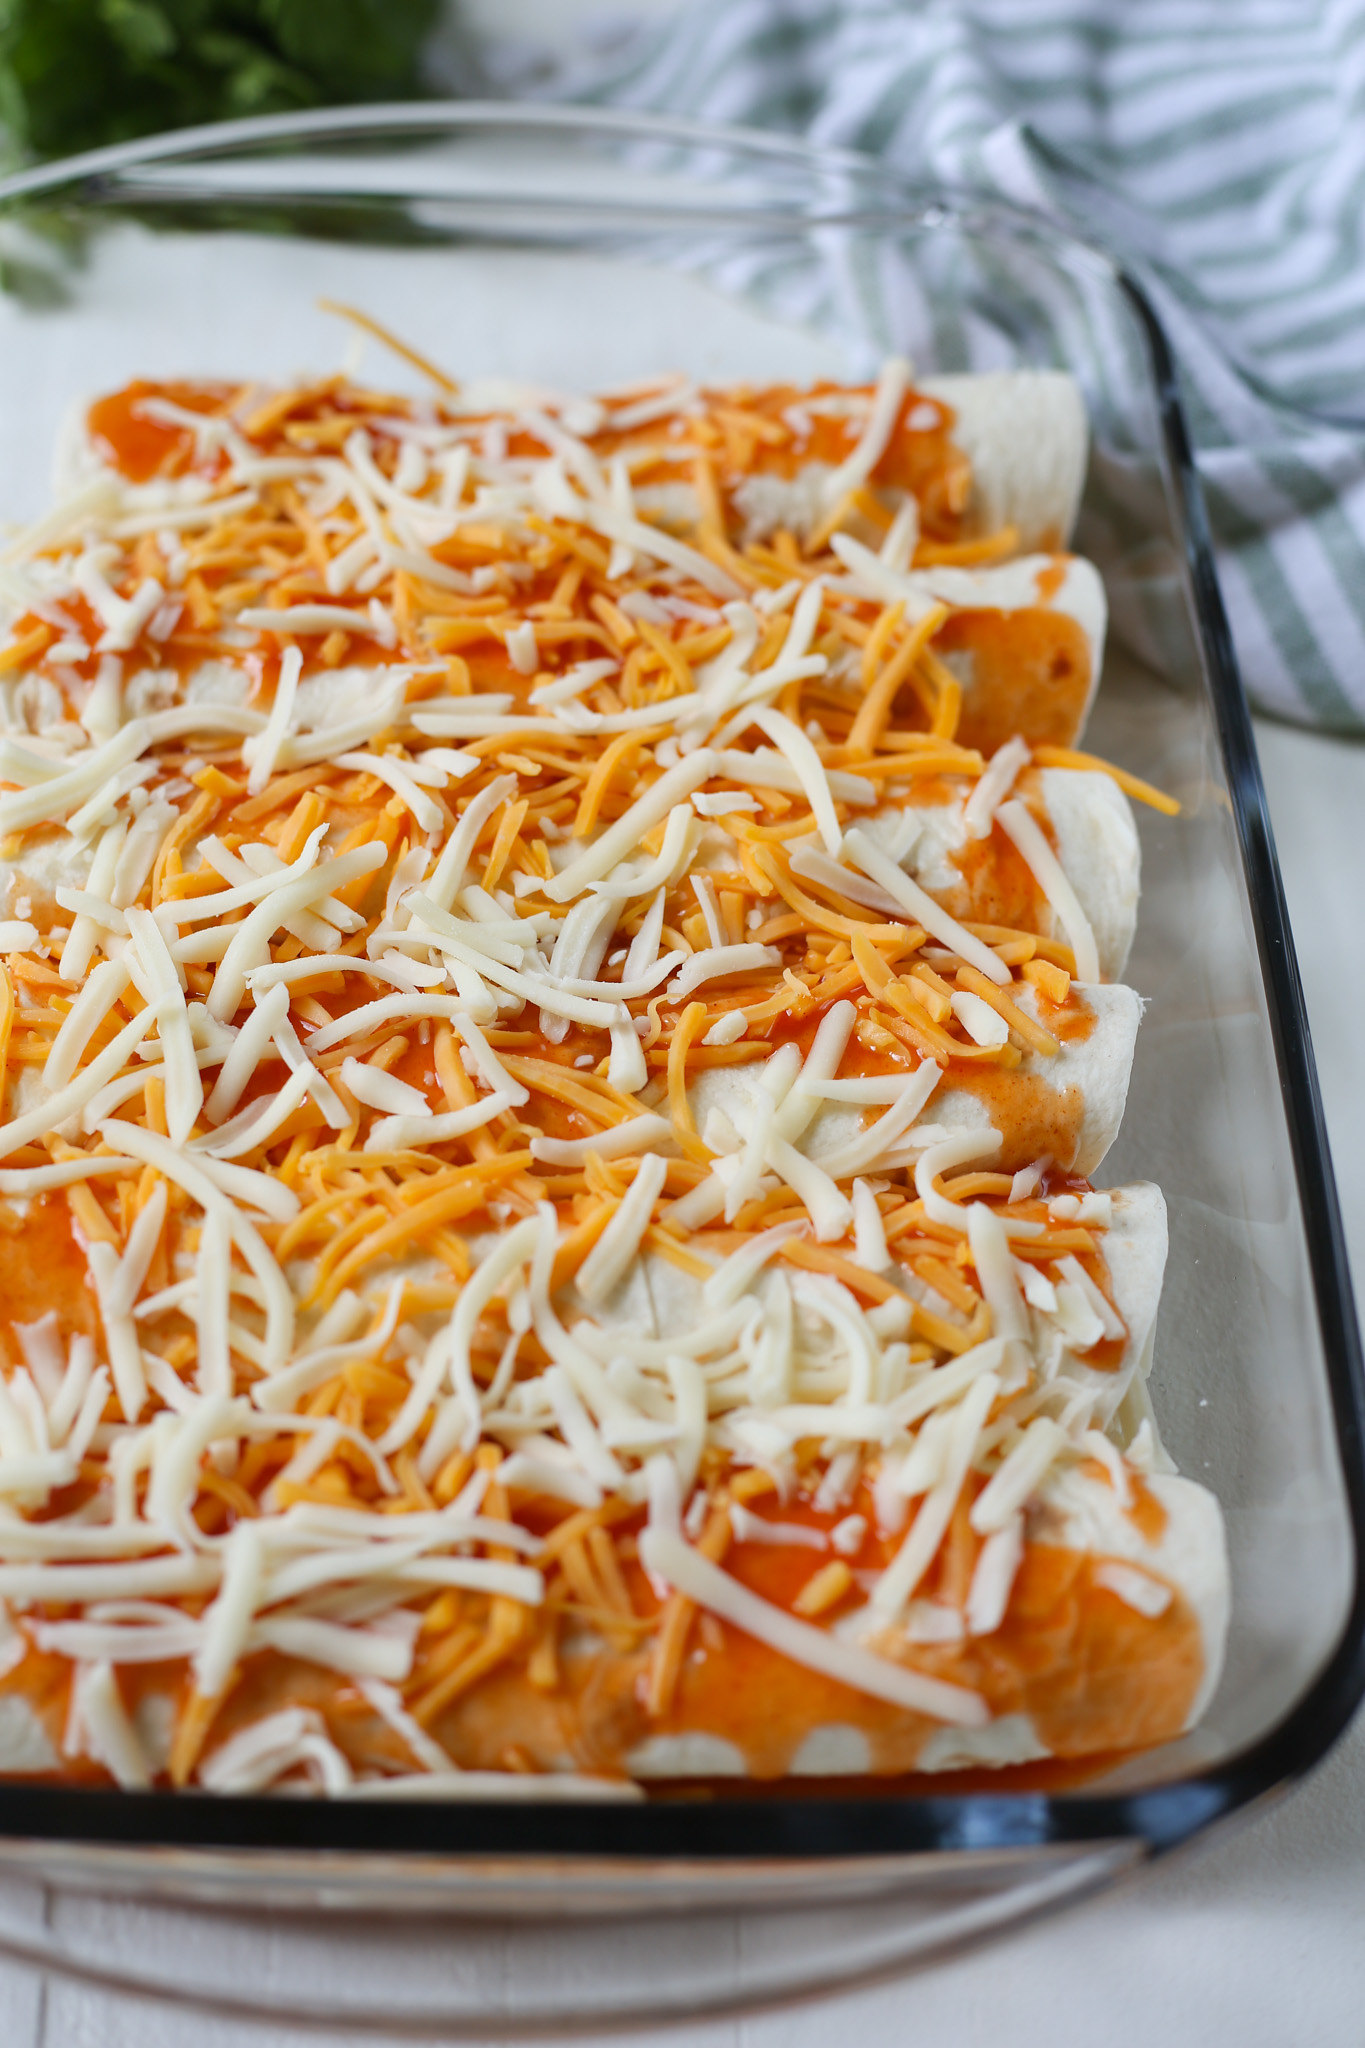
- Transfer. Transfer the mixture to a 9×13-inch baking dish.
- Top. Add more cheese to the top.
- Bake. Bake at 350F for 45 minutes.
Can You Make It Ahead
You can assemble hashbrown casserole ahead of time if you need to. Once you transfer it to the baking dish and top with cheese, cover it tightly and store it in the fridge. It will be fine for up to 2 days.

How Long Is It Good For?
Hashbrown casserole is good for up to 4 days. Make sure to store it in an airtight container in the fridge.
Can You Freeze It?
You can freeze hashbrown casserole (baked or before baking) for up to 3 months. Make sure to wrap it very tightly before freezing.
When you are ready to serve, let it thaw overnight in the fridge. If it hasn’t already been baked, follow the baking instructions. If it’s been baked, it will probably only need a few minutes in the oven to warm through. Or you can reheat portions in the microwave.

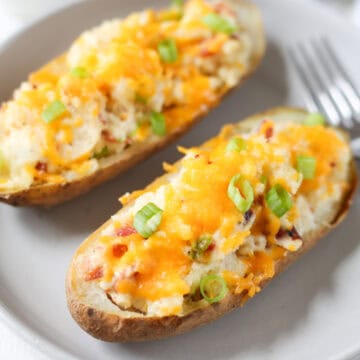
More Potato Side Dishes
Make sure you subscribe to my email list to get all my new recipes delivered right to your inbox!
You can also follow me on Instagram, Facebook, or Pinterest for even more!
📖 Recipe
Cracker Barrel Hashbrown Casserole

This copycat recipe for Cracker Barrel Hashbrown Casserole tastes just like the real thing! Shredded hashbrowns baked in a creamy, cheesy sauce. It's the perfect side dish for any meal!
Ingredients
- 2 pounds frozen shredded hashbrowns, thawed
- ½ cup butter, melted
- 2 cups sour cream
- 1 (10 ounce) can cream of chicken soup
- ½ cup white onion, finely diced
- 2 cups shredded cheddar cheese, divided
- 1 teaspoon salt
- ½ teaspoon black pepper
Instructions
- Preheat oven to 350F. Spray a 9x13-inch baking dish with oil
- In a large mixing bowl, stir together hashbrowns, melted butter, sour cream, cream of chicken soup, onion, 1 ½ cups cheese, salt, and pepper until well combined.
- Transfer to prepared dish. Sprinkle remaining ½ cup of cheese on top.
- Bake in preheated oven for 45 minutes.
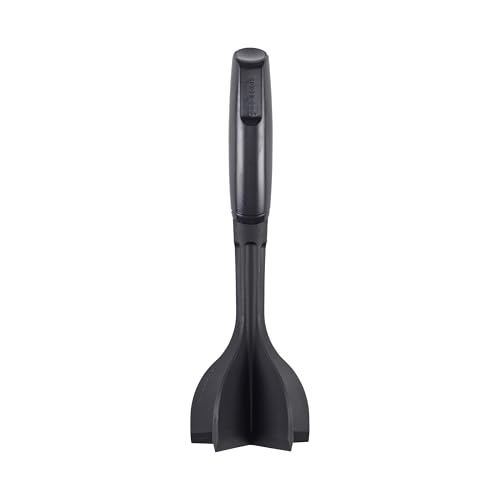
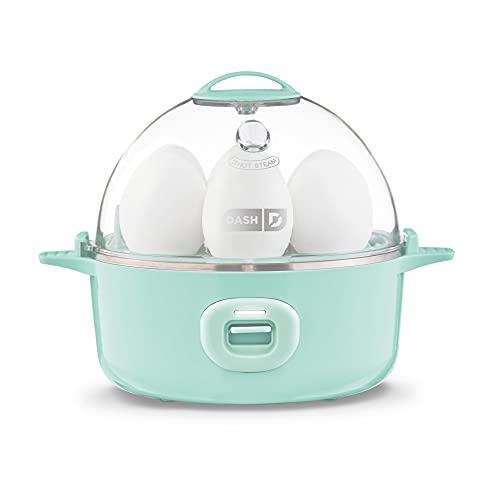
Recommended Products
As an Amazon Associate and member of other affiliate programs, I earn from qualifying purchases.


Nutrition Information:
Yield:
10Serving Size:
1Amount Per Serving: Calories: 516Total Fat: 41gSaturated Fat: 17gTrans Fat: 1gUnsaturated Fat: 20gCholesterol: 74mgSodium: 960mgCarbohydrates: 30gFiber: 3gSugar: 3gProtein: 9g