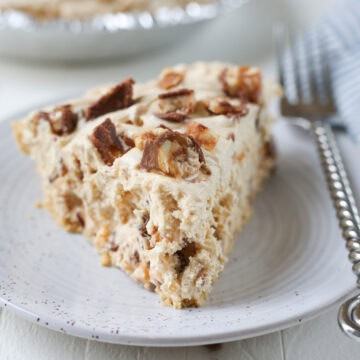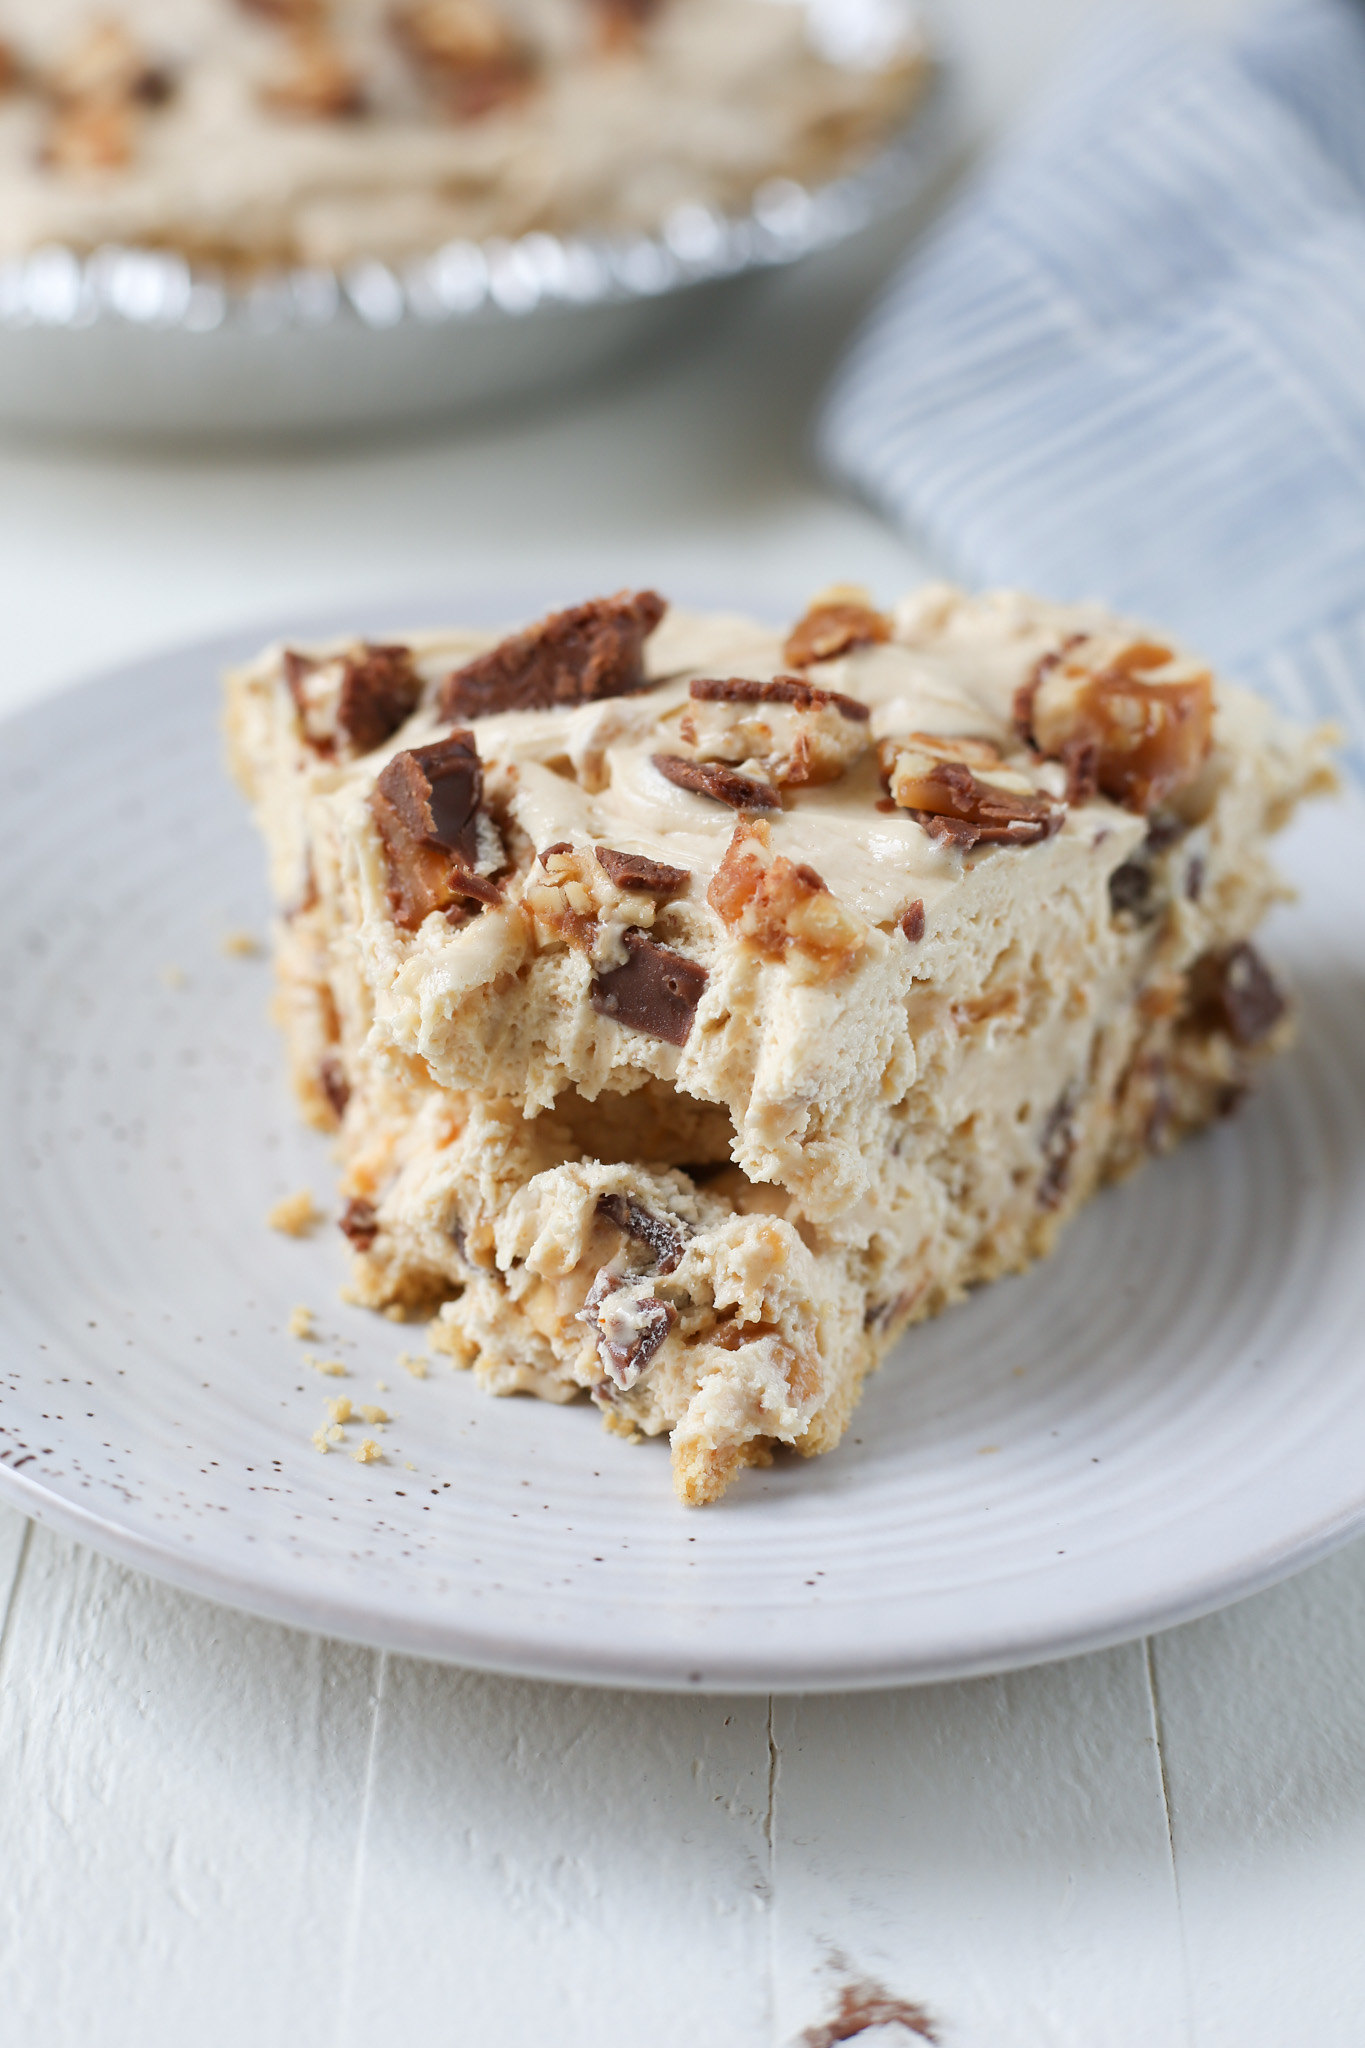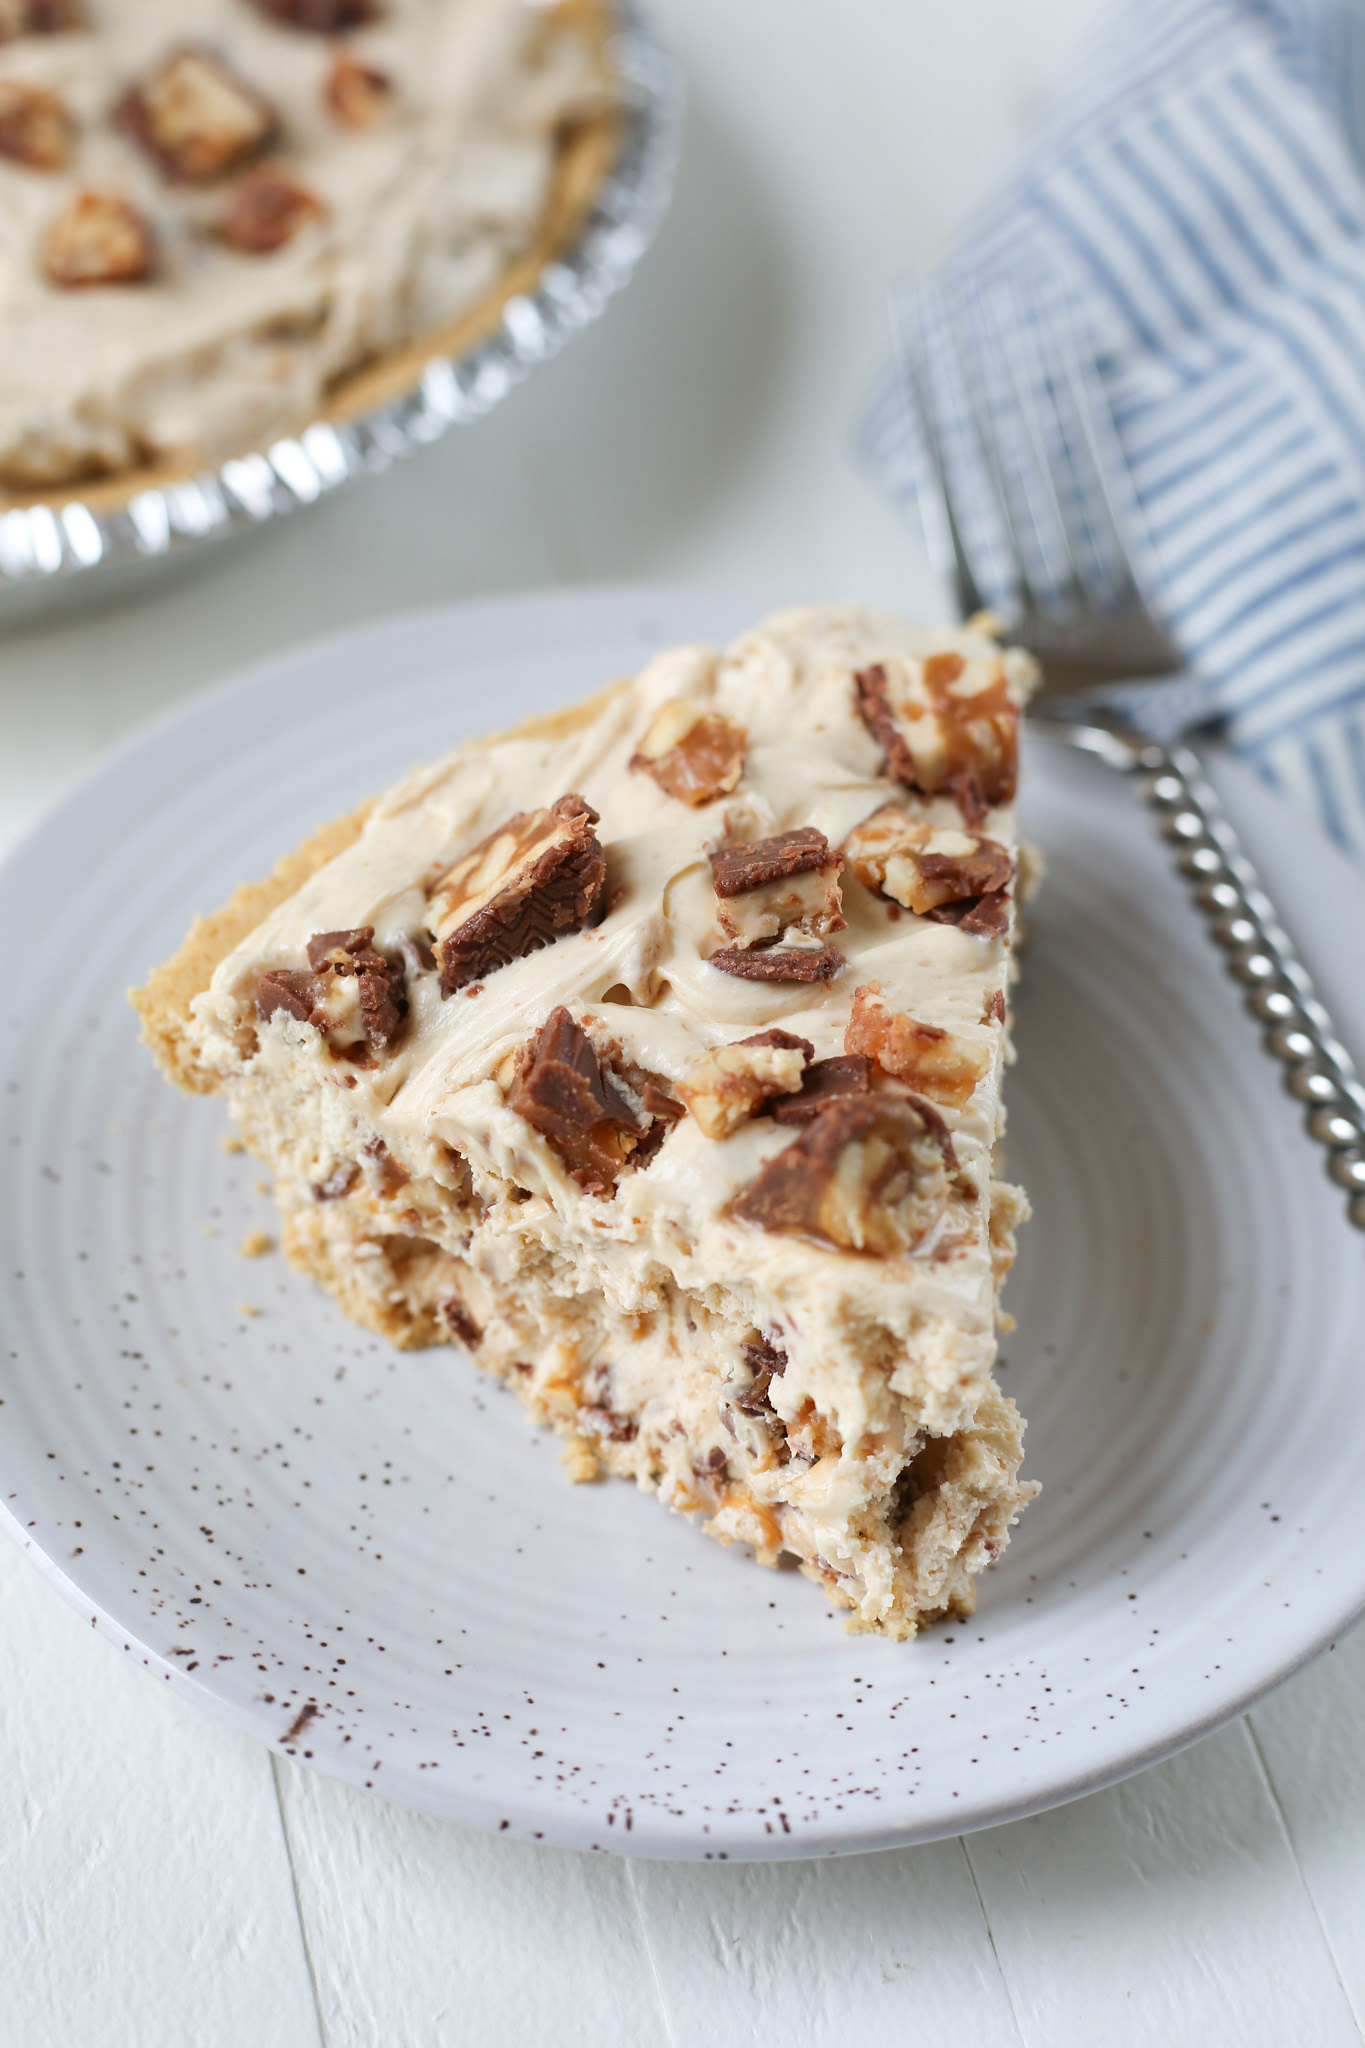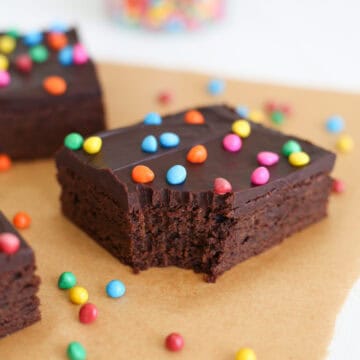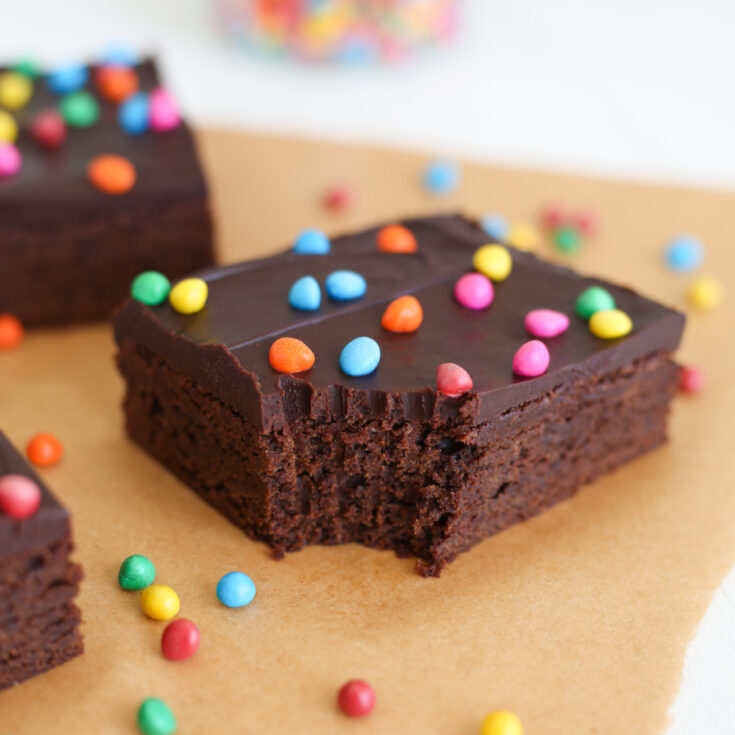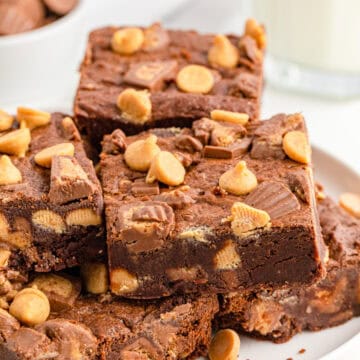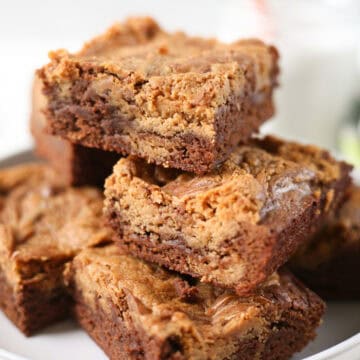
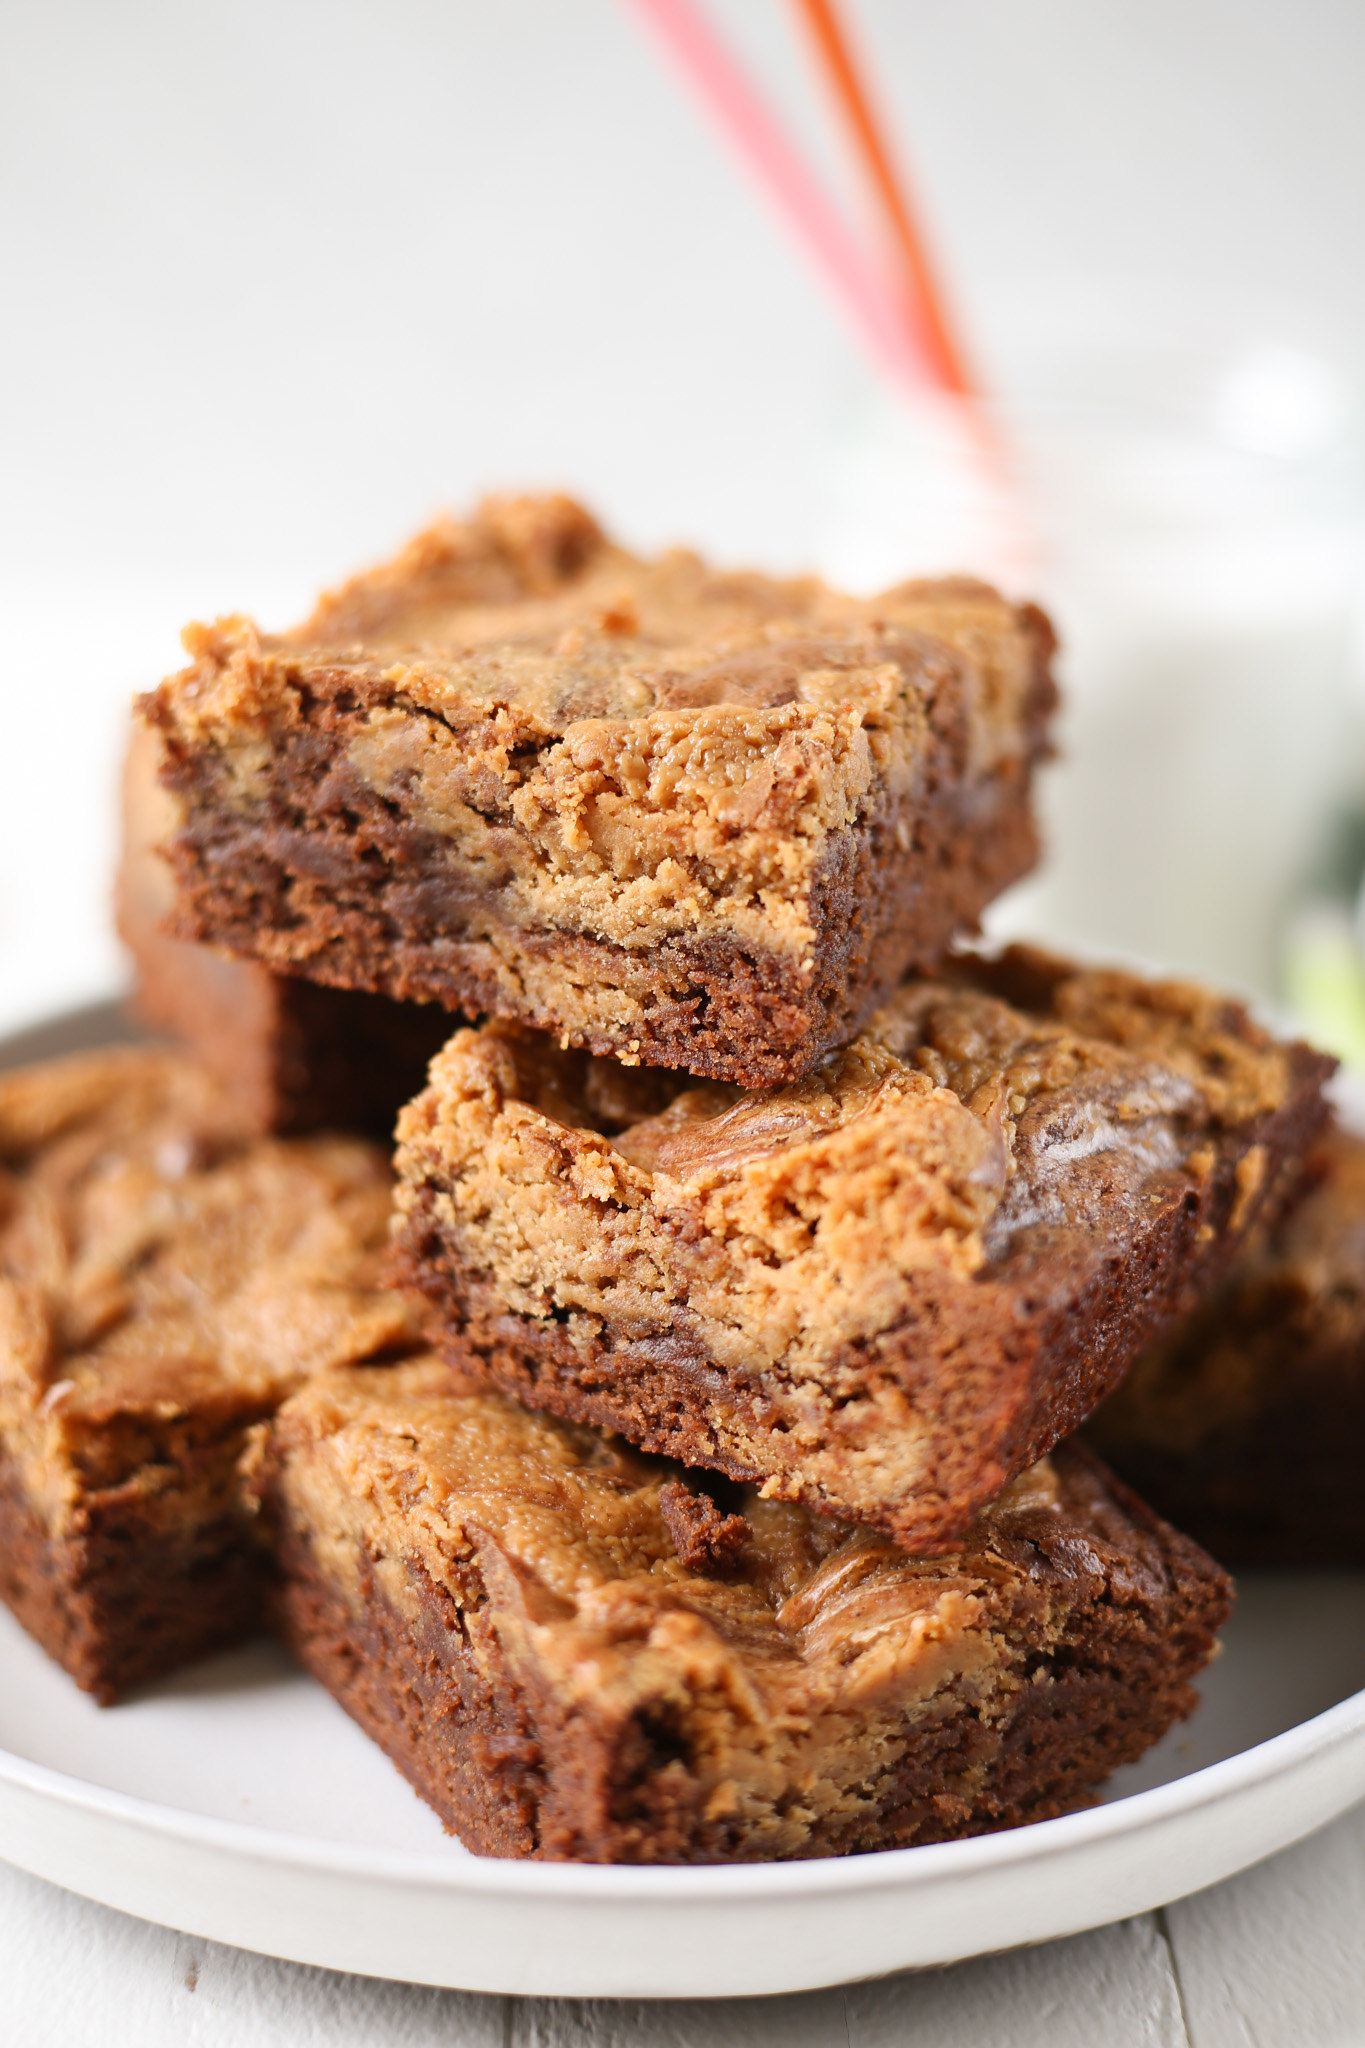
Peanut Butter Swirl Brownies are a chocolate peanut butter lovers dream! Fudgy brownies with a gooey peanut butter swirl inside and on top.
You also need to give our Peanut Butter Pretzel Brownies a try! They are sweet salty perfection!
Originally posted August 28, 2010. Updated May 8, 2024.
I have been in such a brownie mood lately but I’ve been too lazy to make them and we haven’t had a boxed mix in the house. I’ve seriously been thinking about brownies for weeks.
I was going through my list of recipes that need update and saw these and immediately went to the store for creamy peanut butter (we’re a crunchy household).

Why You’re Going To Love This Recipe
- Who doesn’t love chocolate and peanut butter together?! It’s a classic combination and one you can’t go wrong with.
- The fudgy brownies with the gooey peanut butter swirl is my idea of the perfect brownie texture combo. The peanut butter swirl isn’t a batter so it doesn’t set when baked. It stays soft and, yeah, almost gooey.
- No room temperature! Listen, there are times when I decide against baking just because I either don’t have time to wait for butter to come to room temperature or don’t have patience. For this recipe, you melt the butter for the batter AND the peanut butter swirl.
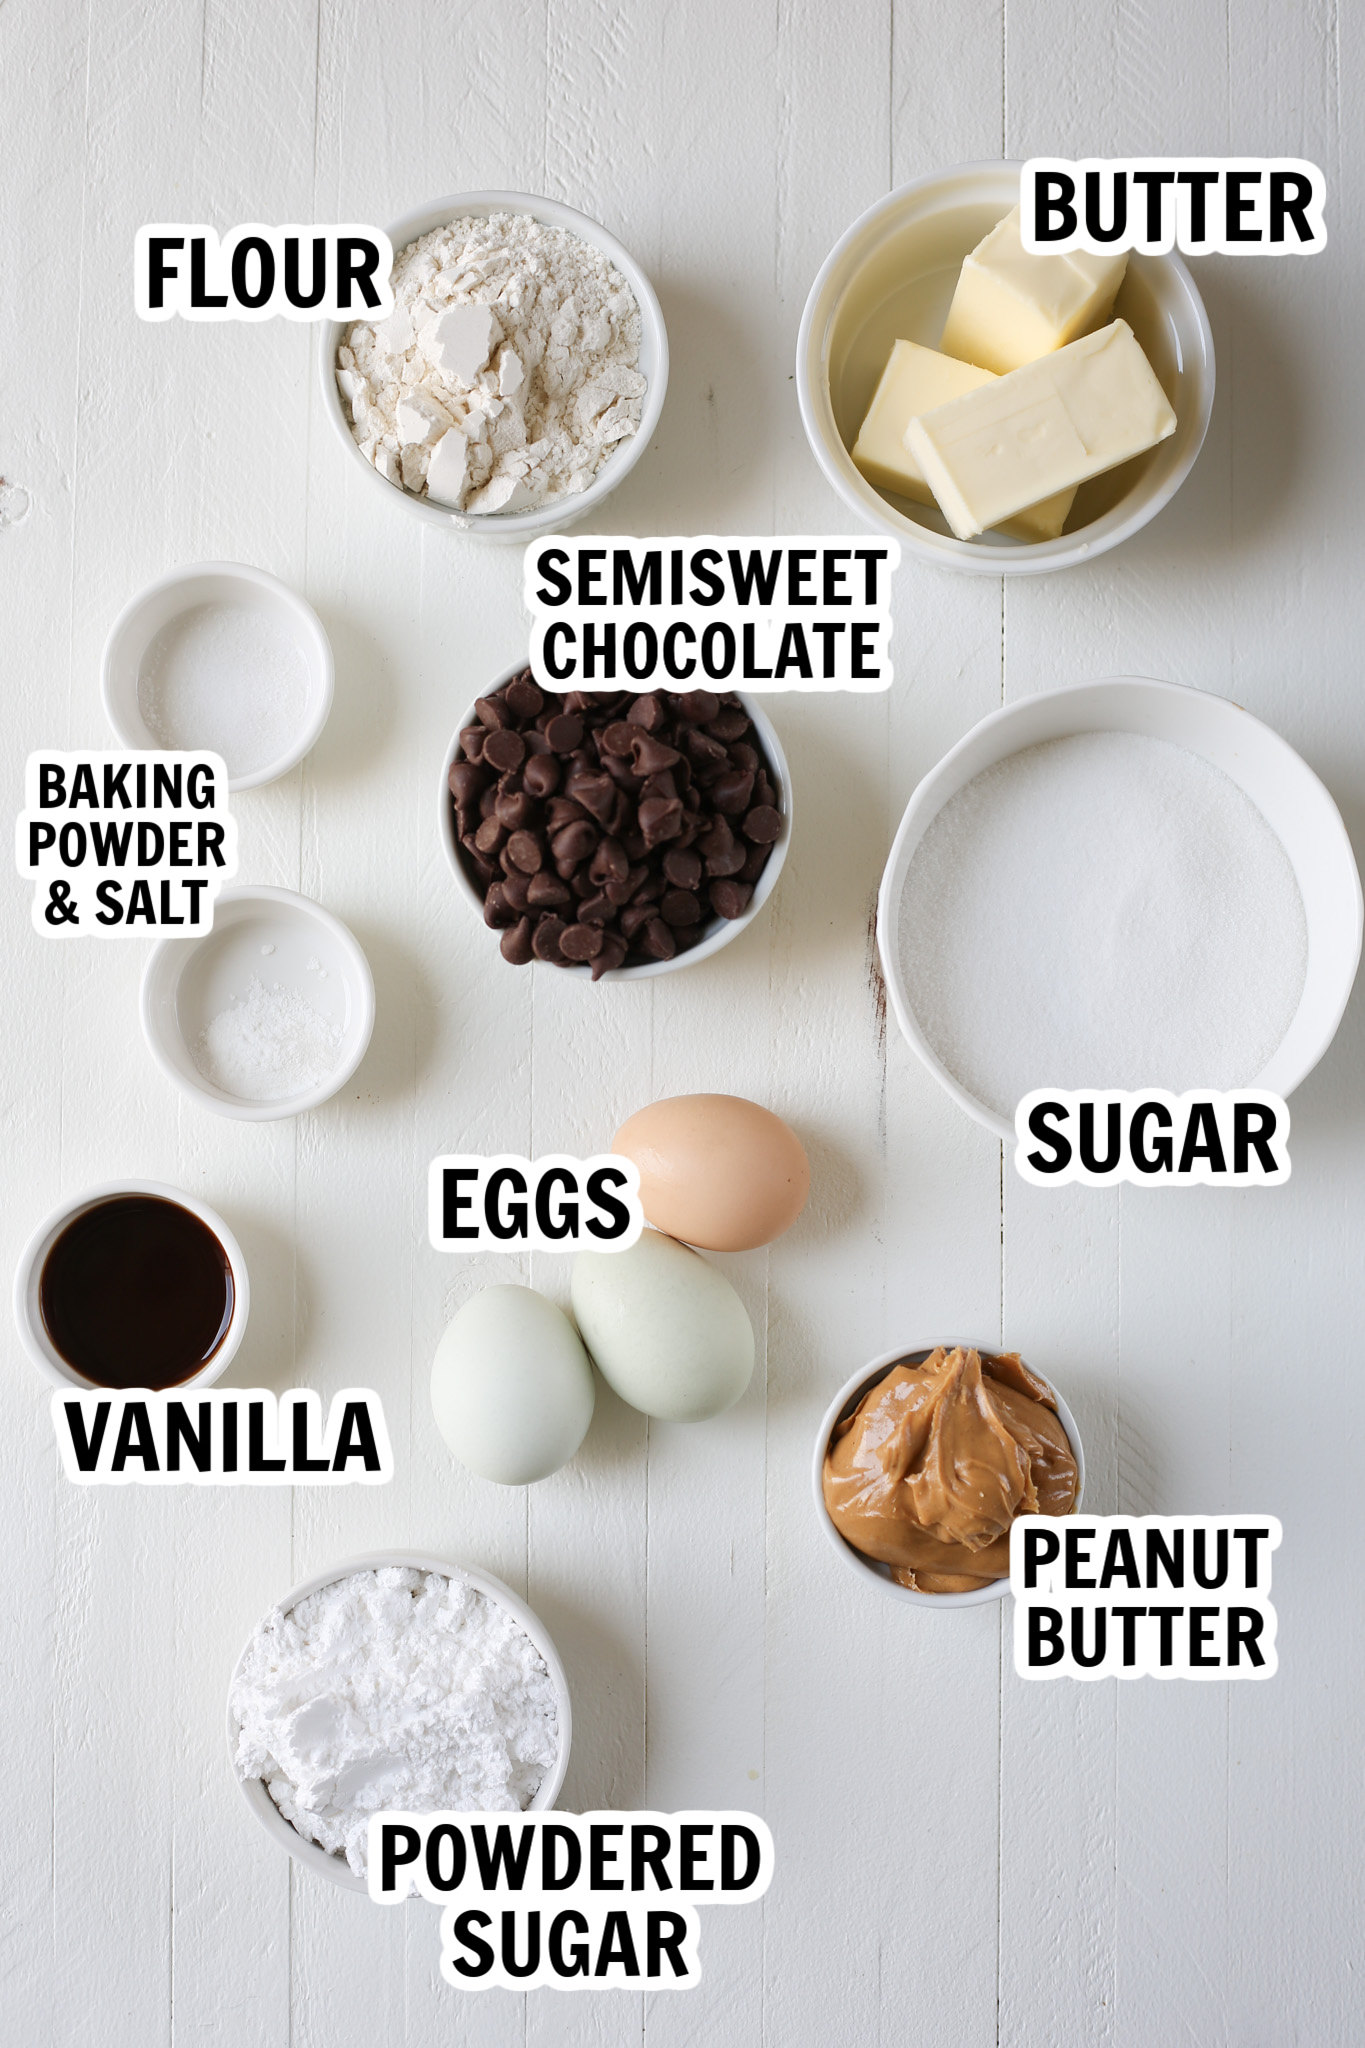
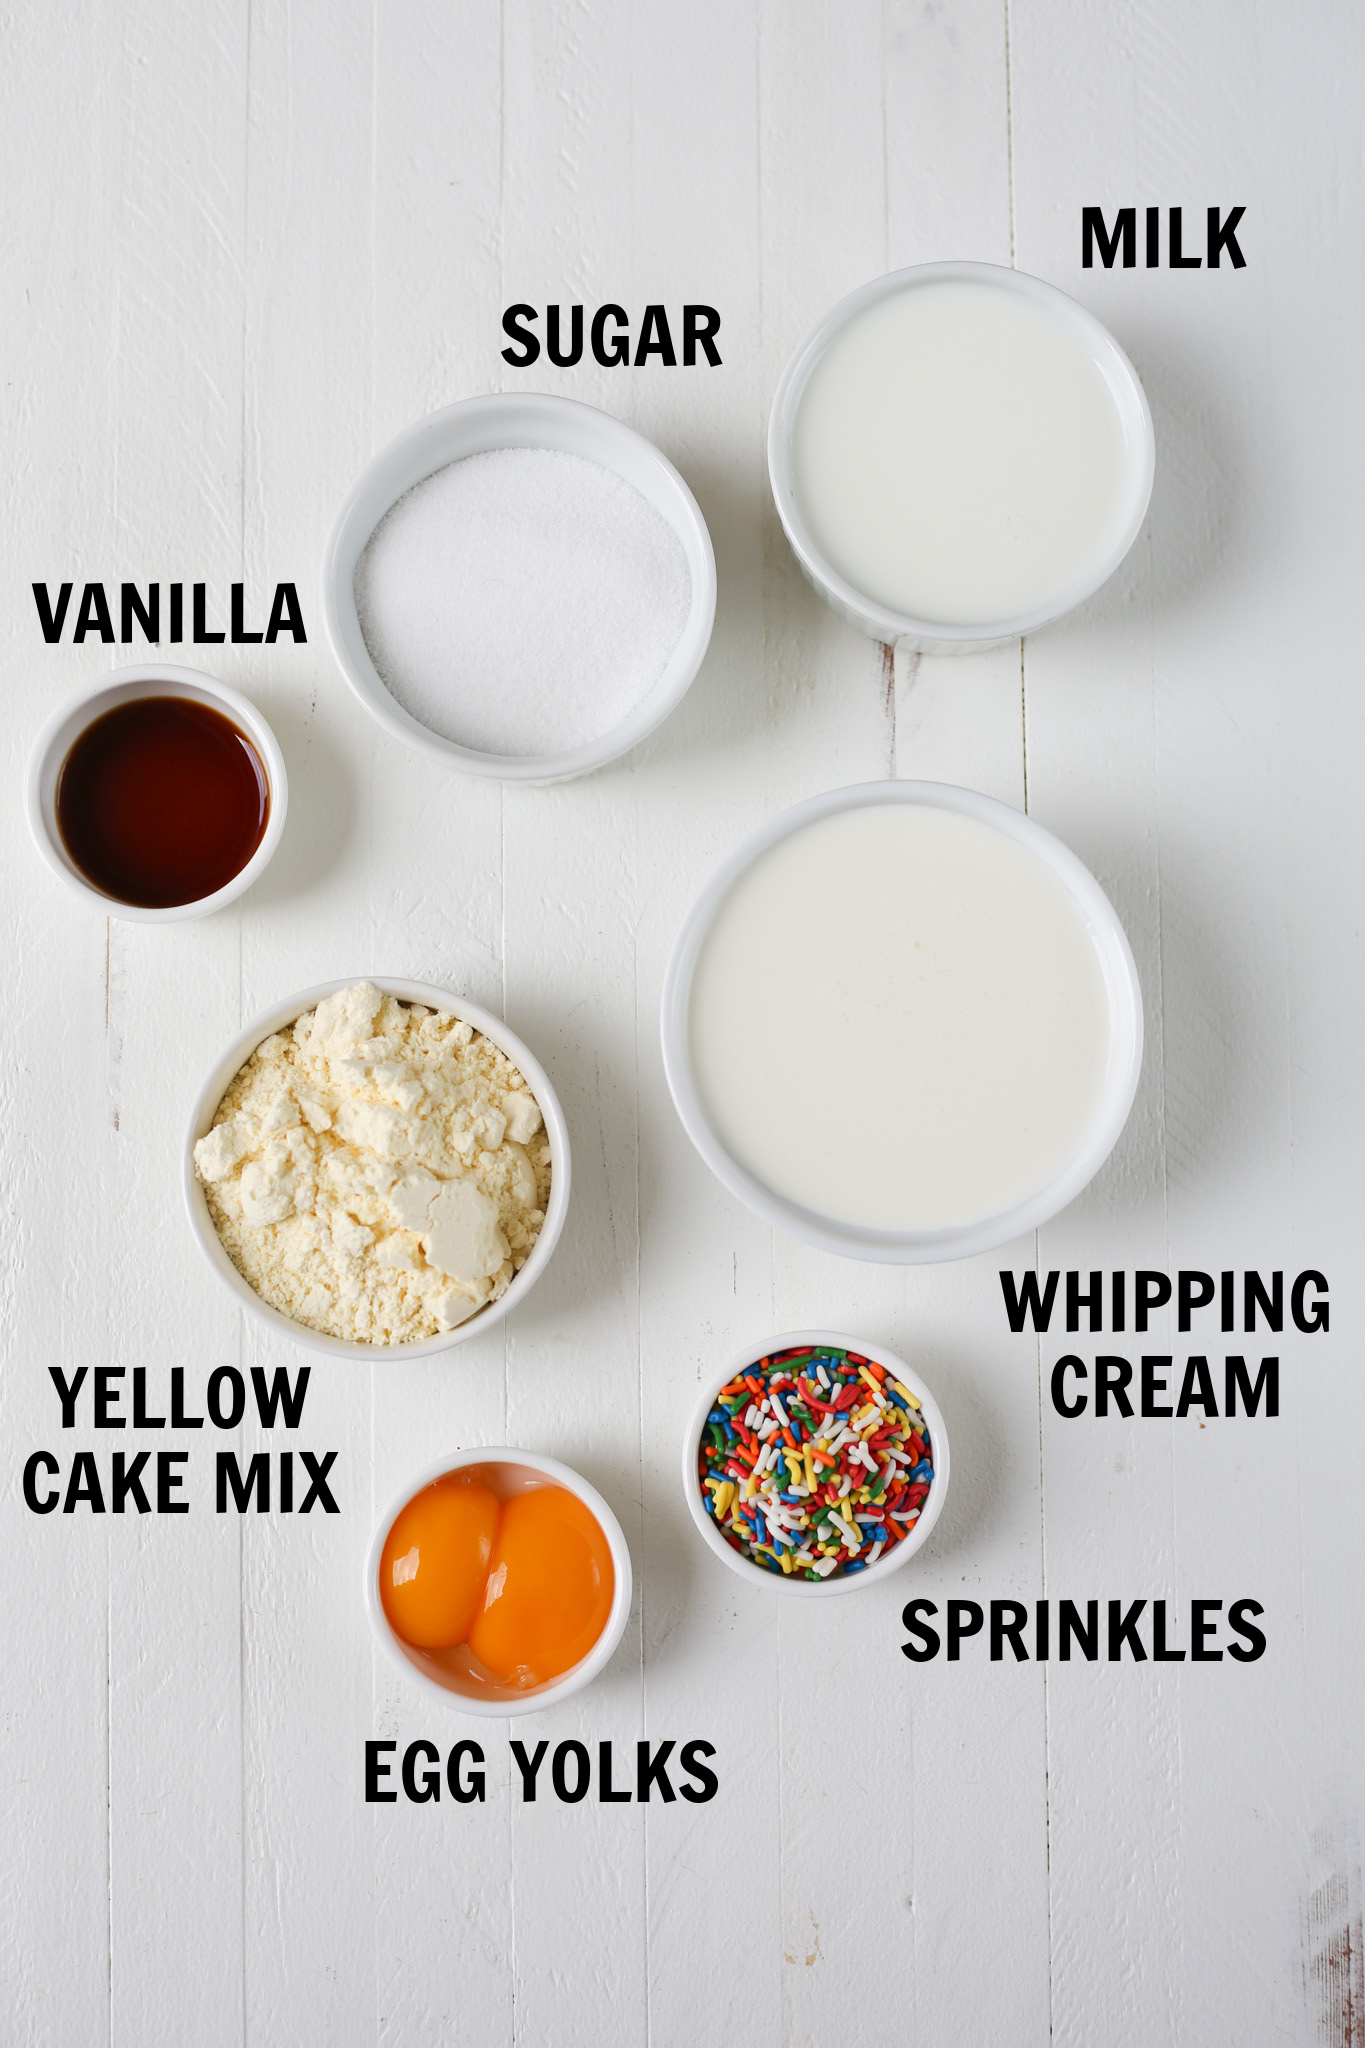
Ingredients
- Butter – no need to let it come to room temperature, we are melting the butter to make the brownie batter and the peanut butter filling.
- Semisweet chocolate – you can chop up a bar of semisweet baking chocolate or use semisweet chocolate chips like I did. Chocolate chips tend to be cheaper than the baking bars.
- Flour – regular all-purpose flour. And not a lot of it because we want really fudgy, chewy brownies.
- Baking powder – just a little bit to give the brownies a bit of a lift.
- Sugar – regular granulated sugar for the brownie batter.
- Eggs – aren’t the eggs from my chickens cute?!
- Vanilla – vanilla makes everything better!
- Creamy peanut butter – make sure it’s creamy so you get a really smooth peanut butter swirl.
- Powdered sugar – powdered sugar makes a really smooth peanut butter swirl, as opposed to what granulated sugar would look like.

How Long Are They Good For?
These brownies will be good for up to 4 days at room temperature or up to a week in the fridge. Either way, make sure to store them in an airtight container.
Can You Freeze Them?
You can freeze these brownies for up to 3 months. I recommend wrapping them individually in plastic wrap and then placing them in freezer ziploc bags.
When you are ready to enjoy them, let them sit at room temperature for an hour or 2.
More Brownie Recipes
- Cosmic Brownies
- Peanut Butter Cup Brownies
- Caramel-Filled Brownies
- Nutella Brownies
- Peppermint Chip Brownies
Make sure you subscribe to my email list to get all my new recipes delivered right to your inbox!
You can also follow me on Instagram, Facebook, or Pinterest for even more!
📖 Recipe
Peanut Butter Swirl Brownies

Peanut Butter Swirl Brownies are a chocolate peanut butter lovers dream! Fudgy brownies with a gooey peanut butter swirl inside and on top.
Ingredients
- 8 tablespoons (1 stick) unsalted butter, cut into small pieces
- 6 ounces semisweet chocolate
- ⅔ cup all-purpose flour
- ½ teaspoon baking powder
- ¼ teaspoon salt
- ¾ cup granulated sugar
- 3 large eggs
- 2 teaspoons pure vanilla extract
For the filling:
- 4 tablespoons unsalted butter, melted
- ½ cup confectioners’ sugar
- ¾ cup smooth peanut butter
- ¼ teaspoon salt
- ½ teaspoon pure vanilla extract
Instructions
- Preheat oven to 32F. Butter an 8-inch square baking pan or line with parchment paper.
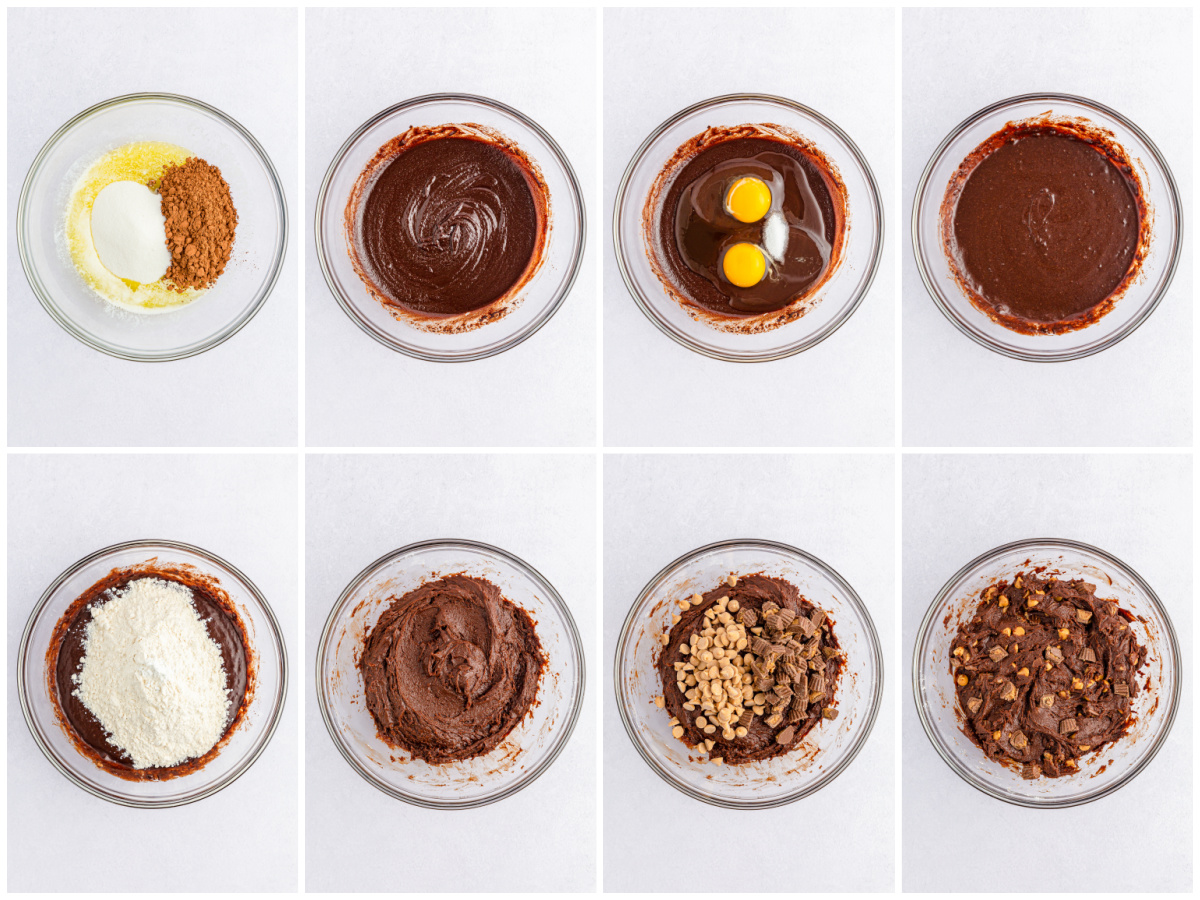
- Put butter and chocolate in a microwave-safe mixing bowl and microwave in 30 second increments, stirring after each one, until smooth. Let cool slightly.
- While the butter mixture cools, whisk together flour, baking powder, and salt in a separate bowl.
- One butter mixture has cooled, add sugar and stir well. Add eggs, and whisk until mixture is smooth. Stir in vanilla. Add flour mixture; stir until well incorporated.
- Make filling: In a mixing bowl, stir together butter, confectioners’ sugar, peanut butter, salt, and vanilla until smooth.
- Pour half of the butter into prepared pan; spread evenly with a rubber spatula.
- Drop dollops of half of the peanut butter filling (about 1 tablespoon each) on top of batter.
- Add remaining chocolate batter on top and gently spread to sides of the pan.
- Drop dollops of remaining filling on top. Gently swirl peanut butter filling into batter with a butter knife, running the knife lengthwise and crosswise through layers.
- Bake for about 45 minutes, or until a toothpick inserted into the center comes out mostly clean. Let cool in pan for 15 minutes and then use parchment to lift out of the pan. Cool completely on a wire rack before slicing and serving.
Recommended Products
As an Amazon Associate and member of other affiliate programs, I earn from qualifying purchases.