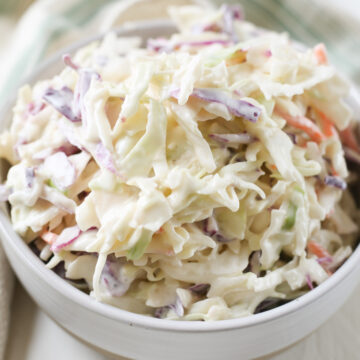
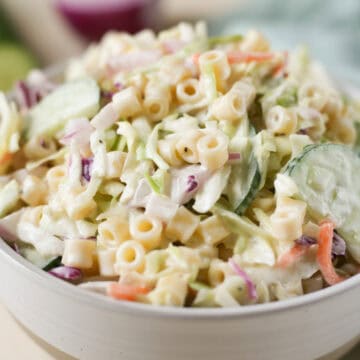
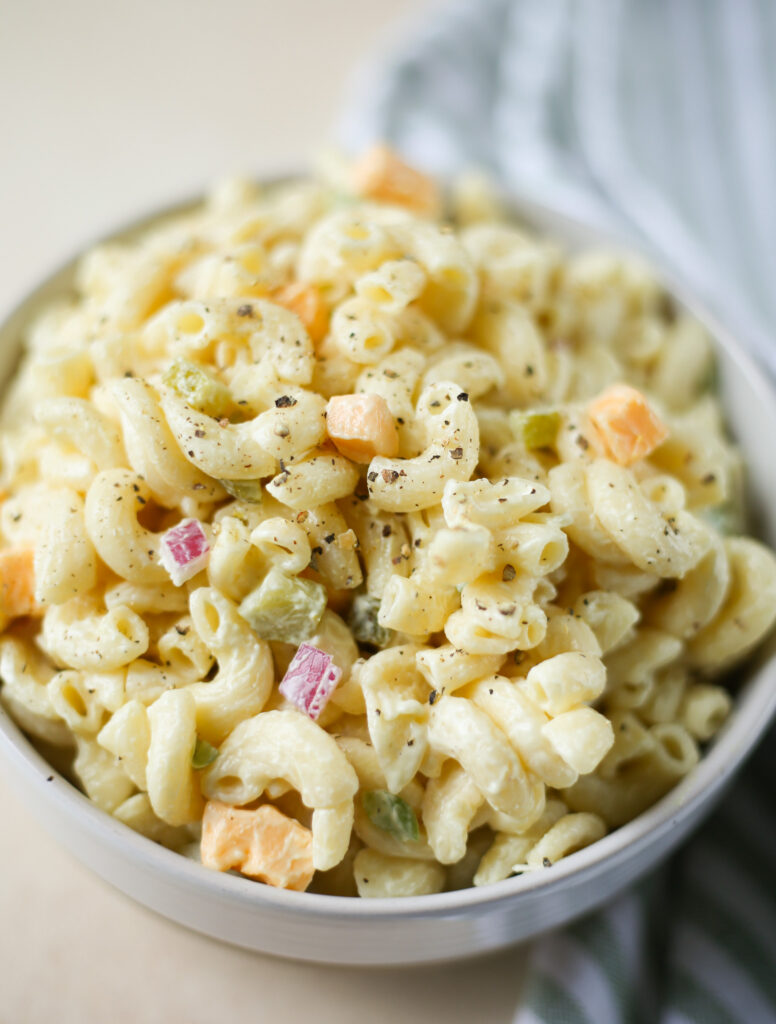
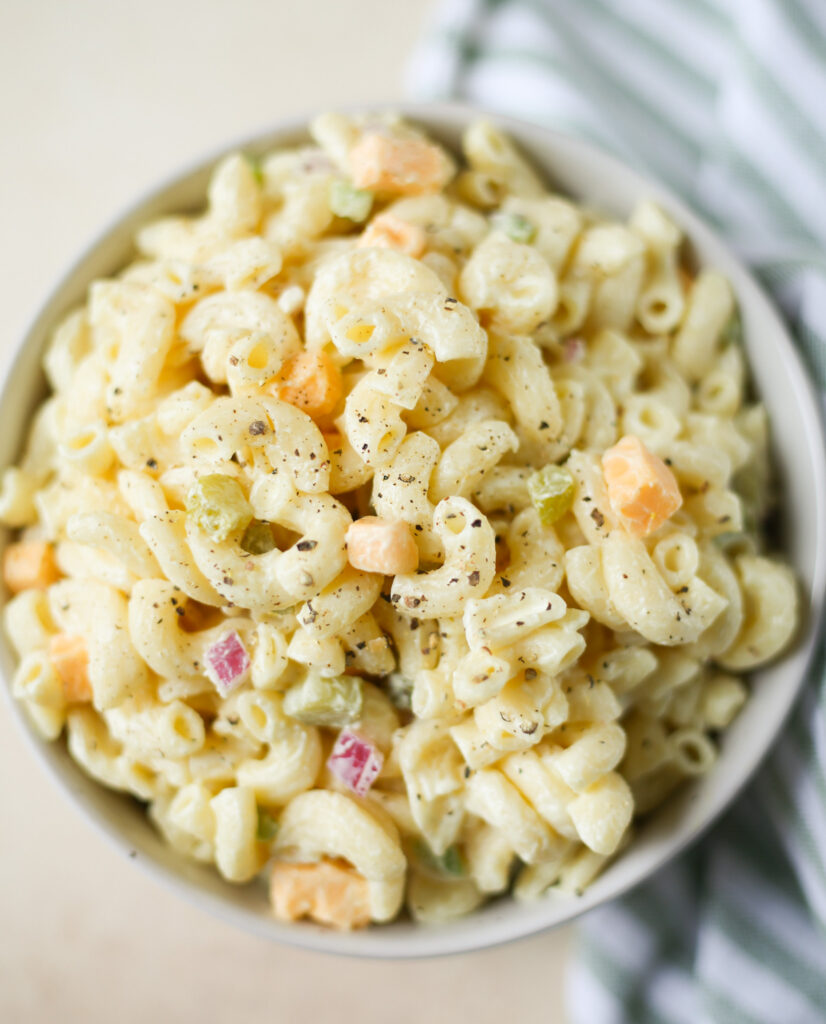
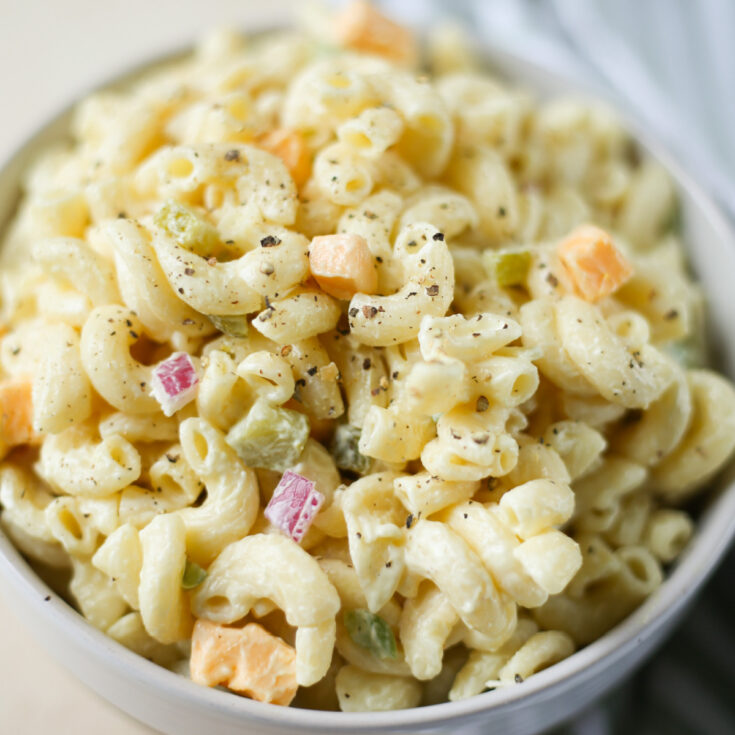
Classic Macaroni Salad made with pasta, cheddar cheese, red onion, bell pepper, and pickles in a creamy coleslaw-like dressing. It’s the perfect side dish for all your summer BBQs!
Our other favorite pasta salads are Deviled Egg Pasta Salad and Bacon Ranch Pasta Salad!
Originally posted June 26, 2014. Updated February 25, 2026.
Macaroni salad is one of my frequently made recipes during spring and summer. I think it just goes with practically anything. I served it with roast chicken the other night and it was delicious but it also goes perfectly with all things barbecue.
It has macaroni, red onion, bell pepper, pickles, cheddar cheese, and a creamy dressing that tastes like coleslaw dressing. It has so many different textures and flavors and it just all works perfectly together.

Ingredients
- Macaroni noodles – you can really use any small pasta shape (such as shells or rotini) but classic macaroni salad uses macaroni noodles, of course.
- Mayonnaise – you can use lite mayo if you prefer.
- Granulated sugar
- White vinegar – sometimes I use apple cider vinegar instead.
- Yellow mustard
- Red onion – I try to dice all the vegetables and cheese about the same size.
- Green bell pepper
- Small pickles – i recommend the small ones because the skin is thinner and they have less seeds than the big ones.
- Cheddar cheese – you could use colby jack instead.

How To Make Macaroni Salad
- Cook pasta. Cook macaroni according to the package instructions. Once cooked, drain and rinse the pasta under cold water.
- Make dressing. While pasta cooks, whisk together mayonnaise, sugar, white vinegar, yellow mustard, salt, and pepper. Chill until ready to combine.
- Combine. Put the cooled pasta in a large mixing bowl. Add red onion, green bell pepper, pickles, and cheddar cheese. Pour dressing over top and toss to coat.
- Chill. Cover and chill for 1 hour before serving.
How Long Is It Good For?
Macaroni salad is good for up to 4 days. Make sure to store it in an airtight container in the fridge.
You can serve it straight from the fridge.
Variations
- A lot of macaroni salads include diced celery or pimentos so if you like those, feel free to add them!
- Use a couple hardboiled eggs instead of the cheese!
More Side Dish Recipes
- Root Beer Baked Beans
- Cole Slaw Pasta Salad
- Broccoli Grape Pasta Salad
- Pineapple Baked Beans
- Cheesy Broccoli Cornbread
- Italian Tortellini Pasta Salad
📖 Recipe
Macaroni Salad
Classic Macaroni Salad made with pasta, cheddar cheese, red onion, bell pepper, and pickles in a creamy coleslaw-like dressing. It's the perfect side dish for all your summer BBQs!
Ingredients
- 1 pound macaroni noodles
- 1 cup mayonnaise
- ½ cup granulated sugar
- ¼ cup white vinegar
- 2 tablespoons yellow mustard
- 1 ½ teaspoons salt
- ½ teaspoon black pepper
- ½ cup red onion, finely diced
- ½ cup green bell pepper, finely diced
- ½ cup small pickles, finely diced
- ½ cup cheddar cheese, cut into small cubes
Instructions
- Cook macaroni according to package instructions. Once cooked, drain and rinse under cold water until no longer hot.
- While macaroni cooks, make the dressing by whisking together mayonnaise, sugar, white vinegar, mustard, salt, and pepper in a small mixing bowl. Store in fridge until macaroni is done.
- Once macaroni, transfer it to a large mixing bowl. Add onion, green bell pepper, pickles, and cheddar cheese. Pour the dressing over top and toss to coat everything.
- Cover and chill in fridge for 1 hour before serving.
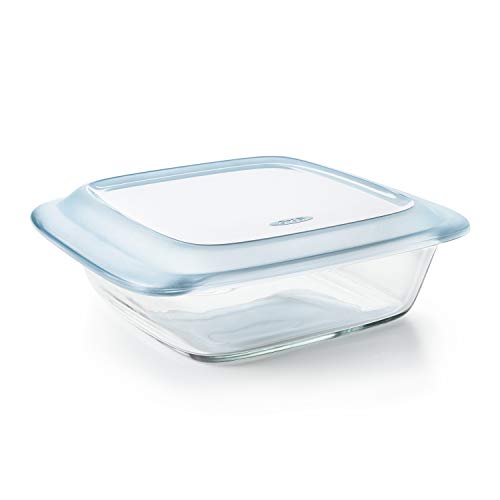
Recommended Products
As an Amazon Associate and member of other affiliate programs, I earn from qualifying purchases.


Nutrition Information:
Yield:
12Serving Size:
1Amount Per Serving: Calories: 382Total Fat: 26gSaturated Fat: 6gTrans Fat: 0gUnsaturated Fat: 19gCholesterol: 33mgSodium: 606mgCarbohydrates: 25gFiber: 2gSugar: 3gProtein: 11g