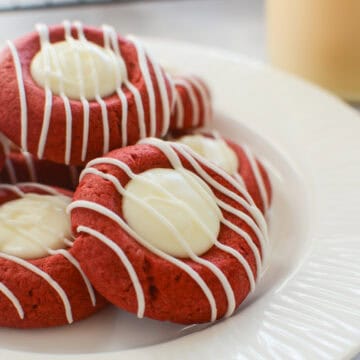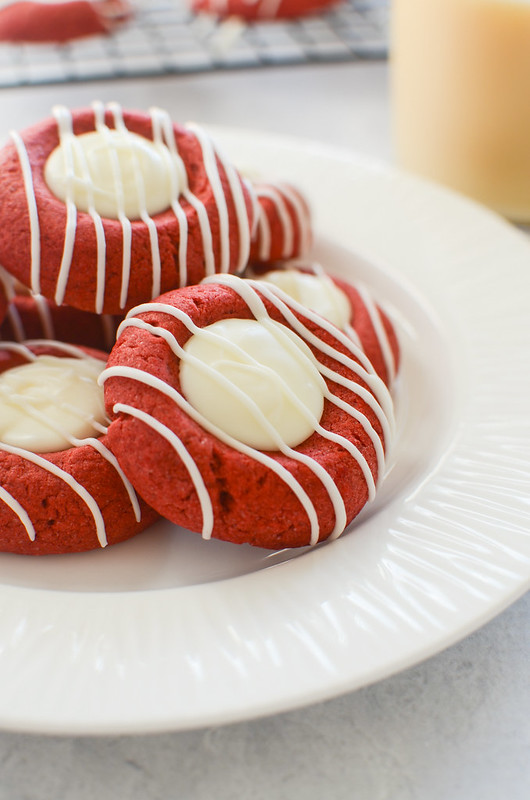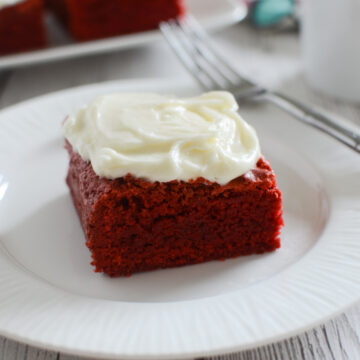
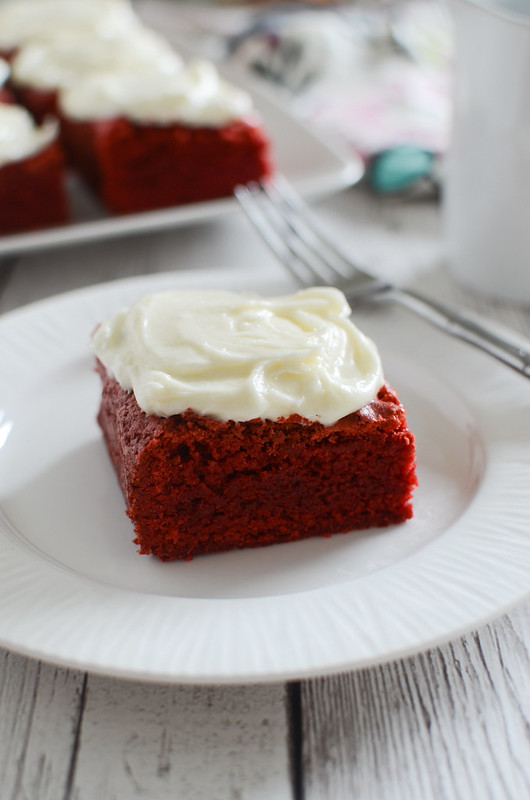
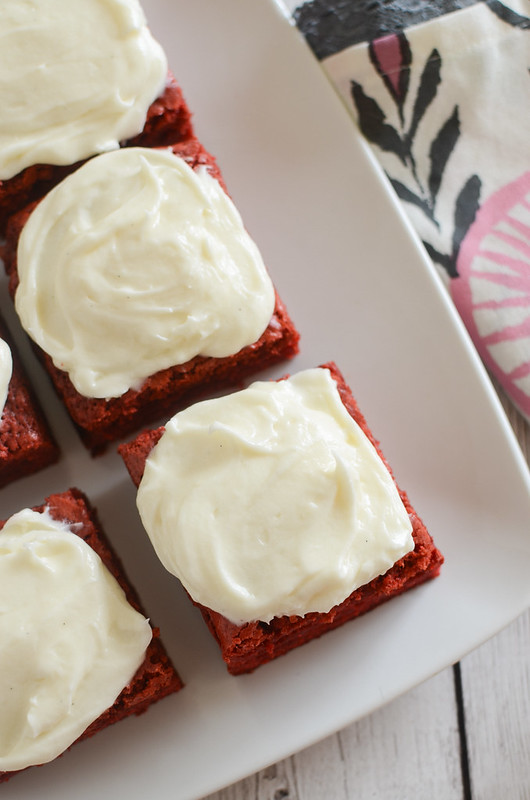
Red Velvet Brownies with Cream Cheese Frosting are rich and delicious brownies topped with creamy frosting. How cute for Valentine’s Day or Christmas!
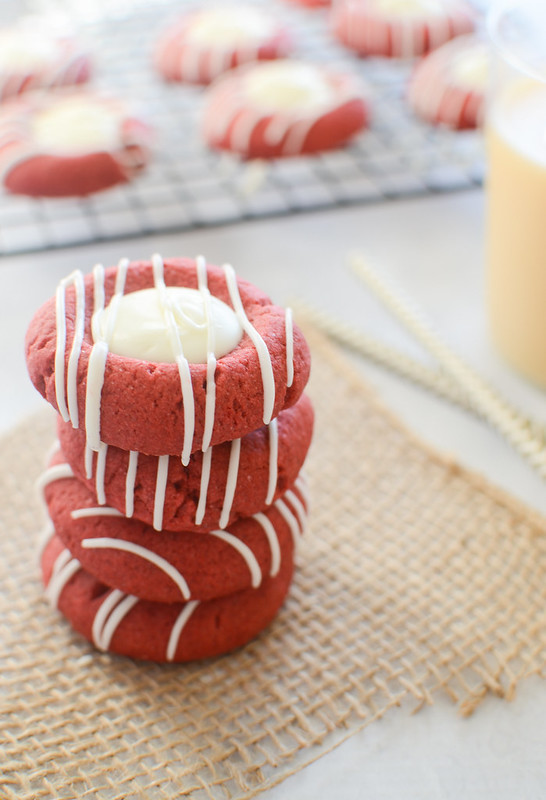
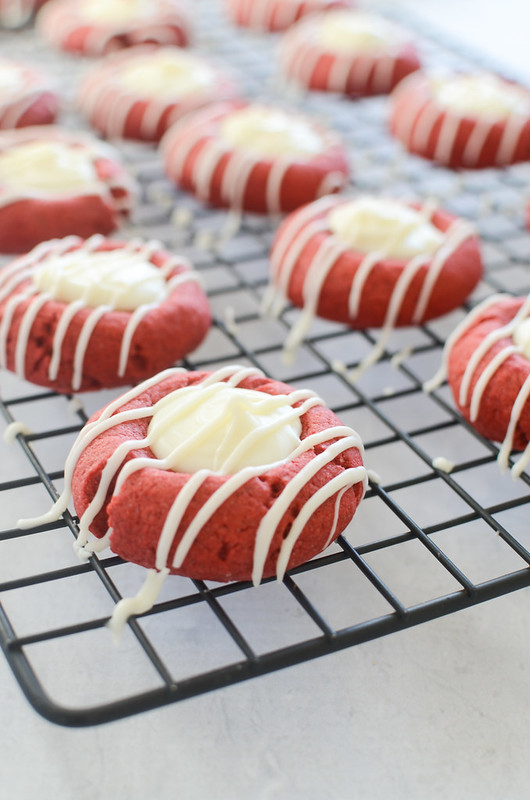
Obsessed with red velvet? Try Red Velvet Peppermint Thumbprints or Red Velvet Cupcakes!
What says Valentine’s Day more than bright red baked goods?!
These Red Velvet Brownies have that classic, rich red velvet flavor baked into a brownie and then they are topped with a cream cheese frosting!
These are a must make for all red velvet lovers! Plus, they would be cute for Christmas, too!
Ingredients for Red Velvet Brownies
- Bittersweet chocolate – you can use semisweet if you want them sweeter but I find the bittersweet to be sweet enough in this recipe
- Butter – no need to bring it to room temperature before beginning. It’s getting melted with the chocolate.
- Sugar
- Eggs
- All-purpose flour
- Red liquid food coloring – you are going to use a decent amount to get that classic red velvet color
- Vanilla
- Cream cheese – this is for the delicious cream cheese frosting on top
- Powdered sugar – you want to use this on the frosting because it melts into the cream cheese better than granulated sugar
Directions
- Melt chocolate. Melt chocolate and butter over low heat, stirring until smooth.
- Combine. Whisk in sugar, eggs, flour, red food coloring, baking powder, vanilla, and salt.
- Transfer. Pour mixture into the a 9×9-inch pan lined with parchment paper.
- Bake. Bake at 350F for 45 minutes.
- Make frosting. Beat cream cheese and butter. Add powdered sugar, salt, and vanilla and beat until well blended.
- Frost. Frost brownies once cool and cut into 16 bars
How Long Are They Good For?
These red velvet brownies are good for 3 – 4 days. I do recommend storing these in the refrigerator because they have that cream cheese frosting.
Make sure to store them in an airtight container.
Can You Freeze Red Velvet Brownies?
You can freeze these brownies but I would recommend freezing them without the cream cheese frosting.
Wrap the brownies individually in aluminum foil and then place them in a freezer ziploc bag.
They should be fine in the freezer for up to 3 months. To defrost, let sit at room temperature overnight. Or microwave for 20 seconds at a time until it reaches the desired temperature.
More Brownies Recipes
- Rocky Road Brownies
- Peanut Butter Swirl Brownies
- Cosmic Brownies
- Peanut Butter Cup Brownies
- Peppermint Patty Brownies
Make sure you subscribe to my email list to get all my new recipes delivered right to your inbox!
You can also follow me on Instagram, Facebook, or Pinterest for even more!
📖 Recipe
Red Velvet Brownies

Red Velvet Brownies with Cream Cheese Frosting are rich and delicious brownies topped with creamy frosting. How cute for Valentine's Day or Christmas!
Ingredients
- 1 (4 ounce) bittersweet chocolate, chopped
- ¾ cup butter
- 2 cups sugar
- 4 large eggs
- 1 ½ cups all-purpose flour
- 1 (1-ounce) bottle red liquid food coloring
- 1 ½ teaspoons baking powder
- 1 teaspoon vanilla
- ⅛ teaspoon salt
For the frosting:
- 1 (8 ounce) package cream cheese, softened
- 3 tablespoons butter, softened
- 1 ½ cups powdered sugar
- ⅛ teaspoon salt
- 1 teaspoon vanilla
Instructions
- Preheat oven to 350F. Line bottom and sides of a 9-inch square pan with aluminum foil.
- Melt chocolate and butter over low heat, stirring until smooth. Transfer to a mixing bowl. Whisk in sugar. Add eggs, 1 at a time, whisking just until blended after each addition. Gently stir in flour and next 4 ingredients. Pour mixture into prepared pan.
- Bake at 350F for 45 to 48 minutes or until a wooden pick inserted in center comes out with a few moist crumbs. Cool completely on a wire rack before frosting.
To make the frosting:
- Beat cream cheese and butter until combined. Slowly add in powdered sugar, salt,and vanilla. Beat until blended. Frost brownies and cut into 16 bars.
Recommended Products
As an Amazon Associate and member of other affiliate programs, I earn from qualifying purchases.


Nutrition Information:
Yield:
16Serving Size:
1Amount Per Serving: Calories: 390Total Fat: 21gSaturated Fat: 12gTrans Fat: 0gUnsaturated Fat: 7gCholesterol: 90mgSodium: 228mgCarbohydrates: 47gFiber: 2gSugar: 36gProtein: 5g