Have you started thinking about teachers gifts? Mailman gifts? Neighbor gifts? That lady that once watched your kid when your husband was in the field and you had pink eye again gifts?
I, as usual, am totally stressed and overwhelmed over all of it.
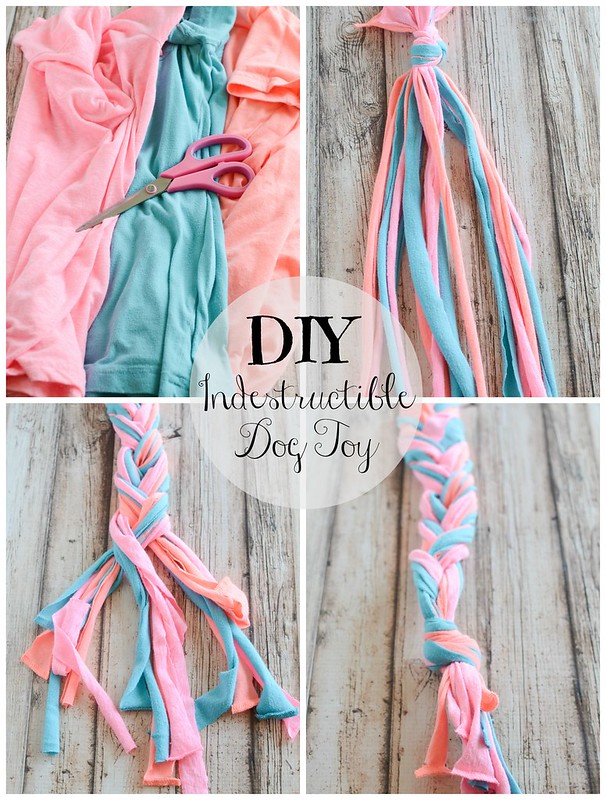
I really want to DIY most of those gifts but you know I’m not much of a crafter so I’m thinking food is my best bet. And who doesn’t like to get food?
📖 Recipe
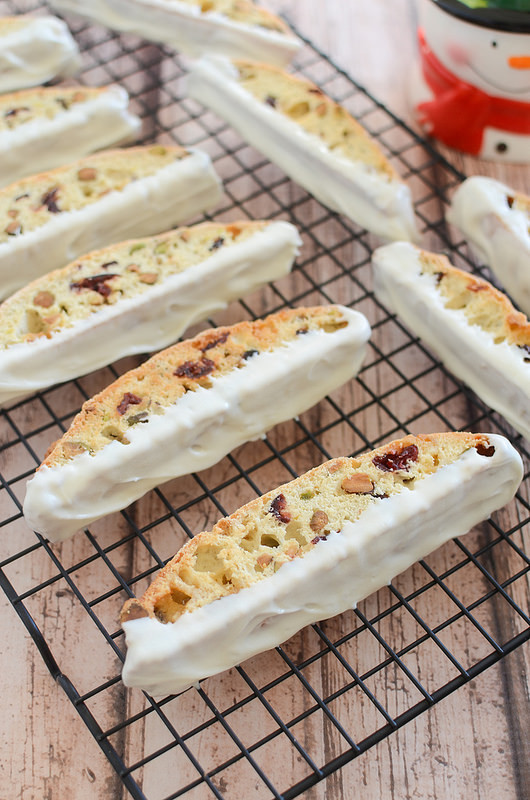
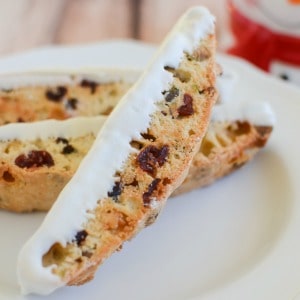
Cranberry, Pistachio, and White Chocolate Biscotti
Ingredients
- 2 cups flour
- 1 cup sugar
- ½ teaspoon baking powder
- ¼ teaspoon salt
- 3 eggs
- 1 teaspoon vanilla
- 1 cup sweetened dried cranberries
- 1 cup chopped pistachios
- 1 cup white chocolate chips
Instructions
- Preheat oven to 350F. Line a baking sheet with parchment paper.
- In a mixing bowl, stir together flour, sugar, baking powder, and salt. Beat in eggs, one at a time, and vanilla. Fold in dried cranberries and pistachios. The dough will be sticky.
- Scrape dough onto the prepared baking sheet and flatten into a long, wide log, about 10 inches by 5 inches.
- Bake until firm, about 40 minutes. Remove to a wire rack and cool for about 10 minutes. Use a serrated knife to slice into ¾" slice. Transfer back to the pan, cut side down, and bake for another 20 minutes or until golden brown.
- Cool completely before dipping in chocolate.
- Melt white chocolate chips over low heat in a small saucepan, stirring the entire time. Remove from heat and quickly dip the bottoms of each biscotti in white chocolate. Let firm up on a wire rack before serving.