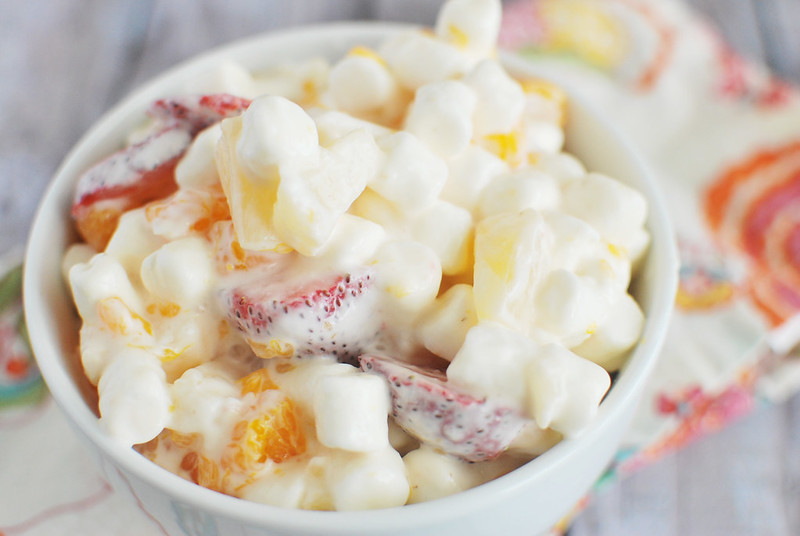
Sand Pudding is the cutest no bake dessert! Layers of pudding and cookie crumble sand and topped with gummy worms. Perfect for a summer party!
We also have Dirt and Worms Pudding Cups and Beach Bear Pudding Cups!
This Sand Pudding is one of my favorite cutesy desserts. You know, something that’s always a hit with the kids. It’s perfect for birthday parties or school parties or just an afterschool snack if you have a bunch of kiddos you need to impress.
It’s a delicious no bake dessert that everyone loves because who doesn’t love pudding, cookies, and gummy worms?!
It starts with a “sand” made from Nilla Wafer cookies and Oreos. And the pudding is a light and fluffy vanilla pudding made with cream cheese, pudding mix, and Cool Whip.
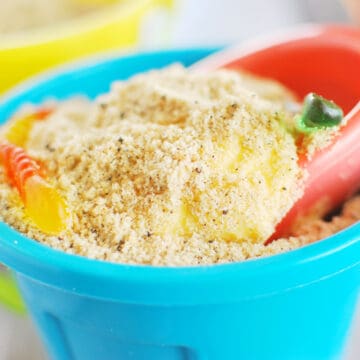
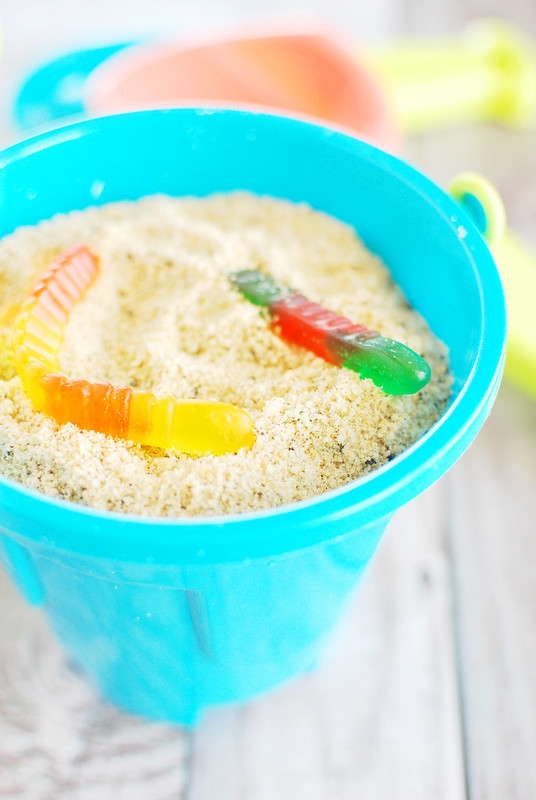
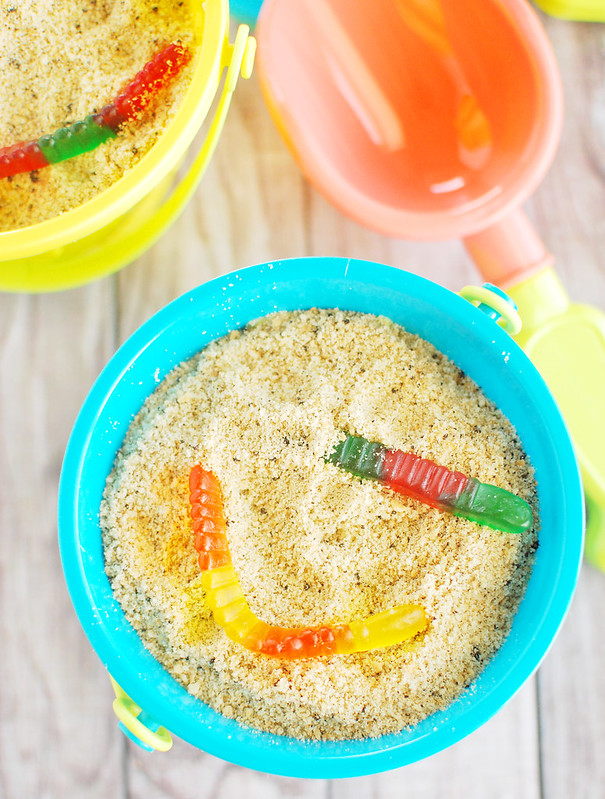
It all gets layered together with the “sand” on top. Then you can add cute little gummy worms.
Ingredients
- Nilla Wafers – this is going to create the sand part of the sand pudding.
- Oreos – you just need a few of these just to add some dark specks to your “sand.”
- Cream cheese – this is going into the pudding mixture and gives it almost a cheesecake taste.
- Butter – this will add a great buttery flavor to the pudding mixture.
- Powdered sugar – make sure it’s powdered and not granulated. The powdered really melts into liquids a lot better.
- Vanilla pudding mix – you could always use a different light colored pudding, like cheesecake or even lemon.
- Milk – use dairy or nondairy, whatever your preference is.
- Cool Whip – make sure to thaw in the fridge overnight before beginning your recipe.
How To Make Sand Pudding
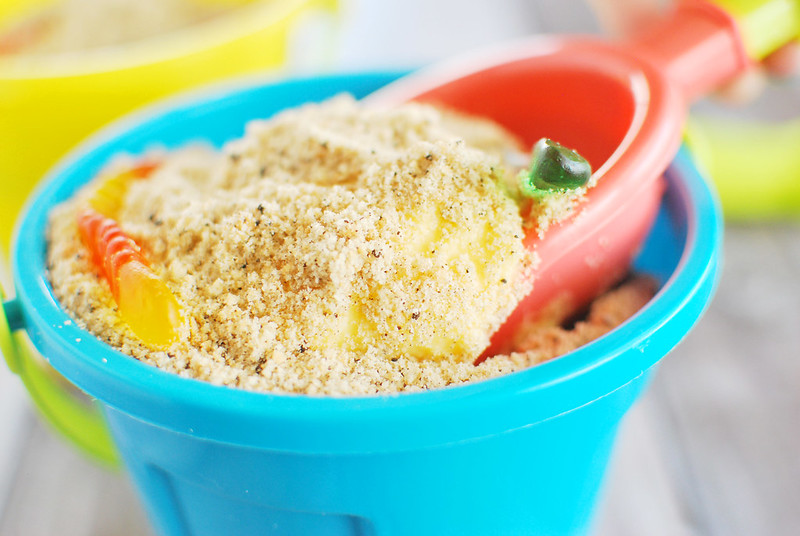
- Make sand mixture. Combine Nilla Wafers and Oreo in a food processor and pulse until the mixture resembles sand.
- Make cream cheese mixture. Beat together cream cheese, butter, and powdered sugar.
- Make pudding. Mix together vanilla pudding mix and milk.
- Combine. Add pudding to the cream cheese mixture.
- Add Cool Whip. Gently fold in Cool Whip.
- Assemble. Layer “sand” and pudding mixture into serving dishes.
- Top. Top with gummy creatures.
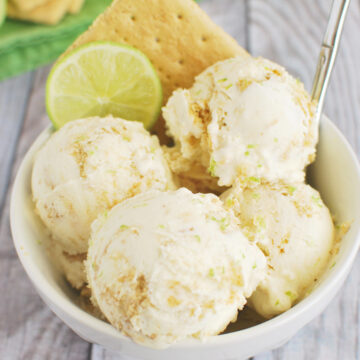
More No Bake Desserts
- No Bake Million Dollar Pie Bars
- Peanut Butter S’mores Dip
- No Bake Peanut Butter Pie
- Caramel Corn Treats
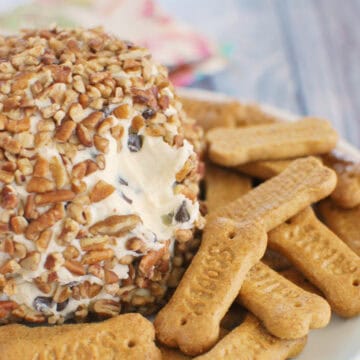
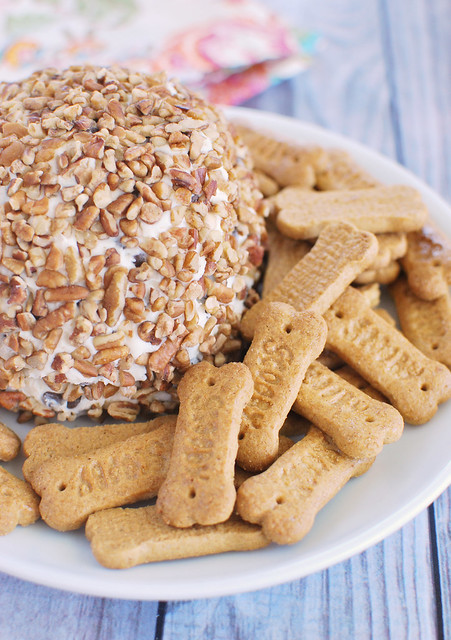
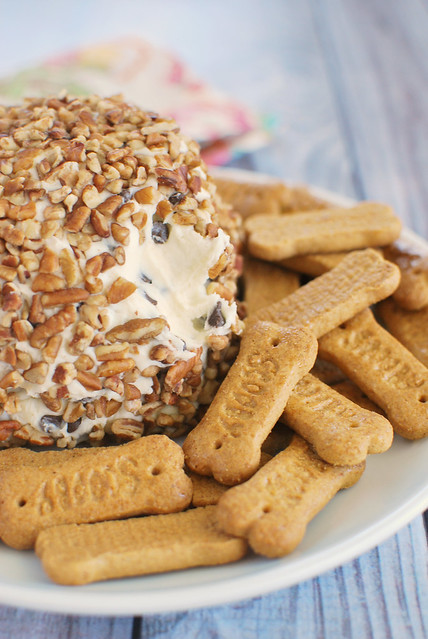
- Chocolate Chip Cheese Ball
- No Bake Snickers Pie
Make sure you subscribe to my email list to get all my new recipes delivered right to your inbox!
You can also follow me on Instagram, Facebook, or Pinterest for even more!
📖 Recipe
Sand Pudding

Sand Pudding is the cutest no bake dessert! Layers of pudding and cookie crumble sand and topped with gummy worms. Perfect for a summer party!
Ingredients
- 1 11 ounce box Nilla Wafers
- 2 Oreos
- 1 8 ounce block cream cheese
- ¼ cup butter
- ¾ cup powdered sugar
- 2 3.4 ounce boxes vanilla pudding mix
- 2 ¾ cups milk
- 12 ounces Cool Whip
Instructions
- Put Nilla Wafers and Oreos together in a food processor. Pulse until the mixture resembles sand. Set aside.
- Beat together cream cheese and butter until light and fluffy. Slowly add powdered sugar and beat until combined.
- In a separate bowl, whisk together vanilla pudding mix and milk. Slowly add this mixture to the cream cheese mixture and beat until combined. Gently fold in Cool Whip.
- Layer into serving dish of choice (it's really cute in buckets!) starting and ending with the "sand" mixture.
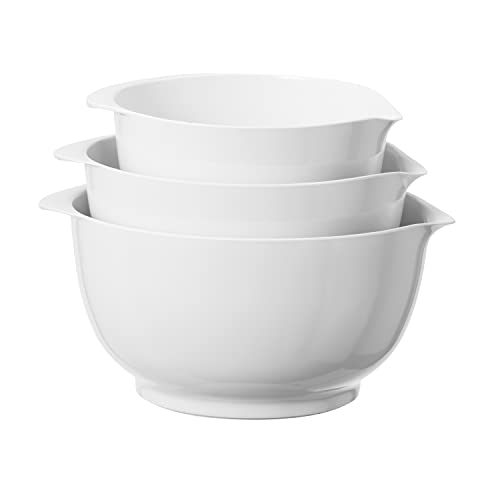
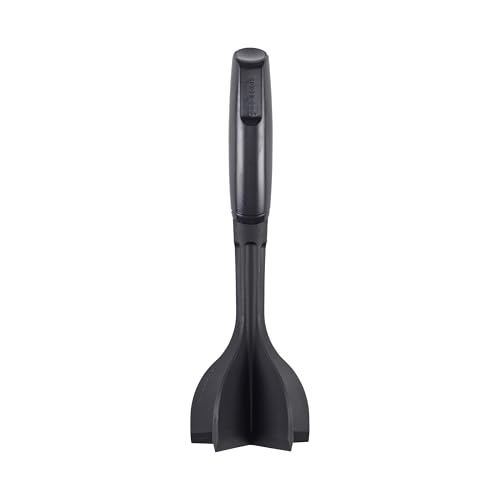
Recommended Products
As an Amazon Associate and member of other affiliate programs, I earn from qualifying purchases.


Nutrition Information:
Yield:
12Serving Size:
1Amount Per Serving: Calories: 423Total Fat: 24gSaturated Fat: 15gTrans Fat: 0gUnsaturated Fat: 7gCholesterol: 34mgSodium: 422mgCarbohydrates: 49gFiber: 0gSugar: 35gProtein: 5g