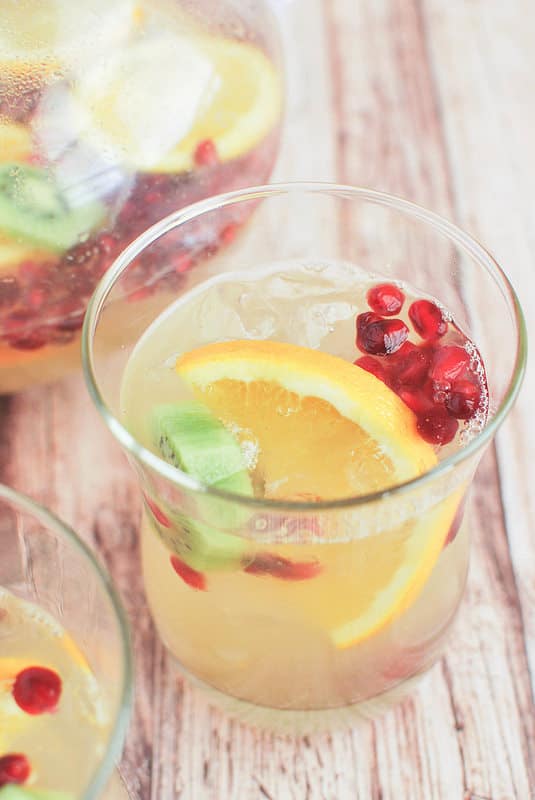
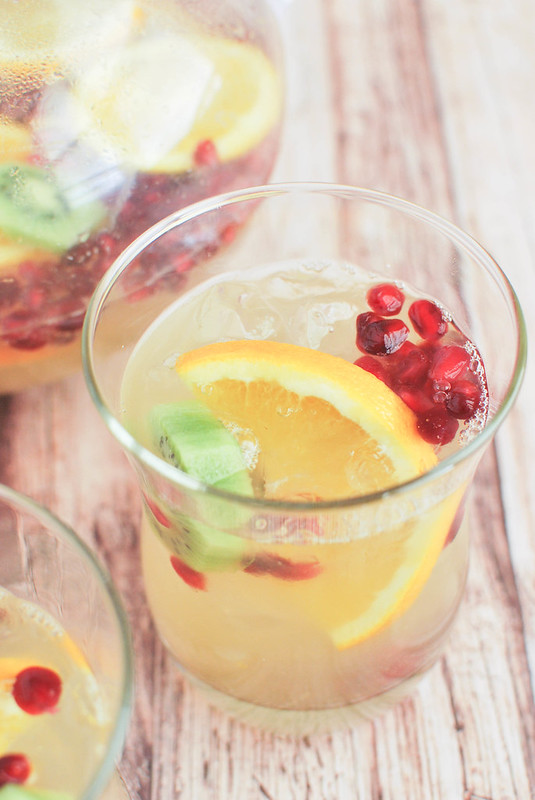
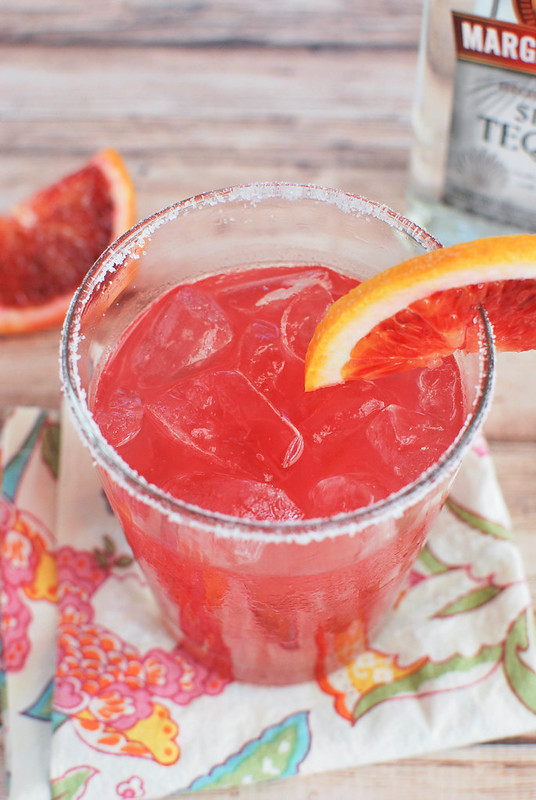
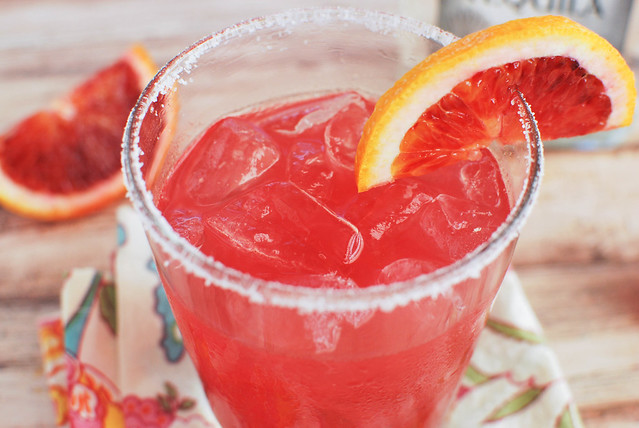
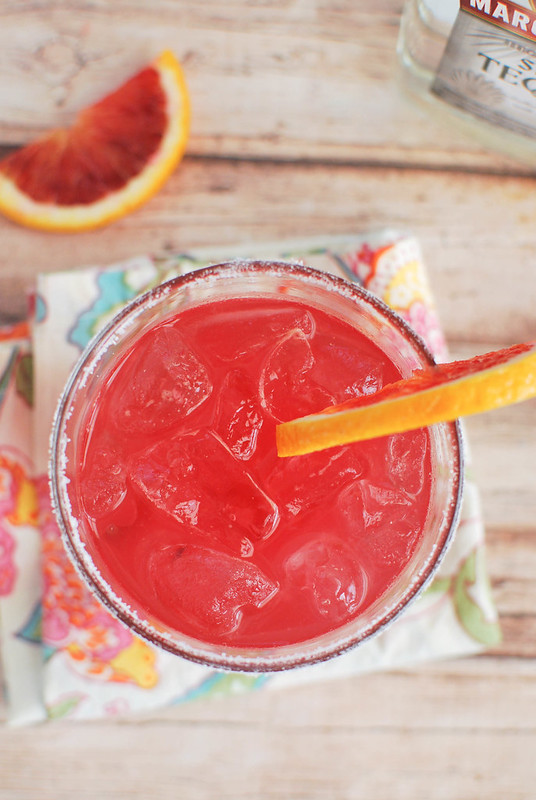
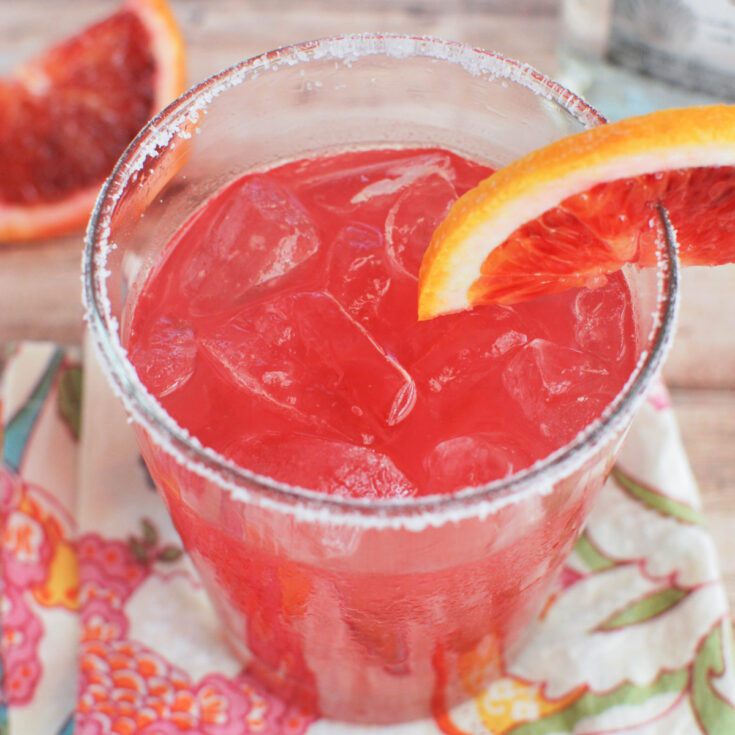
Blood Orange Margaritas are the perfect winter margarita! Fresh blood orange juice, lime juice, tequila, and orange liqueur.
I love how pretty blood orange cocktails are. Try Blood Orange 75, Blood Orange Bellinis, and Skinny Blood Orange Margaritas!
First margarita of the year is in the books!
Guys, I am officially ready for summer. For margaritas and pool days and ice cream cones.
I always forget about blood oranges until someone mentions them and then finding blood oranges becomes my official life goal.
I finally found some at Trader Joe’s last weekend and then they just sat, untouched, in the fridge.
Okay, I guess I’ll make margaritas. You twisted my arm!
Ingredients
- Tequila – use your favorite brand of tequila but I do recommend using a clear one.
- Orange liqueur – such as Triple Sec.
- Fresh lime juice – you can use the bottled juice but fresh is the tastiest.
- Fresh blood orange juice – you will need 3 – 4 blood oranges for this recipe.
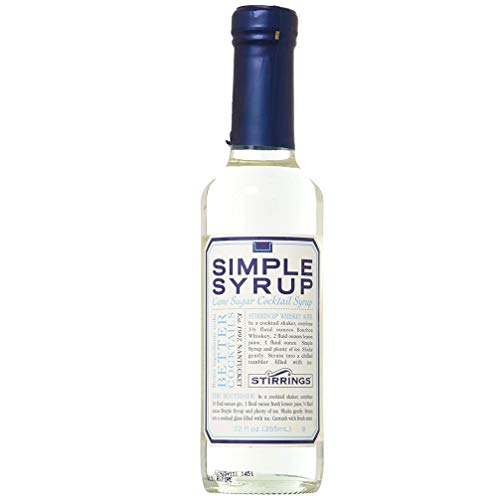
- Simple syrup – this is a sugar syrup used to sweeten the margarita. You can adjust the amount based on how sweet you like your drinks.
- Blood orange slices – for garnish.
How To Make Blood Orange Margaritas
- Combine. Mix tequila, orange liqueur, lime juice, and orange juice together. Add simple syrup to desired sweetness.
- Serve. Pour over ice and garnish with blood orange slices.
Can You Make Them Ahead?
If you are planning a party and need to make these ahead, you can mix up the juices, tequila, orange liqueur, and simple syrup up to a couple hours ahead but don’t put them over ice.
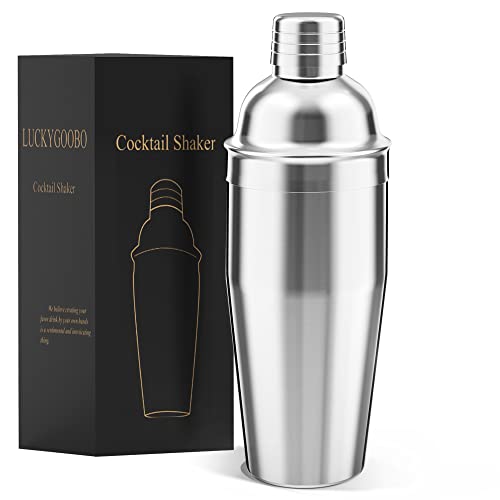
When you are ready to serve them, give the mixture a good shake in a shaker and pour it over ice.
More Margarita Recipes
- Frozen Prickly Pear Margaritas
- Cantaloupe Coconut Margaritas
- Watermelon Mint Margaritas
- Cranberry Margaritas
- Honeydew Margaritas
Make sure you subscribe to my email list to get all my new recipes delivered right to your inbox!
You can also follow me on Instagram, Facebook, or Pinterest for even more!
📖 Recipe
Blood Orange Margaritas
Blood Orange Margaritas are the perfect winter margarita! Fresh blood orange juice, lime juice, tequila, and orange liqueur.
Ingredients
- 3 ounces tequila
- 2 ounces orange liqueur
- 2 ounces fresh lime juice
- 4 ounces fresh blood orange juice (3-4 oranges)
- 1 ounce simple syrup
- Blood orange slices, for garnish
Instructions
- Mix tequila, orange liqueur, lime juice, and orange juice together. Add simple syrup to desired sweetness. Pour over ice and garnish with blood orange slices.
Recommended Products
As an Amazon Associate and member of other affiliate programs, I earn from qualifying purchases.
Nutrition Information:
Yield:
4Serving Size:
1Amount Per Serving: Calories: 116Total Fat: 0gUnsaturated Fat: 0gSodium: 1mgCarbohydrates: 11gFiber: 0gSugar: 9gProtein: 0g