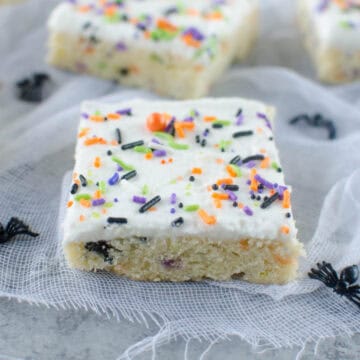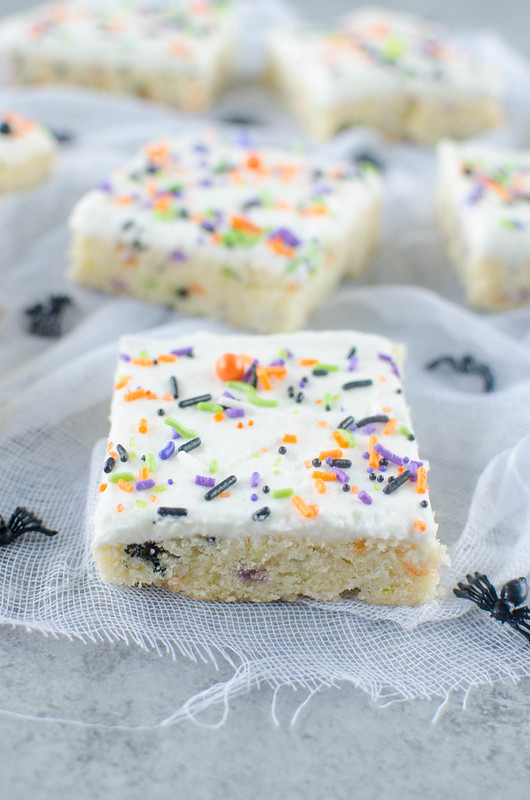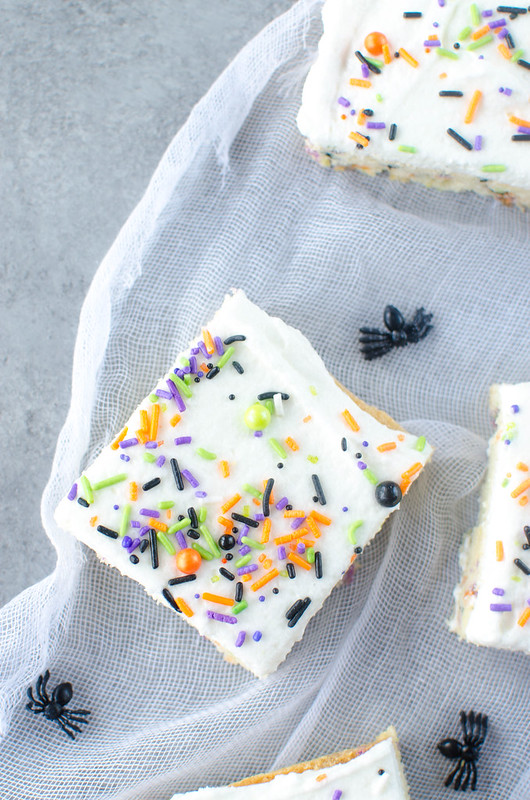
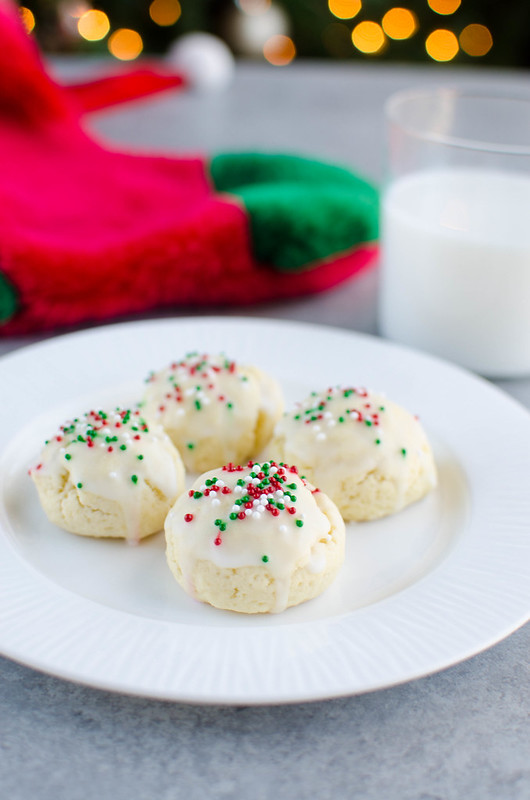
Italian Sugar Cookies are soft lemon sugar cookies with a lemony glaze and sprinkles on top! These are a Christmas favorite and are so cute in cookie tins.
These are a must make for me during the holidays! Others that I make every year are Crockpot Candy, Cranberry Orange Cookies, and Almond Bark Drop Cookies!

I am so excited to post some Christmas cookie recipes finally!
I make these every year because everyone loves them. They are just the quintessential Christmas cookie to me. All my cookie tins includes Italian Sugar Cookies. Santa gets Italian Sugar Cookies. They just look like Christmas to me!
They are pillowy soft lemon sugar cookies with a sweet glaze and topped with sprinkles! And they’re so easy and quick to whip up. You’re going to love them!

Ingredients
- Unsalted butter – make sure to bring it to room temperature before beggining.
- Granulated sugar
- Eggs
- lemon extract
- Flour
- Baking powder
- Salt
- Powdered sugar
- Heavy cream or milk
- holiday sprinkles – if you aren’t making these around the holidays, muse whatever sprinkles you want!
Instructions
- Prepare. Preheat oven to 400F. Line a baking sheet with parchment paper; set aside.
- Mix wet ingredients. Beat together butter and sugar until light and fluffy. Add in eggs, one at a time, beating after each one. Add lemon extract; beat until well combined.
- Mix wet ingredients. Sift together flour, baking powder, and salt.
- Combine wet and dry ingredients. Add this to the butter mixture and beat until just combined.
- Shape into balls. Taking a tablespoon at a time, roll into balls and place on prepared baking sheet.
- Bake. Bake for 7 minutes or until the bottoms are a nice golden color.
- Cool. Cool for a few minutes before transferring to a wire rack to cool completely before glazing. Repeat with remaining dough.
- Make glaze. Whisk powdered sugar, heavy cream (or milk), and lemon extract until no lumps remain.
- Glaze cookies. Dip each cookie in the glaze and top with sprinkles. Place on a wire rack over a paper towel to catch any drips. Allow glaze to harden before packing in an air tight container.
How Do You Store Italian Sugar Cookies?
Store them in an airtight container at room temperature for up to a week. I like to layer them with parchment paper so the glaze doesn’t stick to the other cookies.
Can You Freeze Them?
You can freeze these cookies for up to 3 months. I recommend freezing without the glaze. Wrap them tightly in plastic wrap and then place them in a freezer ziploc bag.
The night before you plan to serve them, let them defrost on the counter. Once defrosted, you can glaze them and top with sprinkles.
If you prefer to bake your cookies fresh, you can also freeze the dough for up to 3 months. Shape the dough into a large disc and wrap very tightly in plastic wrap. Place it in the freezer ziploc bag.
Let it defrost overnight in the fridge before proceeding with the recipe.
More Christmas Cookie Recipes
- Christmas Confetti Cookies
- Frosted Eggnog Cookies
- Sprinkled Shortbread
- Chewy Chocolate Gingerbread Cookies
- Pecan Snowdrops
Make sure you subscribe to my email list to get all my new recipes delivered right to your inbox!
You can also follow me on Instagram, Facebook, or Pinterest for even more!
📖 Recipe
Italian Sugar Cookies

Italian Sugar Cookies are soft lemon sugar cookies with a lemony glaze and sprinkles on top! These are a Christmas favorite and are so cute in cookie tins.
Ingredients
- 1 cup unsalted butter, at room temperature
- 1 cup sugar
- 6 eggs
- 2 teaspoons lemon extract
- 4 cups flour
- 2 teaspoons baking powder
- dash of salt
For the glaze:
- 1 cup powdered sugar
- 1 - 2 tablespoons heavy cream or milk
- ¼ teaspoon lemon extract
- sprinkles
Instructions
- Preheat oven to 400F. Line a baking sheet with parchment paper; set aside.
- In the bowl of a stand mixer, beat together butter and sugar until light and fluffy. Add in eggs, one at a time, beating after each one. Add lemon extract; beat until well combined.
- In a separate bowl, sift together flour, baking powder, and salt. Add this to the butter mixture and beat until just combined.
- Taking a tablespoon at a time, roll into balls and place on prepapred baking sheet.
- Bake for 7 minutes or until the bottoms are a nice golden color.
- Cool for a few minutes before transferring to a wire rack to cool completely before glazing. Repeat with remaining dough.
To make the glaze:
- Whisk powdered sugar, heavy cream (or milk), and lemon extract until no lumps remain.
- Dip each cookie in the glaze and top with sprinkles. Place on a wire rack over a paper towel to catch any drips. Allow glaze to harden before packing in an air tight container.
Recommended Products
As an Amazon Associate and member of other affiliate programs, I earn from qualifying purchases.


Nutrition Information:
Yield:
36Serving Size:
1Amount Per Serving: Calories: 149Total Fat: 7gSaturated Fat: 4gTrans Fat: 0gUnsaturated Fat: 2gCholesterol: 46mgSodium: 48mgCarbohydrates: 20gFiber: 0gSugar: 9gProtein: 3g