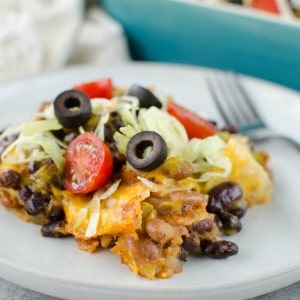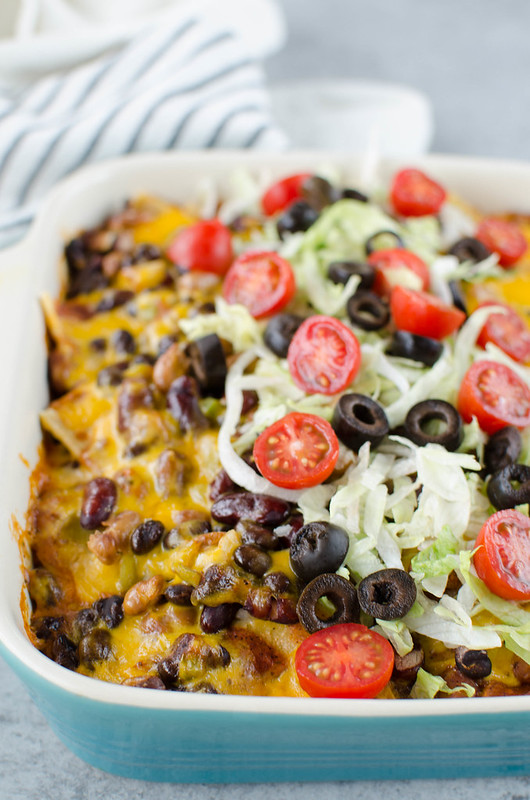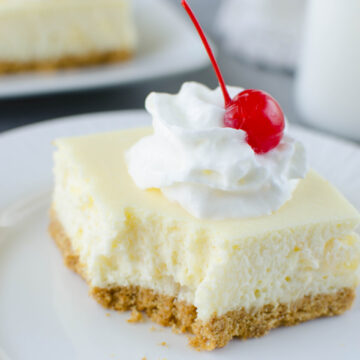
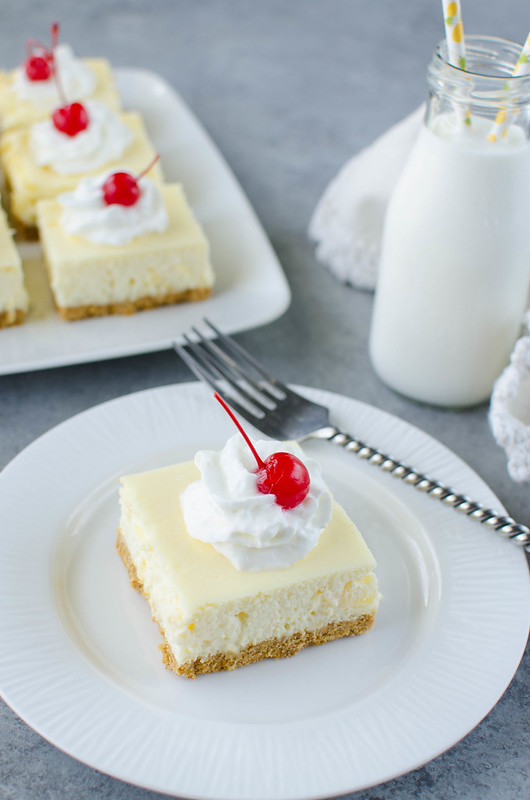
Pineapple Cheesecake Bars has creamy cheesecake filled with pineapple on a graham cracker crust. The perfect summer dessert!

I never really had an opinion on pineapple until Nicole and I got matching pineapple tattoos while we were in Salt Lake City almost 3 years ago.
We’ve both been kind of obsessed with all things pineapple since then. We send each other pictures of anything pineapple we see in stores, anything pineapple we see on menus, anything and everything pineapple.
I got the idea of pineapple cheesecake bars stuck in my head weeks ago and bought all the ingredients and have been seriously procrastating.
I finally got them made this week and omg you guys, I’m so thrilled with the results and I can’t wait for you to make them.

Ingredients
- Graham cracker crumbs – you can find boxes of graham cracker crumbs in the baking aisle of your grocery store or you can put graham crackers in a food processor and make your own crumbs.
- Granulated sugar – you need this for the crust and the bars.
- Butter
- Cream cheese – make sure it’s softened before beginning so that you get a really creamy cheesecake.
- Eggs
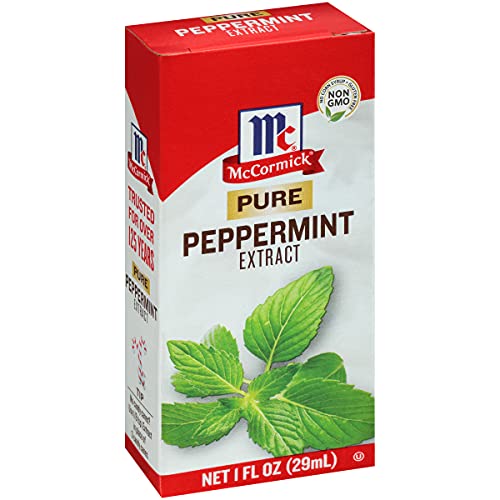
- Pineapple tidbits – you need both the pineapple and the juice in the can.
- Whipped cream & cherries – these are optional but make the bars extra fun!
How To Make Pineapple Cheesecake Bars
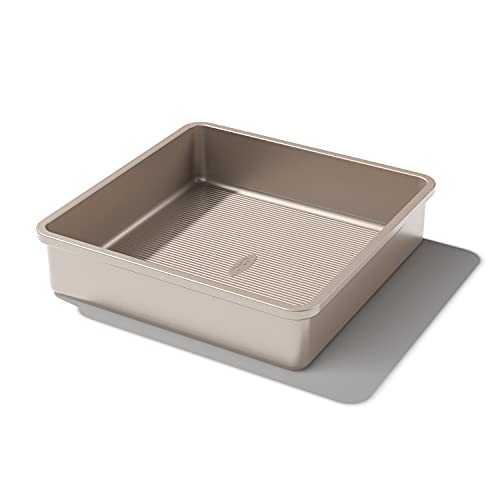
- Prep. Line a 9×9-inch squash baking dish with aluminum foil, with ends of foil extending over the side.
- Make crust. Combine graham cracker crumbs, sugar, and butter until all the crumbs are moistened. Press into the bottom of the prepared pan.
- Make cheesecake. Using an electric mixer, beat cream cheese and sugar until very smooth. Add eggs, 1 at a time, beating well after each. Beat in the pineapple juice. Use a rubber spatula to stir in the pineapple tidbits.
- Transfer. Pour cheesecake over the crust, using a spatula to smooth out the top.
- Bake. Bake at 350F for 25 – 30 minutes, until the cheesecake is set.
- Cool. Let cool on wire rack until room temp.
- Chill. Refrigerate several hours before trying to cut.
- Top. Serve with whipped cream and cherries, if desired.

Tips for Making Pineapple Cheesecake Bars
- If you forgot to pull your cream cheese out ahead of time, you can soften it in the microwave at the low level for a few seconds. I usually do 30 seconds and that’s enough.
- Line the pan with aluminum foil (or parchment paper) and leave enough hanging over the edges of the baking dish so that you can pull the cheesecake bars out of the pan using it. It is never fun trying to cut cheesecake bars in a pan!
- You can make your own graham cracker crumbs by pulsing about 10 graham crackers in a food processor until they are crumbs.
- Always refrigerate the cheesecake bars for at least a few hours (overnight if possible!) to let them set completely before cutting. This gives you really clean cuts and pretty bars!
How Long Are They Good For?
Pineapple cheesecake bars will be good for up to 5 days. Make sure to store them in an airtight container in the fridge. If they already have whipped cream on top, it will deflate and turn into liquid cream so keep that in mind.
You can serve them right from the fridge.
More Cheesecake Bars Recipes
More Pineapple Dessert Recipes
- Pineapple Fluff Salad
- Pineapple Upside Down Cupcakes
- Homemade Dole Whip (Disney Copycat)
- Pineapple Upside Down Muffins
Make sure you subscribe to my email list to get all my new recipes delivered right to your inbox!
You can also follow me on Instagram, Facebook, or Pinterest for even more!
📖 Recipe
Pineapple Cheesecake Bars

Pineapple Cheesecake Bars has creamy cheesecake filled with pineapple on a graham cracker crust. The perfect summer dessert!
Ingredients
For the graham cracker crust
- 1 ½ cups graham cracker crumbs
- 2 tablespoon granulated sugar
- 4 tablespoon butter, melted
For the cheesecake
- 2 (8 ounce) blocks cream cheese, softened
- ½ cup granulated sugar
- 2 eggs
- ⅓ cup pineapple juice, (saved from pineapple tidbits)
- ½ cup pineapple tidbits, roughly chopped
- whipped cream and cherries, for serving
Instructions
- Preheat ovn to 350F. Line a 9x9-inch squash baking dish with aluminum foil, with ends of foil extending over the side.
- In a mixing bowl, combine graham cracker crumbs, sugar, and butter until all the crumbs are moistened. Press into the bottom of the prepared pan.
- In a stand mixer fitted with a paddle attachment, beat cream cheese and sugar until very smooth. Add eggs, 1 at a time, beating well after each. Beat in the pineapple juice. Use a rubber spatula to stir in the pineapple tidbits.
- Pour cheesecake over the crust, using a spatula to smooth out the top.
- Bake 25 - 30 minutes, until the cheesecake is set. It will jiggle just a little bit. Let cool on wire rack until room temp. Refrigerate several hours before trying to cut.
- Serve with whipped cream and cherries, if desired.
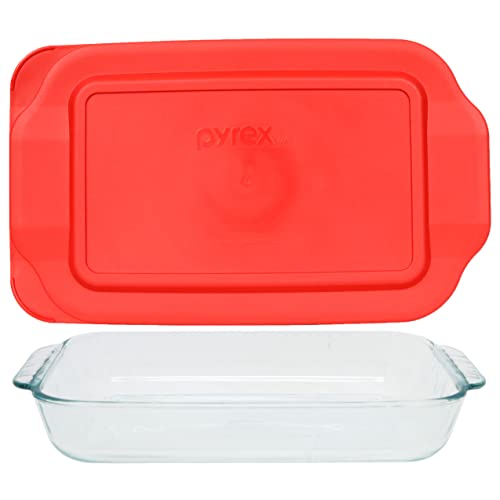
Recommended Products
As an Amazon Associate and member of other affiliate programs, I earn from qualifying purchases.

Nutrition Information:
Yield:
12Serving Size:
1Amount Per Serving: Calories: 149Total Fat: 7gSaturated Fat: 3gTrans Fat: 0gUnsaturated Fat: 3gCholesterol: 44mgSodium: 98mgCarbohydrates: 21gFiber: 0gSugar: 15gProtein: 2g