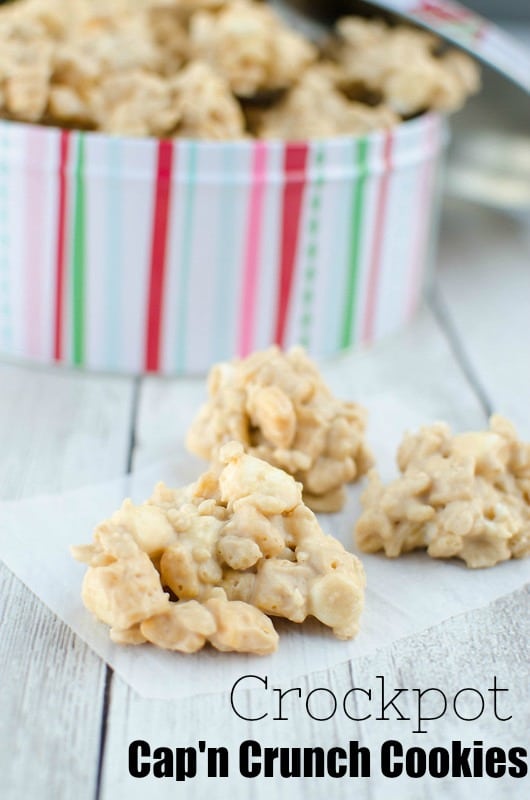
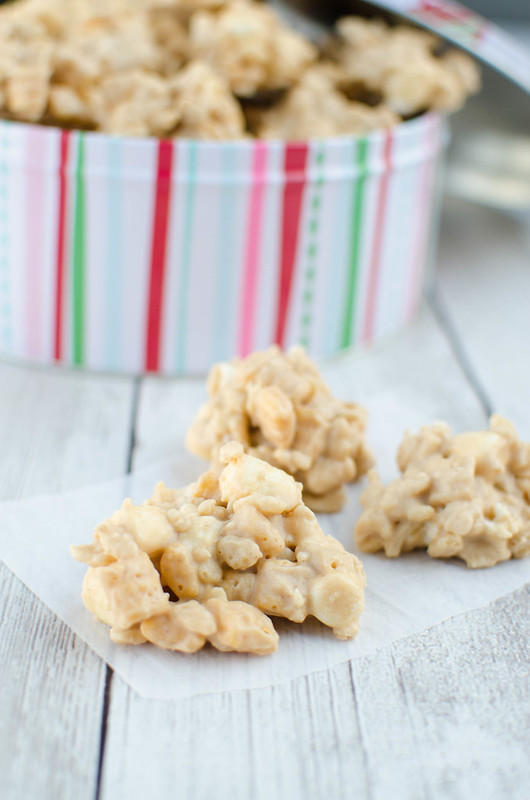
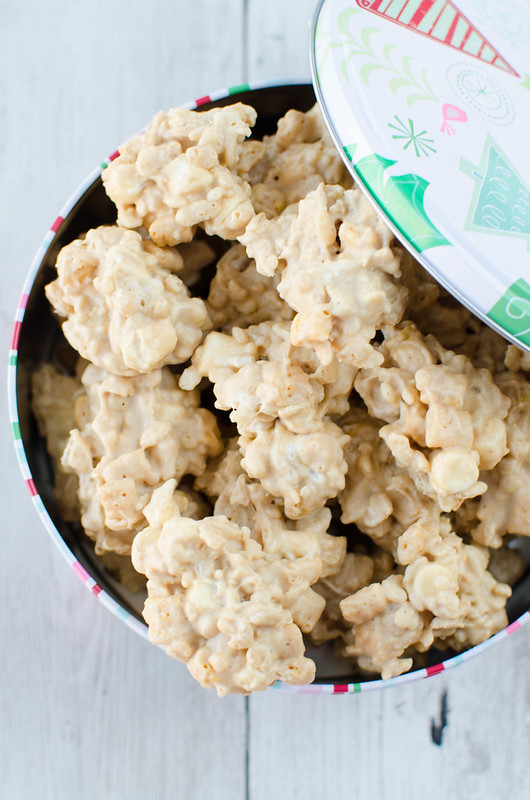
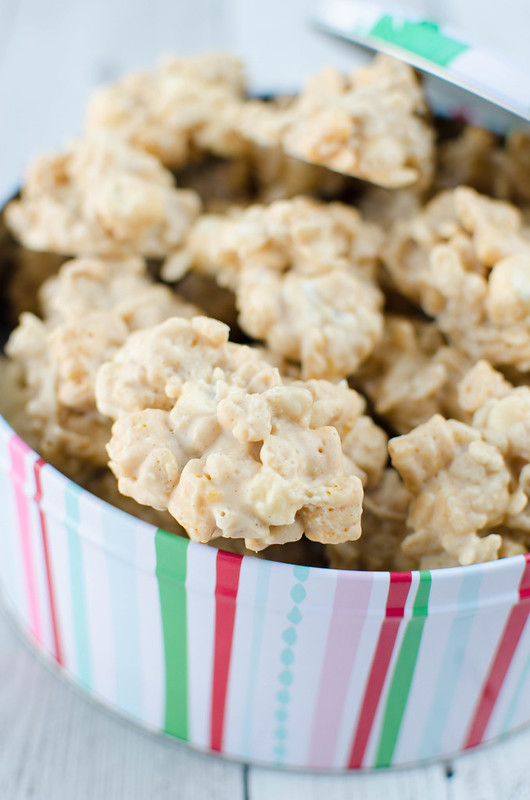
Crockpot Crunchy Drop Cookies – Cap’n Crunch, Rice Krispies, and marshmallows coated in a peanut butter white chocolate! No bake and so simple! These are perfect for kids who want to help with Christmas cookies.
If you love crockpot dessert recipes, try Crockpot Candy, Slow Cooker Caramel Apple Crumble, or White Chocolate Crockpot Candy!
Okay first, I want you to know that I didn’t know what to call these so I asked my dear sweet precious boyfriend who suggested…
Deer droppings.
Why?!
Of all the things he could have said.
We’re not going to call them that. Please don’t call them that.
I love cookies like this. No fuss, no turning on the oven, and extra extra sweet.
These are actually really similar to my Almond Bark Drop Cookies that I have made every December for years and years.
Those have always been my go to whenever my kids have a holiday event that involves a cookie exchange because they can make them by themselves. And then they’re all proud and it’s adorable when they make sure to tell all 23 kids in their class that they made the cookies ALL BY THEMSELVES.
And also means I don’t have to make cookies.
Ingredients
- White almond bark
- Crunchy peanut butter
- Cap’n Crunch cereal
- Rice Krispies cereal
- Mini marshmallows
Instructions
- Combine wet ingredients. Put almond bark in a small crockpot and cook on low for 1 hour. Add peanut butter and stir until melted and combined.
- Combine dry ingredients. In a large mixing bowl, combine cereals and marshmallows. Pour the almond bark mixture over top and stir until everything is well coated. Work quickly so the marshmallows don’t melt completely.
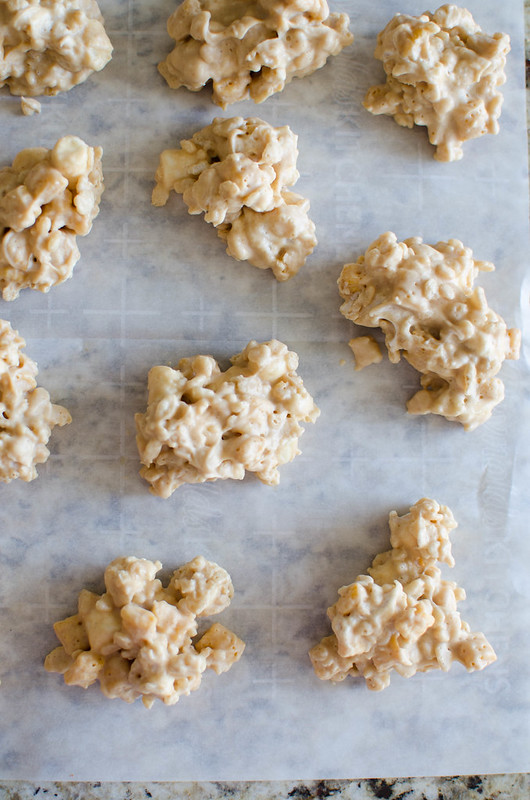
- Shape into cookies. Drop heaping tablespoonfuls onto wax paper. Let set completely.
More Recipes with Cereal
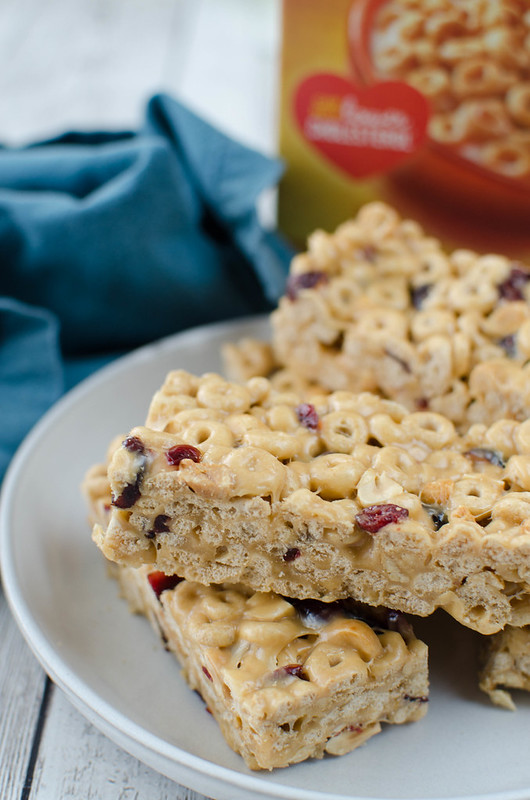
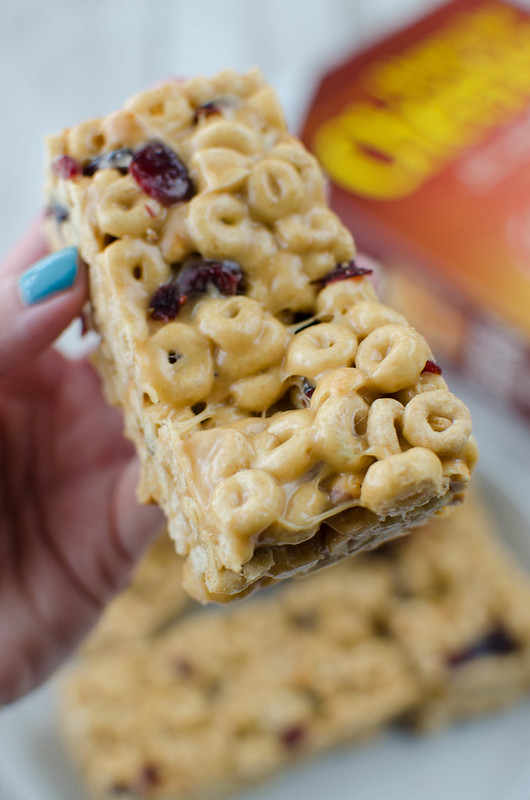
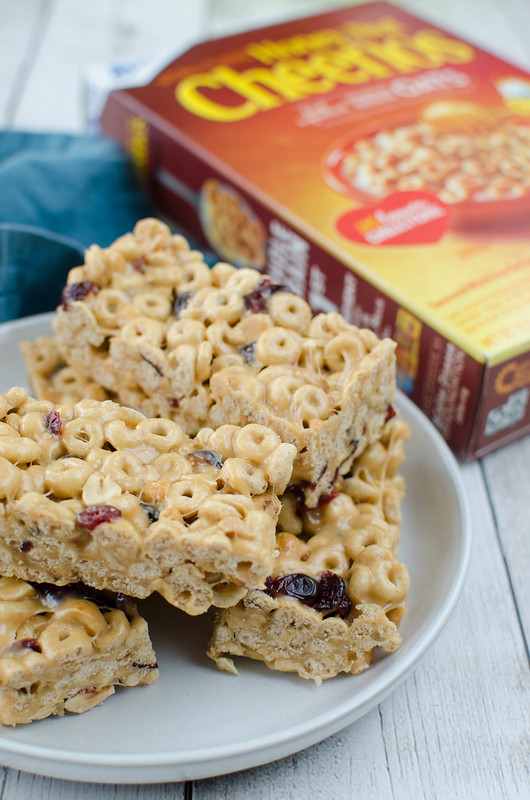
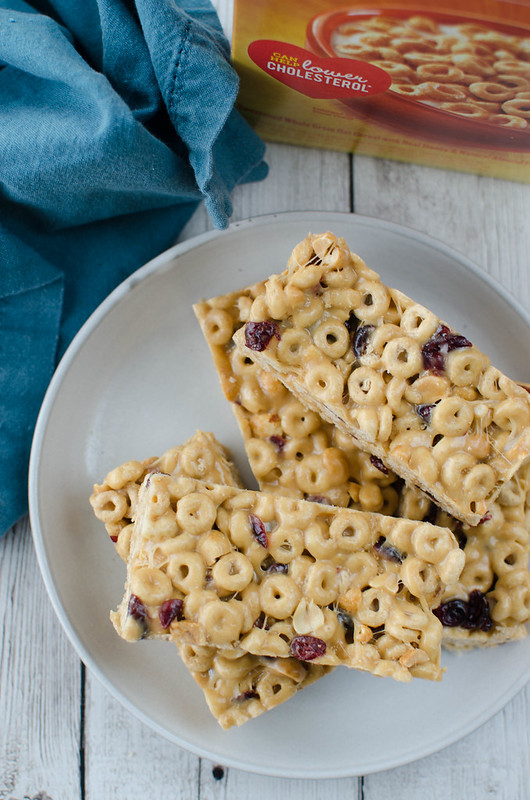
- No Bake Cheerios Bars
- Holly Crackles
- Maple Bacon Rice Krispies Treats
- Avalanche Bars
- Funfetti Muddy Buddies
Make sure you subscribe to my email list to get all my new recipes delivered right to your inbox!
You can also follow me on Instagram, Facebook, or Pinterest for even more!
📖 Recipe
Crockpot Cereal Clusters

Ingredients
- 2 pounds white almond bark, roughly chopped
- 1 ½ cups crunchy peanut butter
- 4 cups Cap'n Crunch cereal
- 4 cups Rice Krispies cereal
- 4 cups mini marshmallows
Instructions
- Put almond bark in a small crockpot and cook on low for 1 hour. Add peanut butter and stir until melted and combined.
- In a large mixing bowl, combine cereals and marshmallows. Pour the almond bark mixture over top and stir until everything is well coated. Work quickly so the marshmallows don't melt competely.
- Drop heaping tablespoonfuls onto wax paper. Let set completely.
Recommended Products
As an Amazon Associate and member of other affiliate programs, I earn from qualifying purchases.


Nutrition Information:
Yield:
40Serving Size:
1Amount Per Serving: Calories: 236Total Fat: 17gSaturated Fat: 2gTrans Fat: 0gUnsaturated Fat: 14gCholesterol: 0mgSodium: 209mgCarbohydrates: 17gFiber: 3gSugar: 7gProtein: 8g