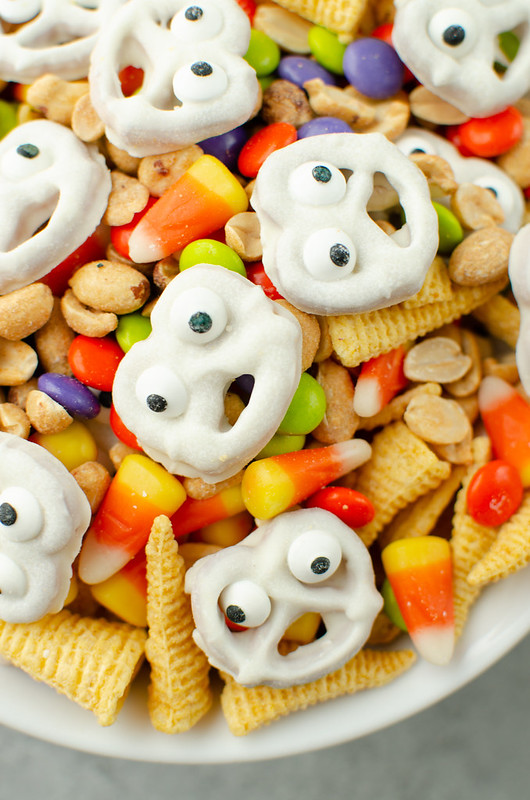
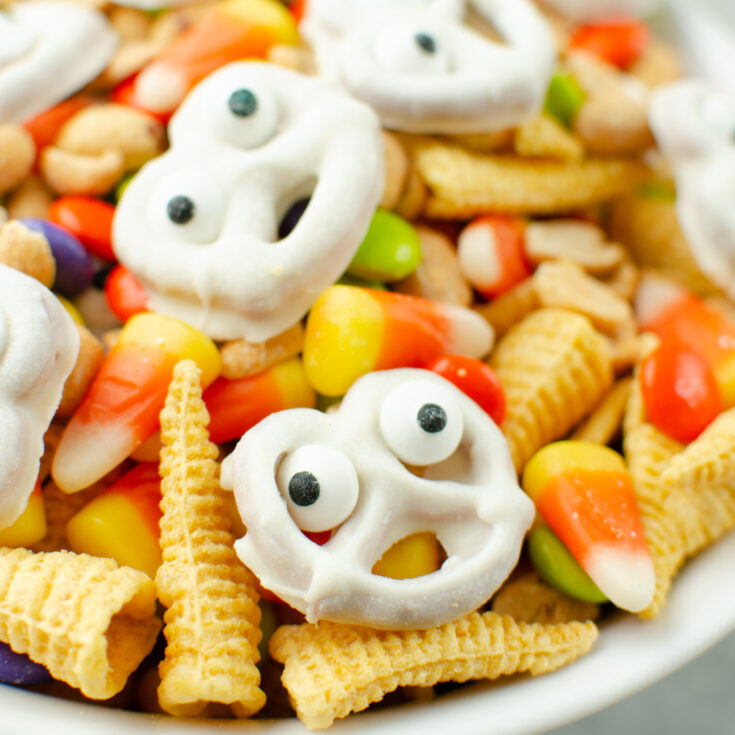
Ghostly Snack Mix is the cutest Halloween snack mix with chocolate covered ghost pretzels, Bugles, peanuts, M&Ms, and candy corn!
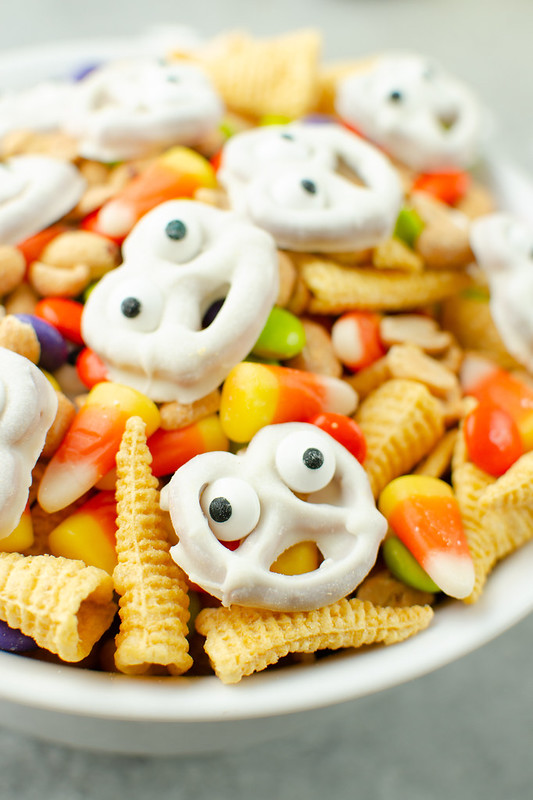
Today I’m sharing this Ghostly Snack Mix made with super cute ghost pretzels, a couple salty things, and some Halloween candy. It’s so cute and so tasty!
It would be so cute for a class party or any Halloween party you are attending. It’s also really easy to put together.

Ingredients
- White chocolate – I like to use white melting chocolate (sometimes called almond bark) for these because it melts really easily and smoothly.
- White chocolate covered pretzels – you could dip your own but buying them already dipped makes things so much easier.
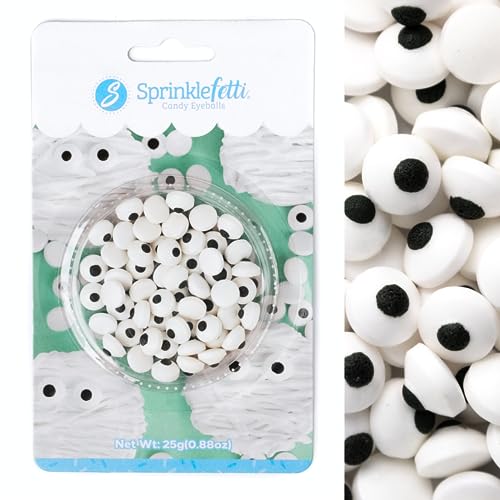
- Candy eyeballs – you can usually find these in the Halloween section of most grocery stores around Halloween. Craft stores will also probably have them.
- Bugles – you can also use Fritos or other salty corn based chip
- Dry roasted salted peanuts – you could use another nut if you prefer.
- Halloween colored M&Ms
- Candy corn
How To Make Pretzel Ghosts
This is my biggest tip for these: start with white chocolate covered pretzels! Don’t dip your own pretzels.
- Melt. Melt white chocolate until smooth.
- Dip. Dip tops of pretzels in the melted white chocolate.
- Add eyes. Quickly top with candy eyes.
- Cool. Let cool completely on parchment or wax paper.
How To Make Ghostly Snack Mix
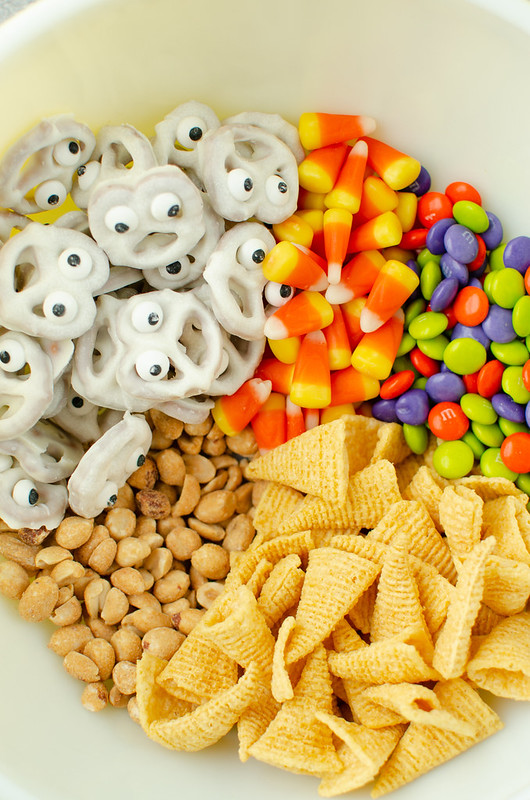
- Combine. Combine cooled ghost pretzels, Bugles, peanuts, M&Ms, and candy corn in a large mixing bowl.
- Toss. Toss gently to combine.
How Long Is It Good For?
Homemade snack mix is good for several weeks (I usually say 2 weeks just to be safe) if stored in an airtight container. It should be fine at room temperature but if you notice the chocolate melted, you may need to move it to the fridge.
More Halloween Recipes
- Candy Corn Fudge
- Jack O Lantern Layer Dip
- Halloween Sugar Cookie Bars
- Pumpkin Cheese Ball
- Bloody Tooth Cocktail
Make sure you subscribe to my email list to get all my new recipes delivered right to your inbox!
You can also follow me on Instagram, Facebook, or Pinterest for even more!
📖 Recipe
Ghostly Snack Mix
Ghostly Snack Mix is the cutest Halloween snack mix with chocolate covered ghost pretzels, Bugles, peanuts, M&Ms, and candy corn!
Ingredients
- ½ cup white chocolate or white candy coating
- 3 cups white chocolate covered pretzels
- ½ cup candy eyeballs
- 2 cups Bugles
- 1 cup dry roasted salted peanuts
- 1 cup Halloween M&Ms
- 1 cup candy corn
Instructions
- Heat white chocolate in a microwave safe bowl in the microwave in 30 second increments, stirring after each 30 seconds, until chocolate is melted and smooth.
- Dip top of white chocolate covered pretzels in the melted chocolate and set on parchment or wax paper. Top with 2 candy eyeballs. Repeat with remaining pretzels. Let cool completely before making mix.
- To make the mix, combine all remaining ingredients and the pretzels ghosts in a large bowl. Toss gently to combine.
Recommended Products
As an Amazon Associate and member of other affiliate programs, I earn from qualifying purchases.


Nutrition Information:
Yield:
36Serving Size:
1Amount Per Serving: Calories: 264Total Fat: 12gSaturated Fat: 6gTrans Fat: 0gUnsaturated Fat: 5gCholesterol: 4mgSodium: 149mgCarbohydrates: 37gFiber: 1gSugar: 27gProtein: 4g