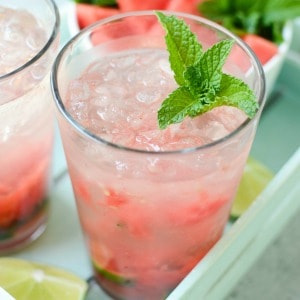
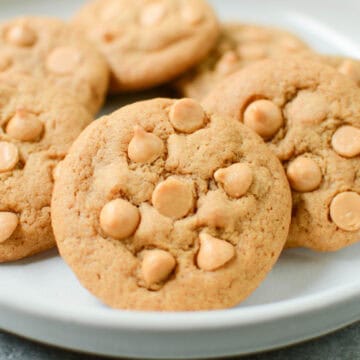
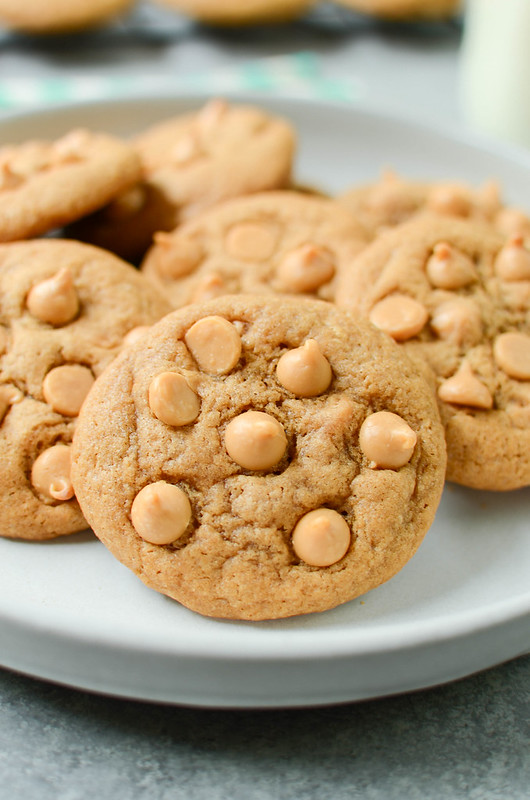
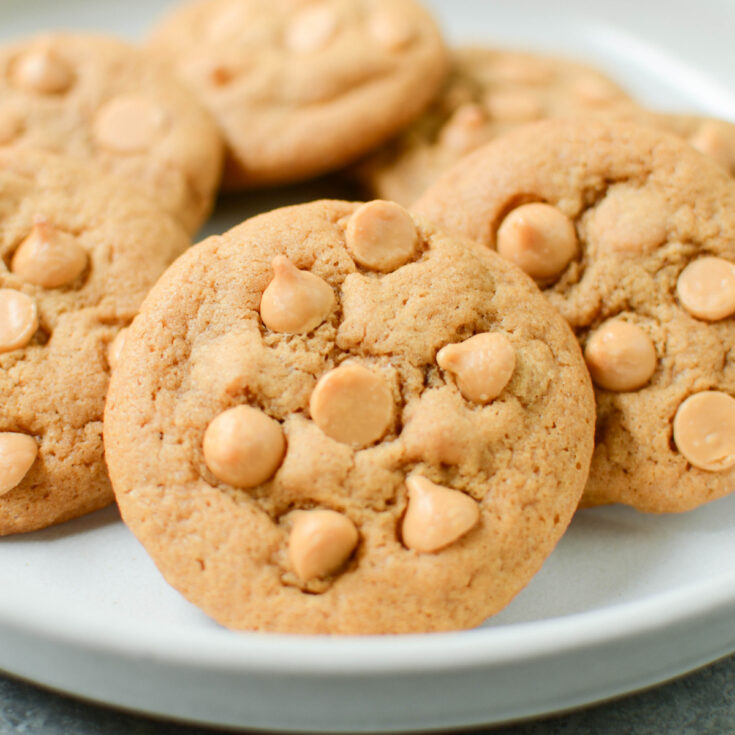
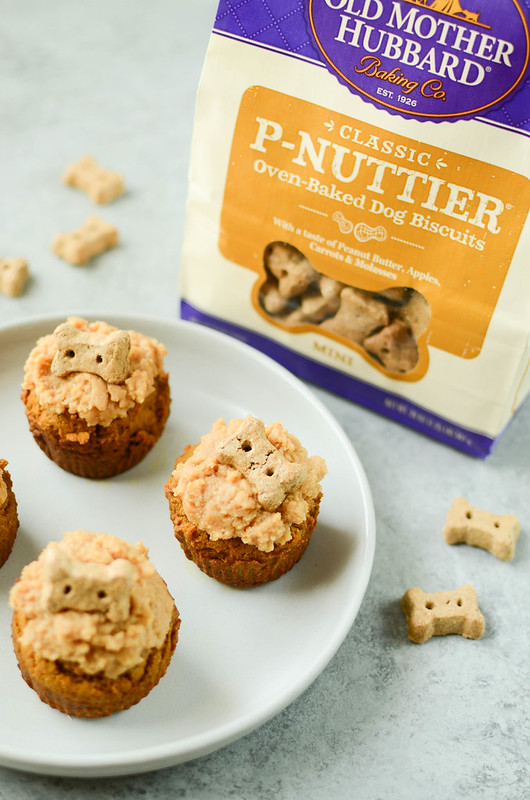
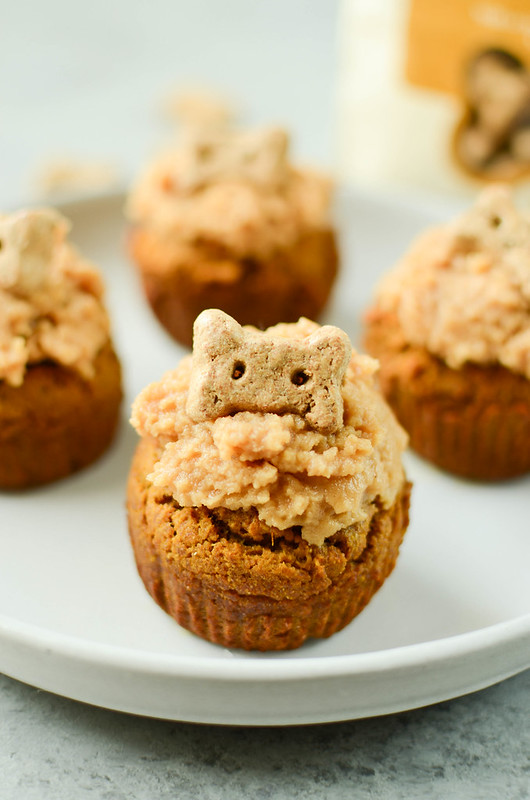
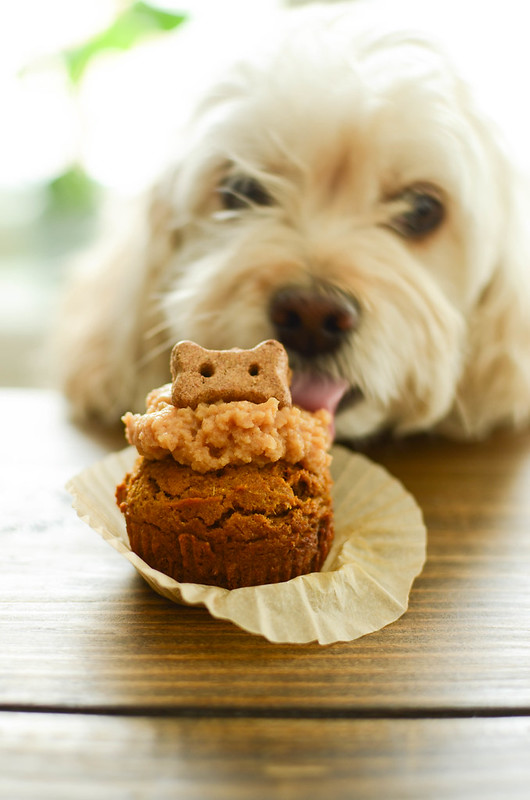
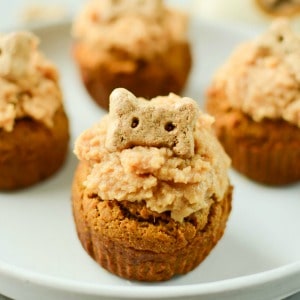
Peanut Butter Pumpkin Pupcakes – homemade dog cupcakes made with peanut butter and pumpkin. How cute are these for a dog birthday party?!
If your dog can’t have pumpkin or just doesn’t like it, I also have a Peanut Butter Pupcakes recipe!
If this is your first time here, I’m kind of a crazy dog lady.
I have 3 dogs – you can see them in their Halloween costumes here. They are my constant companions, my co-workers, my hiking buddies, and the greatest source of comfort during hard times.
I’m definitely the dog lady that makes homemade treats (I have an entire category of homemade dog treats), I buy matching holiday sweaters for the dogs, and they all have birthday celebrations every year.
I made these Peanut Butter Pumpkin Pupcakes to celebrate Clementine’s (the little white poodle mix) adoptiversary a couple weeks ago and how cute are they?!
Ingredients for Peanut Butter Pumpkin Pupcakes
- Whole wheat flour
- Baking soda
- Creamy peanut butter – make sure you use one with peanuts listed as the only ingredient. Crazy Richard’s is my favorite
- Honey – you can leave this out if you prefer
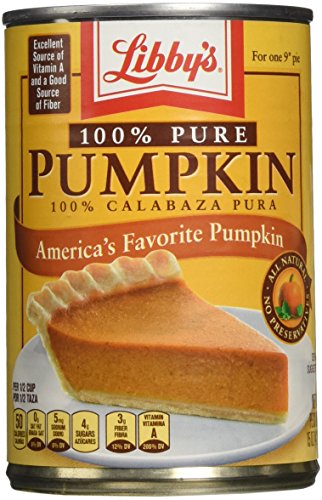
- Pumpkin puree – make sure it’s pumpkin puree and not pumpkin pie filling. Pumpkin should be the only ingredient
- Vegetable oil
- Egg
Ingredients for Pupcakes Frosting
- Cream cheese
- Creamy peanut butter
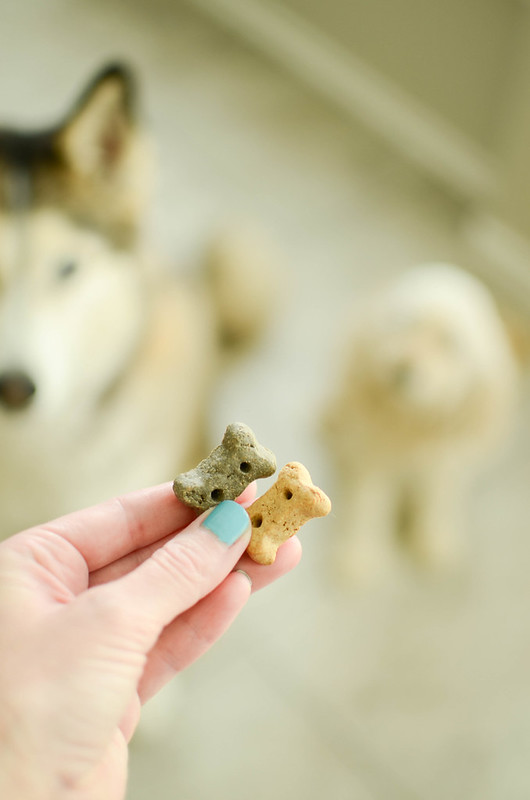
- Small dog treats
How To Make Peanut Butter Pupcakes
- Whisk together whole wheat flour and baking soda
- In a separate bowl, beat peanut butter and vegetable oil until smooth
- Beat in pumpkin, honey, and egg
- Add flour mixture and beat until just combined
- Divide batter among 6 muffin cups lined with paper liners
- Bake 22 – 25 minutes; cool completely
- To make the frosting, beat cream cheese and peanut butter
- Top each cooled pupcake with a mound of frosting
- Decorate with small dog treats
Is Peanut Butter Safe For Dogs
Yes, peanut butter is safe for dogs but check the label before you buy!
Don’t feed any peanut butter that lists xylitol in the ingredients. It will make dogs incredibly sick. I have never come across a peanut butter that includes it but I always like to remind you guys to avoid it.
I tend to stick with peanut butter that only has peanuts listed in the ingredients. No added sugar or oils or anything like that. I figure it’s healthier for the dogs and humans in my house.
My favorite peanut butter is Crazy Richard’s because it’s only 1 ingredient and it’s really delicious.

More Homemade Dog Treats
- Pumpkin Peanut Butter Dog Ice Cream
- Homemade Chicken Jerky for Dogs
- Pumpkin Peanut Butter Dog Treats
- Carrot, Peanut Butter, and Oats Dog Treats
Make sure you subscribe to my email list to get all my new recipes delivered right to your inbox!
You can also follow me on Instagram, Facebook, or Pinterest for even more!
📖 Recipe
Peanut Butter Pumpkin Pupcakes
Ingredients
- 1 cup whole wheat flour
- 1 teaspoon baking soda
- ¼ cup creamy peanut butter
- ¼ cup vegetable oil
- 1 cup pumpkin puree (not pumpkin pie filling!)
- 3 tablespoons honey
- 1 egg
For the frosting
- 4 ounces cream cheese, softened
- ½ cup peanut butter
- 8 Mother Hubbard Mini P-Nuttier Dog Biscuits
Instructions
- Preheat oven to 350F. Line 8 muffin cups with paper liners.
- In a mixing bowl, whisk together flour and baking soda until no clumps remain. Set aside.
- In a separate bowl, beat peanut butter and vegetable oil with an electric mixer until smooth. Add pumpkin puree, honey, and the egg and beat. Add flour mixture and beat until just combined.
- Divide the batter into the 6 prepared muffin cups.
- Bake for 22 - 25 minutes or until cooked through. Cool completely before frosting.
- To make the frosting, beat the cream cheese and peanut butter until smooth. Top the cupcakes with a generous mound of frosting.
- Decorate with a dog Mother Hubbard Mini P-Nuttier Dog Biscuits.
Recommended Products
As an Amazon Associate and member of other affiliate programs, I earn from qualifying purchases.


Nutrition Information:
Yield:
8Serving Size:
1Amount Per Serving: Calories: 373Total Fat: 26gSaturated Fat: 6gTrans Fat: 0gUnsaturated Fat: 17gCholesterol: 38mgSodium: 372mgCarbohydrates: 30gFiber: 4gSugar: 10gProtein: 10g