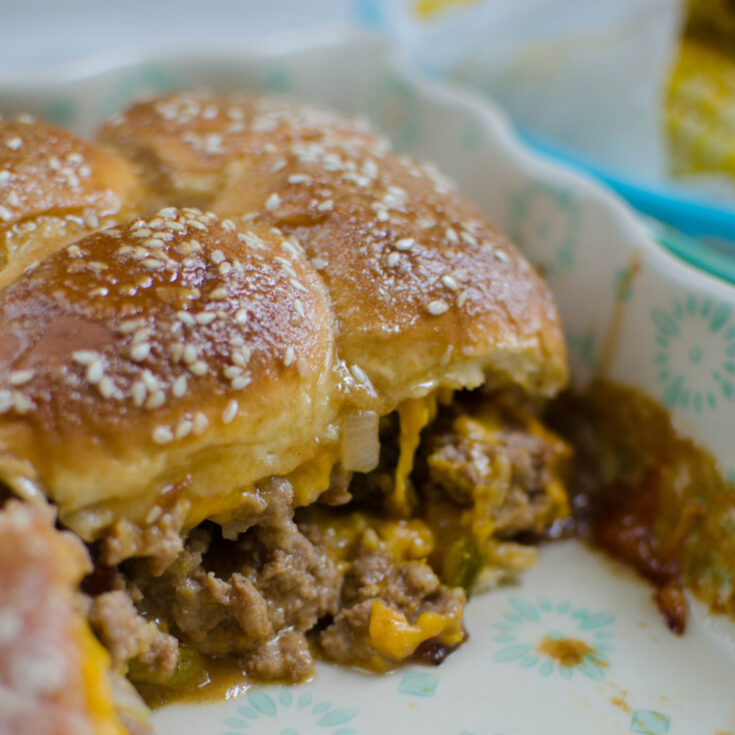
Slow Cooker Salisbury Steak Meatballs are meatballs cooked with onions and mushrooms in a delicious savory sauce! All cooked in the slow cooker and it starts with frozen meatballs to make it even easier. Such a great weeknight dinner!
I have a delicious Slow Cooker Steak Bites recipe as well!

I love taking frozen meatballs and turning them into a delicious, easy dinner. Some days you just don’t have the time and energy for homemade meatballs, you know?
These and Slow Cooker Hawaiian Meatballs are favorites in my house and get requested constantly! And I love them because they both start with frozen meatballs which makes my day so much easier!
Starting with frozen meatballs means I can get all the ingredients in the slow cooker in minutes and then I don’t have to think about dinner again for hours.

Ingredients
- Butter
- Tomato paste
- Low-sodium beef broth
- Salt
- White onion
- Mushrooms
- Frozen meatballs – you can use your own homemade meatballs if you prefer.
- Cornstarch – this is used to thicken the sauce.
- Fresh parsley – optional but I love the pop of green on the finished dish and it adds a nice brightness.
Instructions
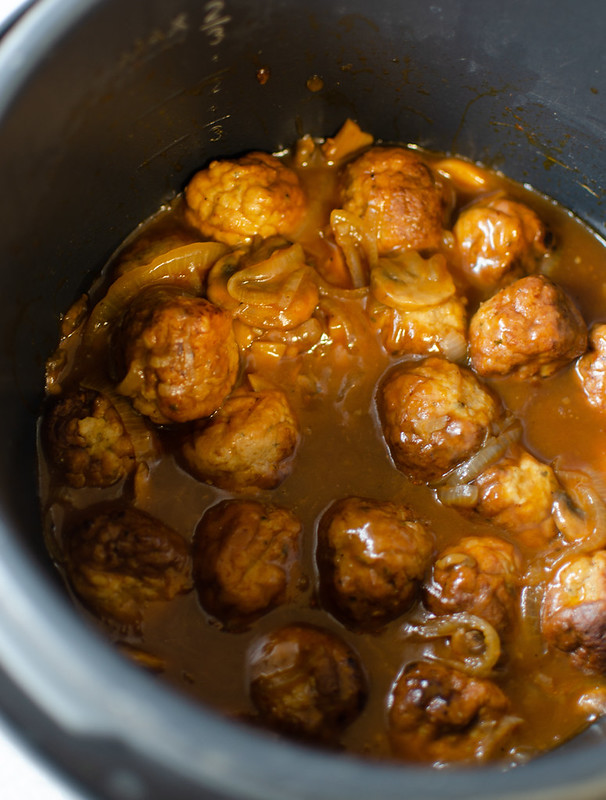
- Make sauce. Stir together butter, tomato paste, beef broth, and salt in the bowl of the slow cooker
- Add veggies. Add sliced onions, mushrooms, and meatballs and toss to combine everything
- Slow cook. Cook on high for 4 hours or low for 7 – 8 hours
- Make slurry. In a separate bowl, whisk together cornstarch and cold water. Mix into the meatball mixture and stir to combine
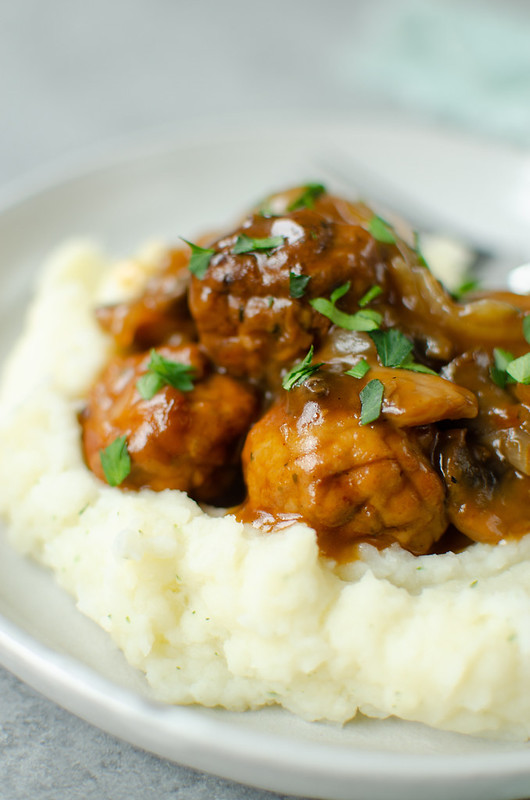
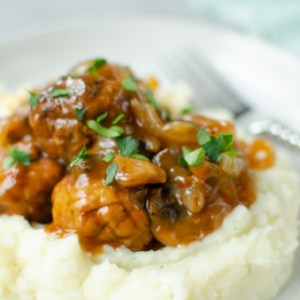
- Garnish and serve. Sprinkle with fresh parsley before serving
How Long Are They Good For?
These meatballs will be good in the fridge for up to 3 – 4 days. Make sure to store them in an airtight container to keep them fresh as long as possible.
Can You Freeze Them?
Yes, you can freeze them!
Let them cool completely and then transfer them to a freezer-safe container or a freezer ziploc bag (squeeze as much air out as possible) and then place in the freezer.
They will be good for up to 3 months.
When you’re ready to serve them, let them defrost overnight in the fridge and then you can heat them on the stovetop or in the slow cooker! If the sauce is too thick, a splash of water or beef broth will help get it back to it’s original state.
What To Serve with Salisbury Steak Meatballs?
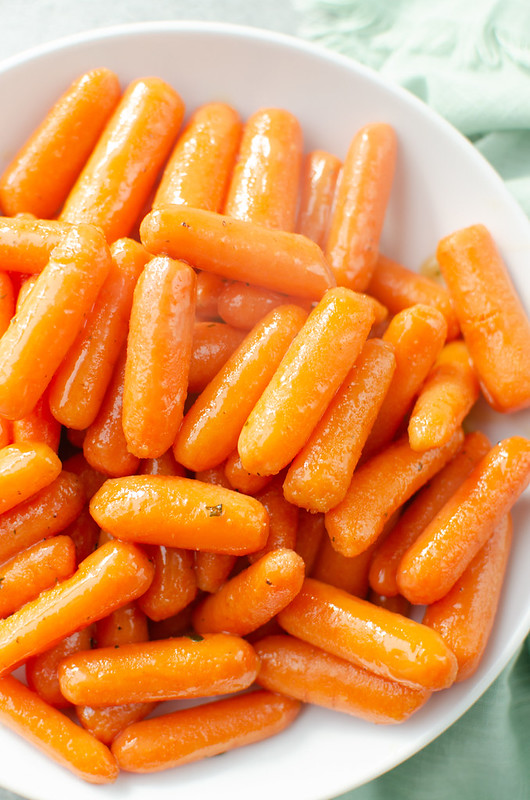
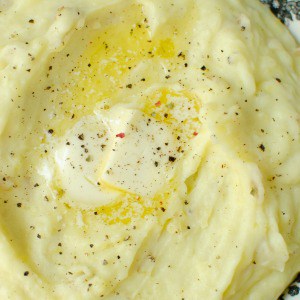
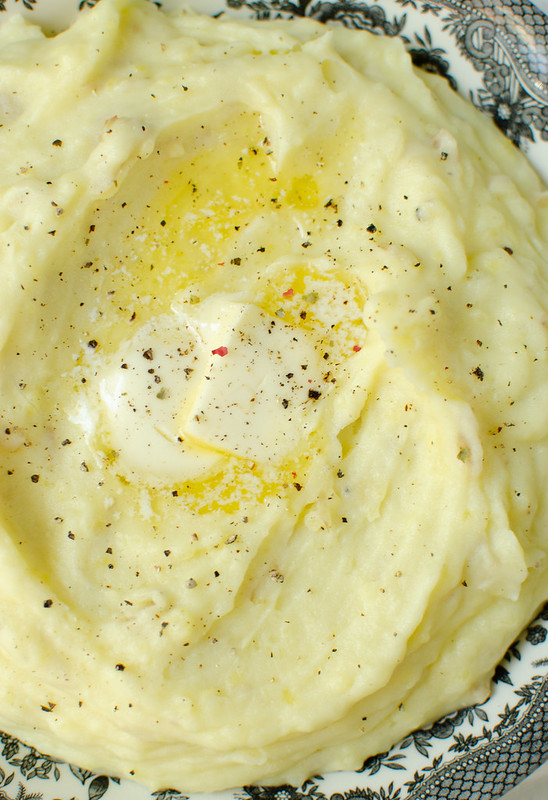
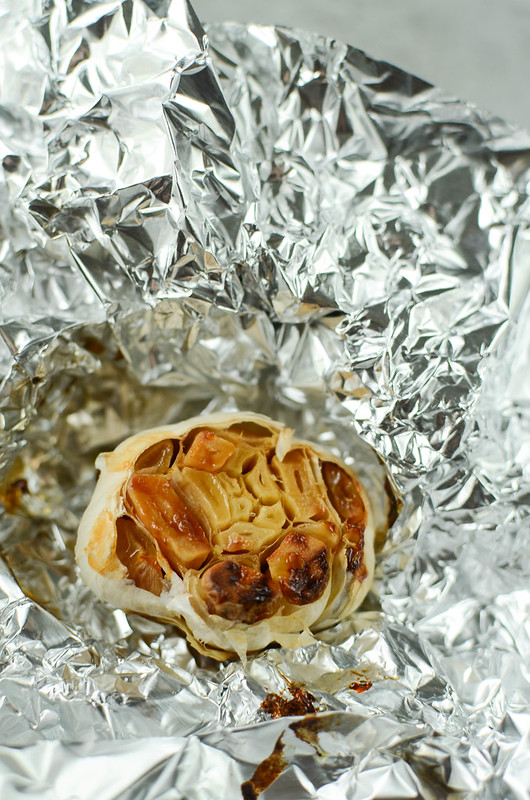
I served these with Roasted Garlic Mashed Potatoes because the sauce is so yummy on the potatoes. If you don’t want to do potatoes, rice also soaks up the sauce really well.
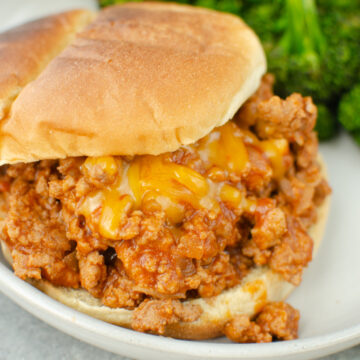
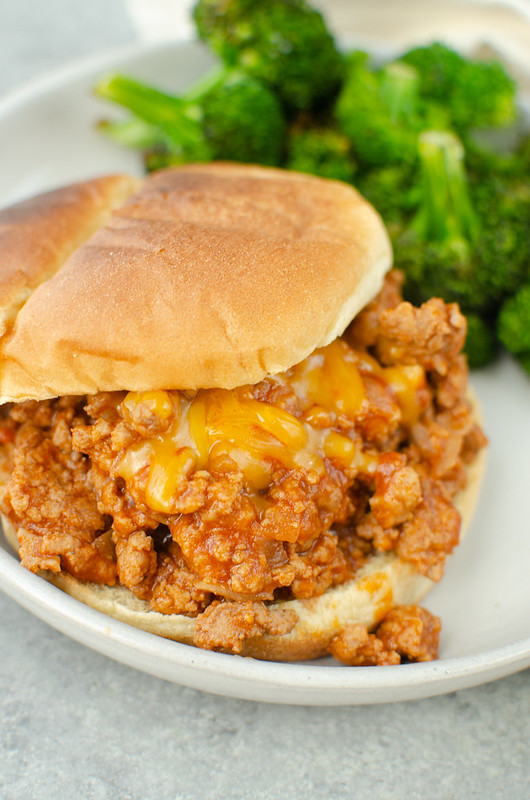
I also usually serve a green vegetable with them, like roasted broccoli or a simple side salad.
More Slow Cooker Recipes
- Slow Cooker Apple Kielbasa Bites
- Crockpot Pesto Ranch Chicken Thighs
- Slow Cooker Garlic and Brown Sugar Chicken
- Slow Cooker Huli Huli Chicken
Make sure you subscribe to my email list to get all my new recipes delivered right to your inbox!
You can also follow me on Instagram, Facebook, or Pinterest for even more!
📖 Recipe
Slow Cooker Salisbury Steak Meatballs
Ingredients
- 2 tablespoon butter, melted
- 1 tablespoon tomato paste
- 1 ¼ cup low-sodium beef broth
- ½ teaspoon salt
- 1 large white onion, thinly sliced
- 1 (8 ounce) container mushrooms, sliced
- 1 pound frozen meatballs, beef or turkey
- 2 tablespoon cornstarch
- 2 tablespoon cold water
- fresh parsley, for serving
Instructions
- Add butter, tomato paste, beef broth, and salt to the slow cooker and stir to combine.
- Add sliced onions, mushrooms, and meatballs and toss to combine everything.
- Cook on high for 4 hours (or low for 7 - 8 hours)
- After the 4 hours is up, whisk together cornstarch and cold water in a separate bowl
- Stir the cornstarch mixture into the meatballs and stir
- If your slow cooker has a sauté function, turn it on and let it cook until the sauce thickens, only a couple minutes
- If your slow cooker doesn't have a sauté function, continue to let it cook on high for about 10 minutes, until the sauce has thickened
- Serve hot with fresh parsley sprinkled on top
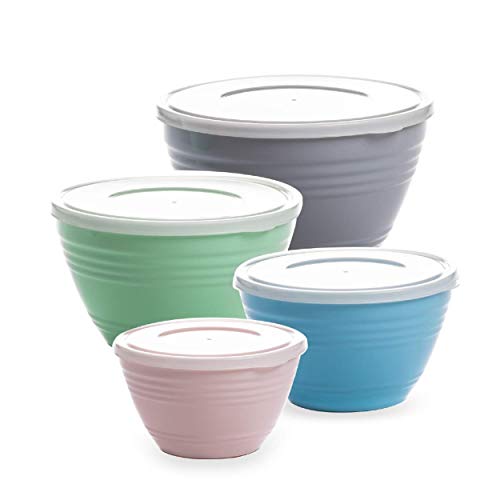
Recommended Products
As an Amazon Associate and member of other affiliate programs, I earn from qualifying purchases.

Nutrition Information:
Yield:
6Serving Size:
1Amount Per Serving: Calories: 352Total Fat: 25gSaturated Fat: 10gTrans Fat: 1gUnsaturated Fat: 13gCholesterol: 93mgSodium: 862mgCarbohydrates: 11gFiber: 2gSugar: 4gProtein: 21g