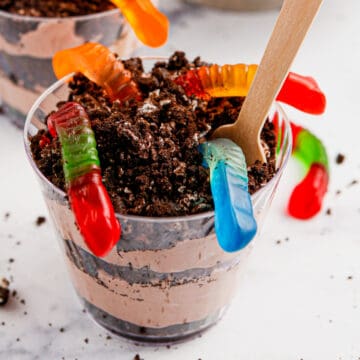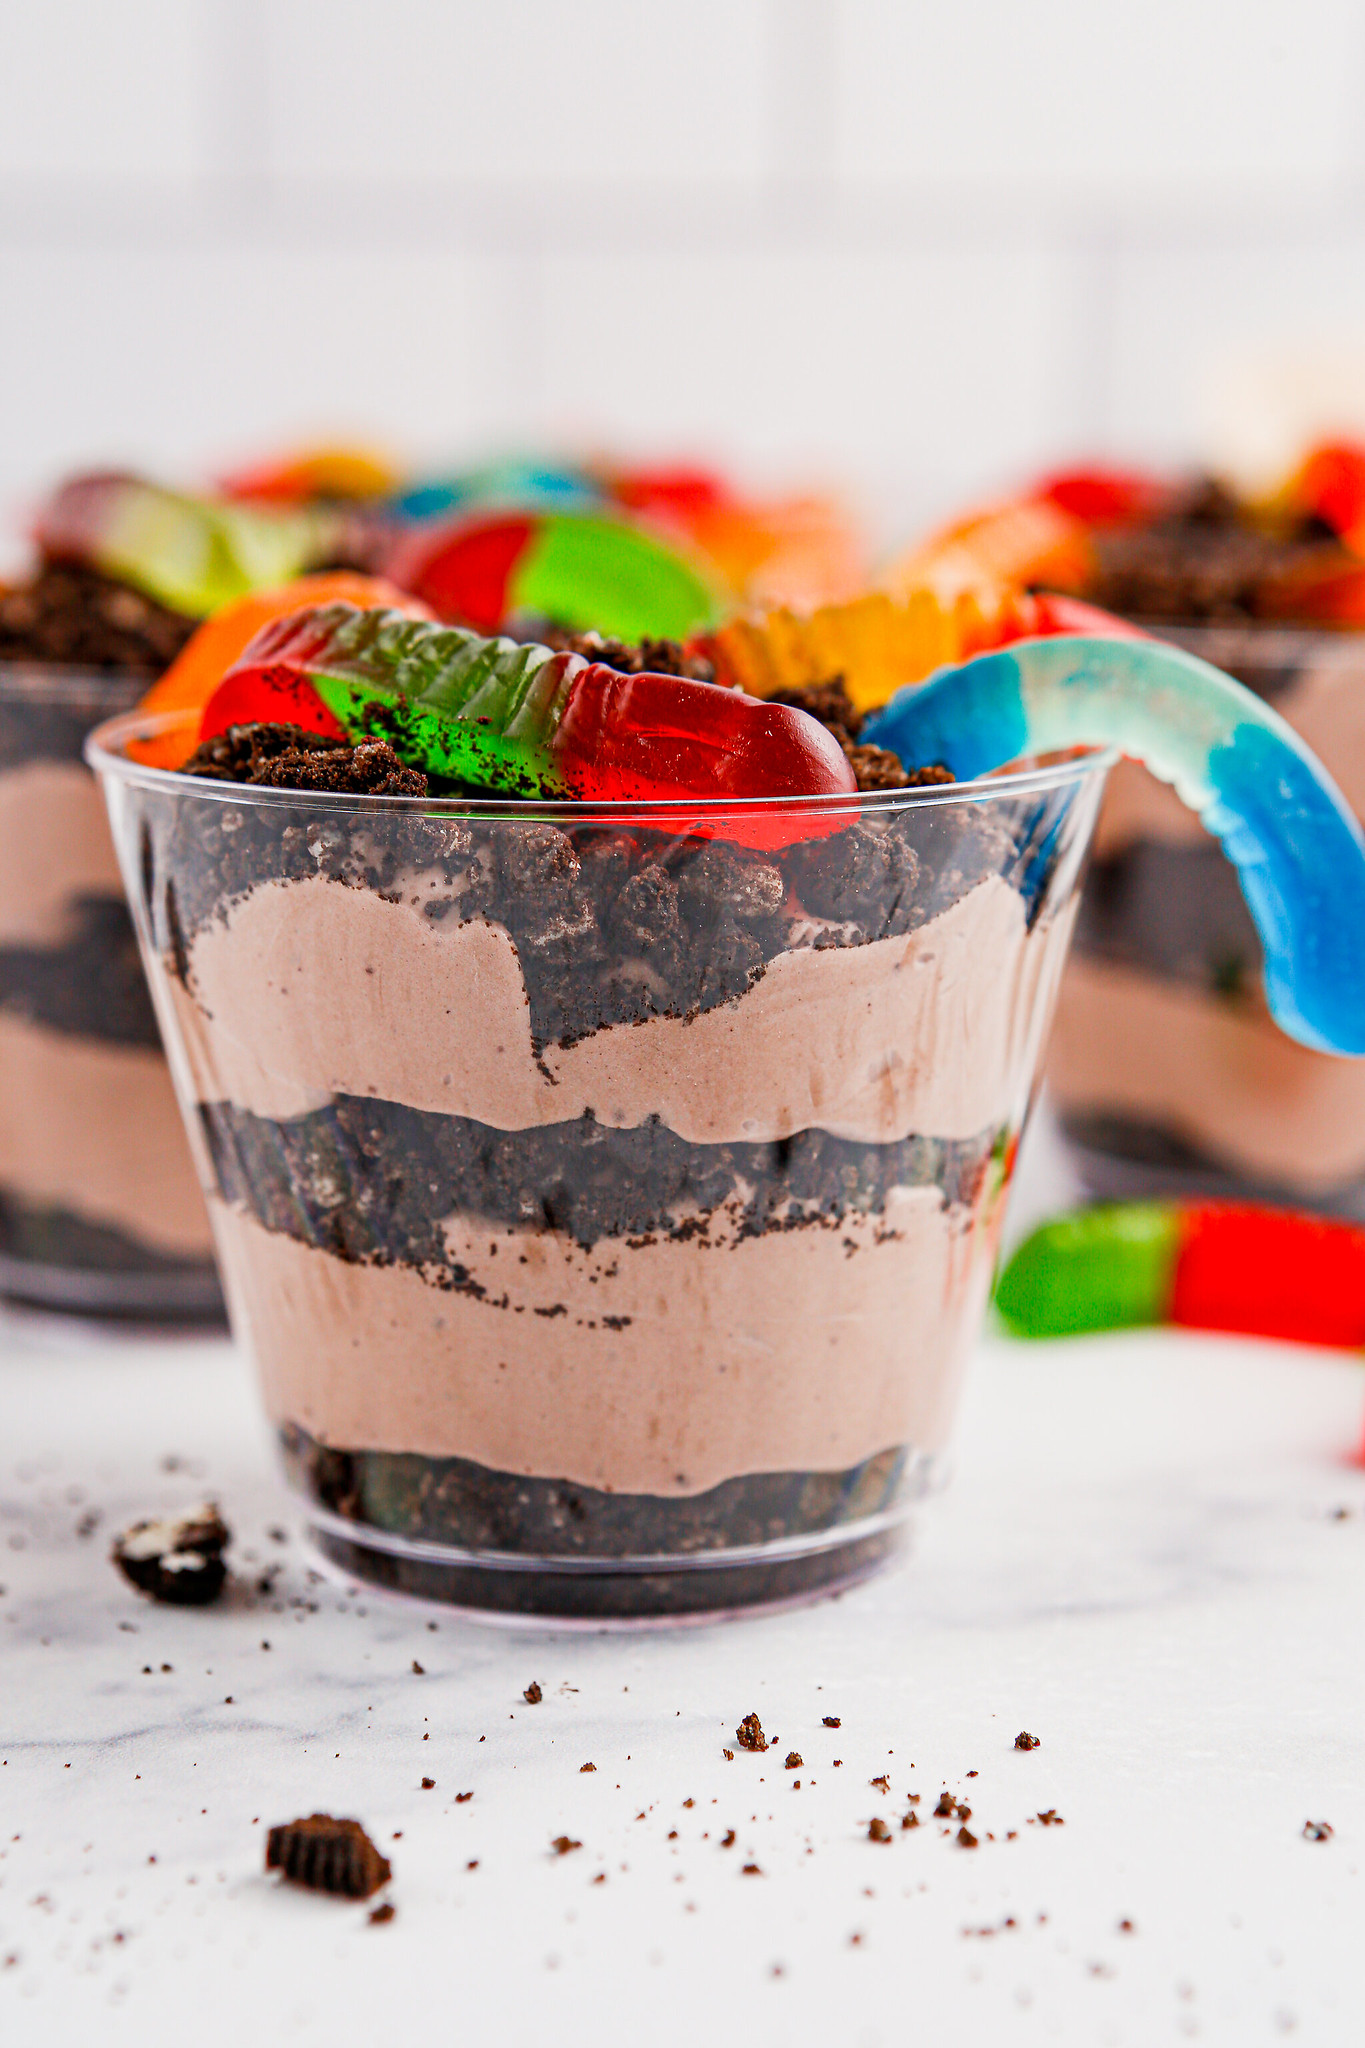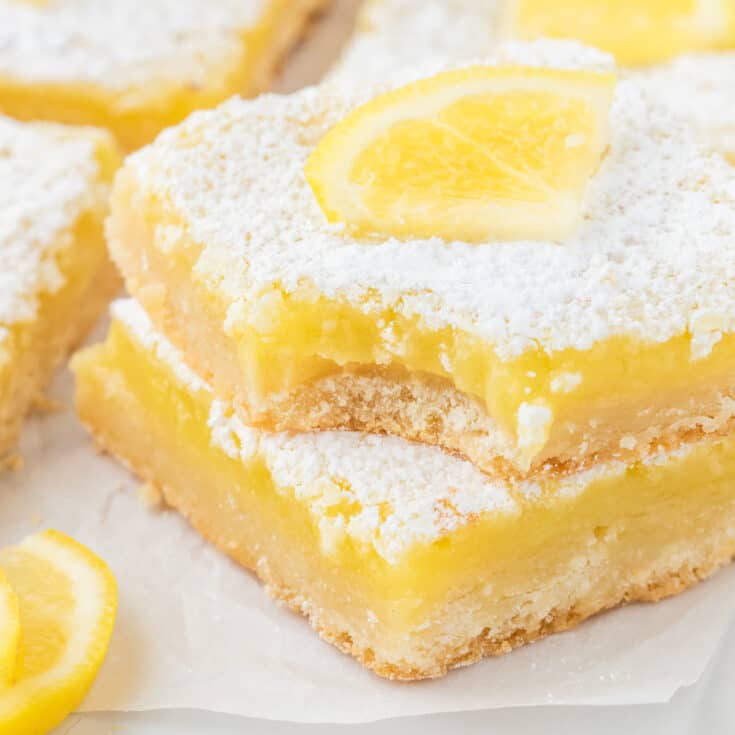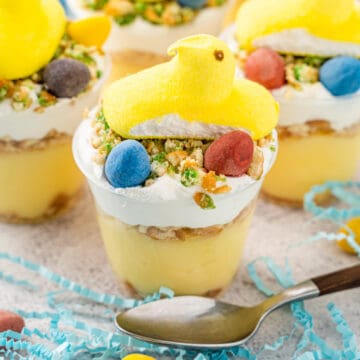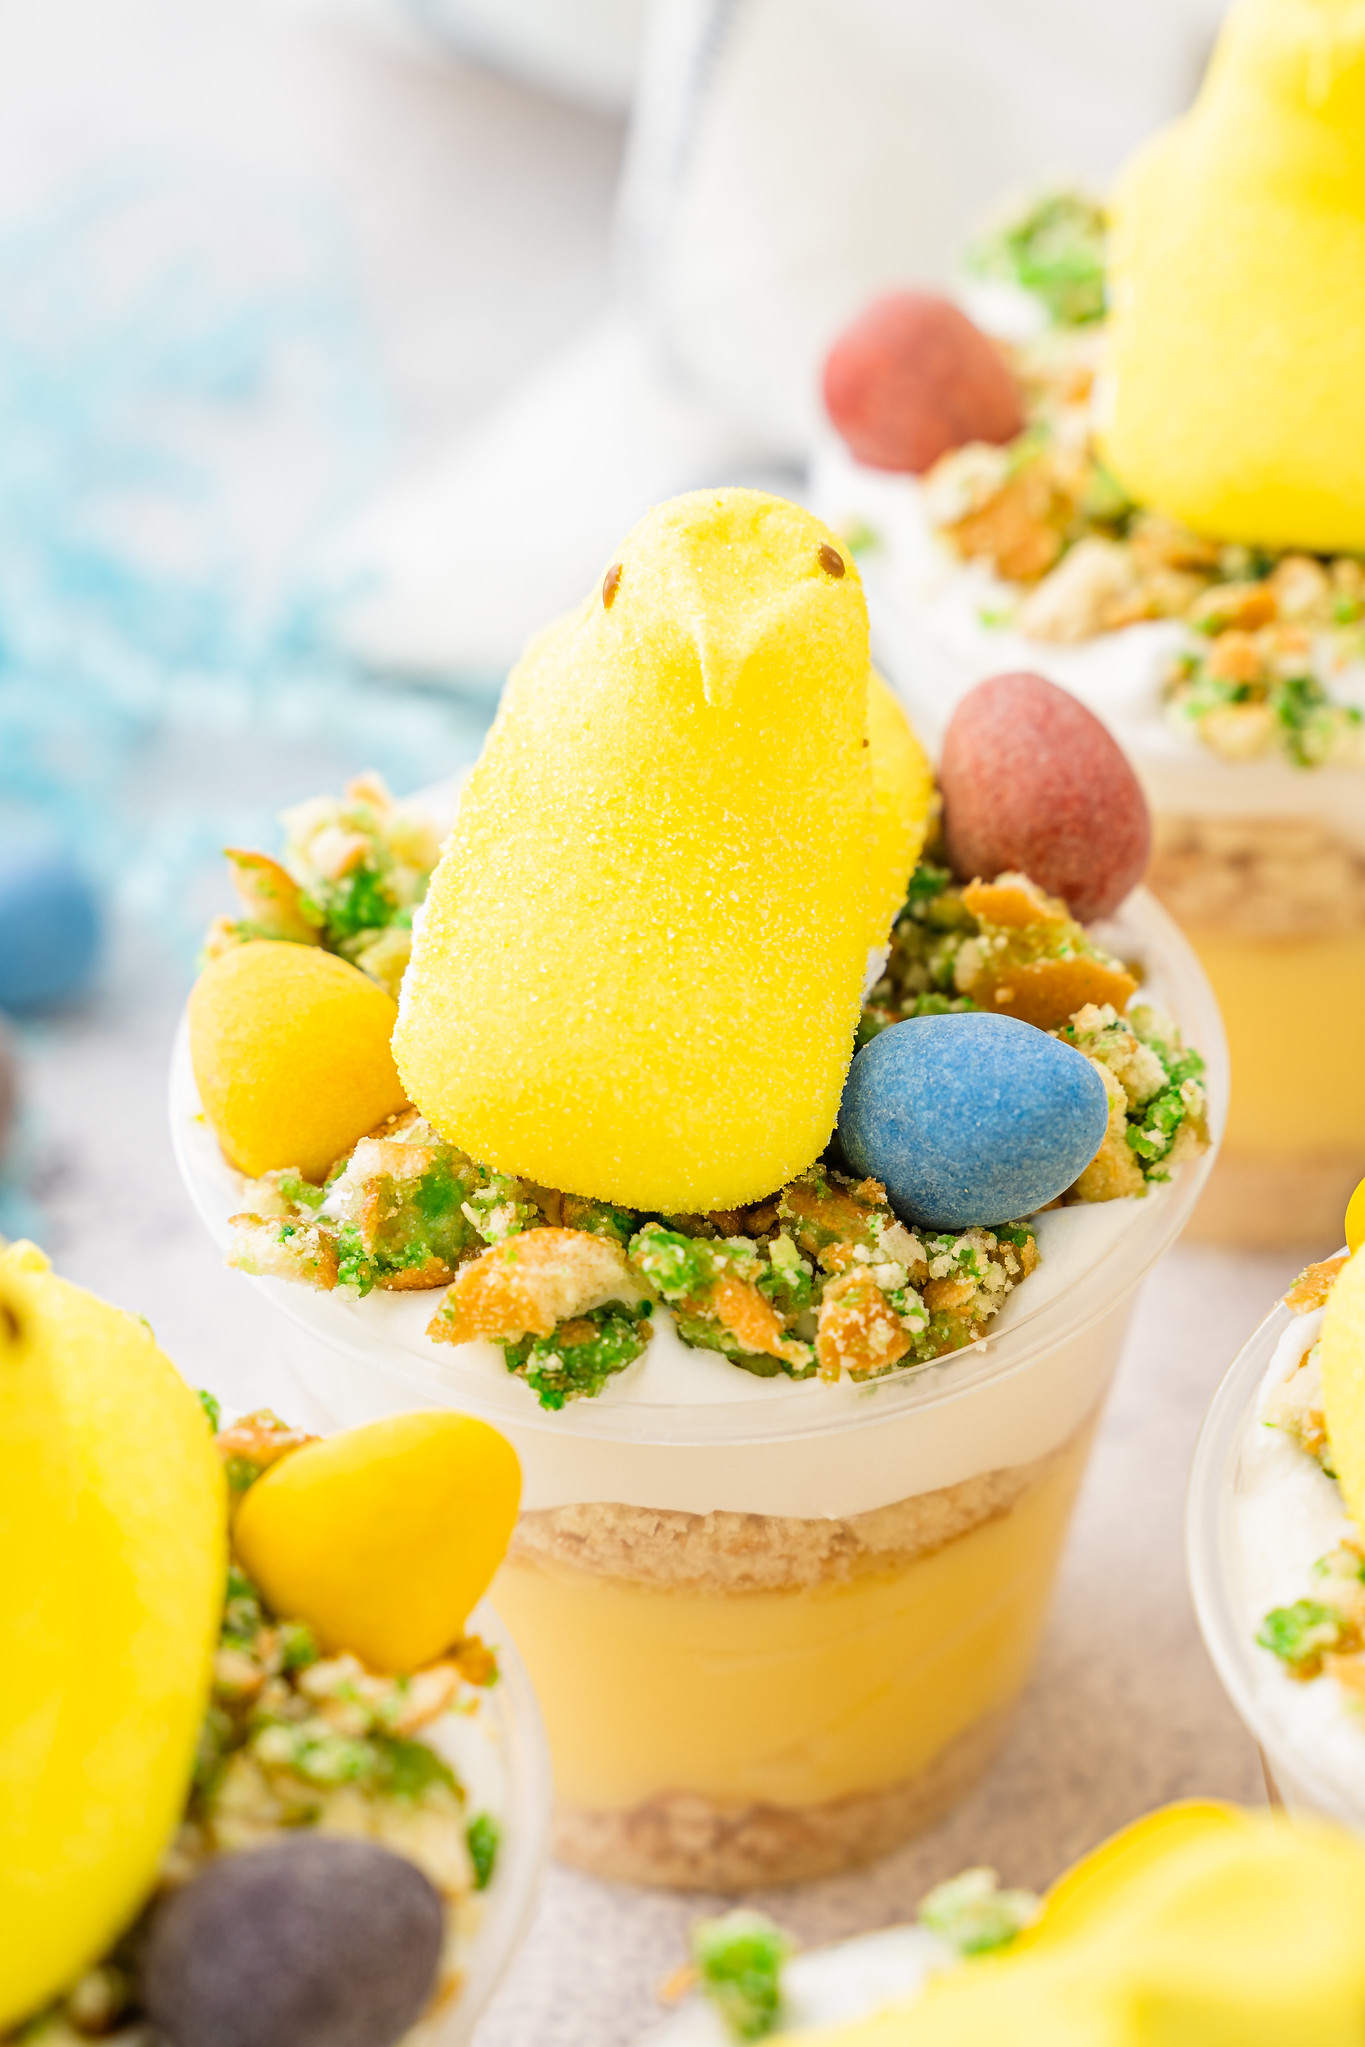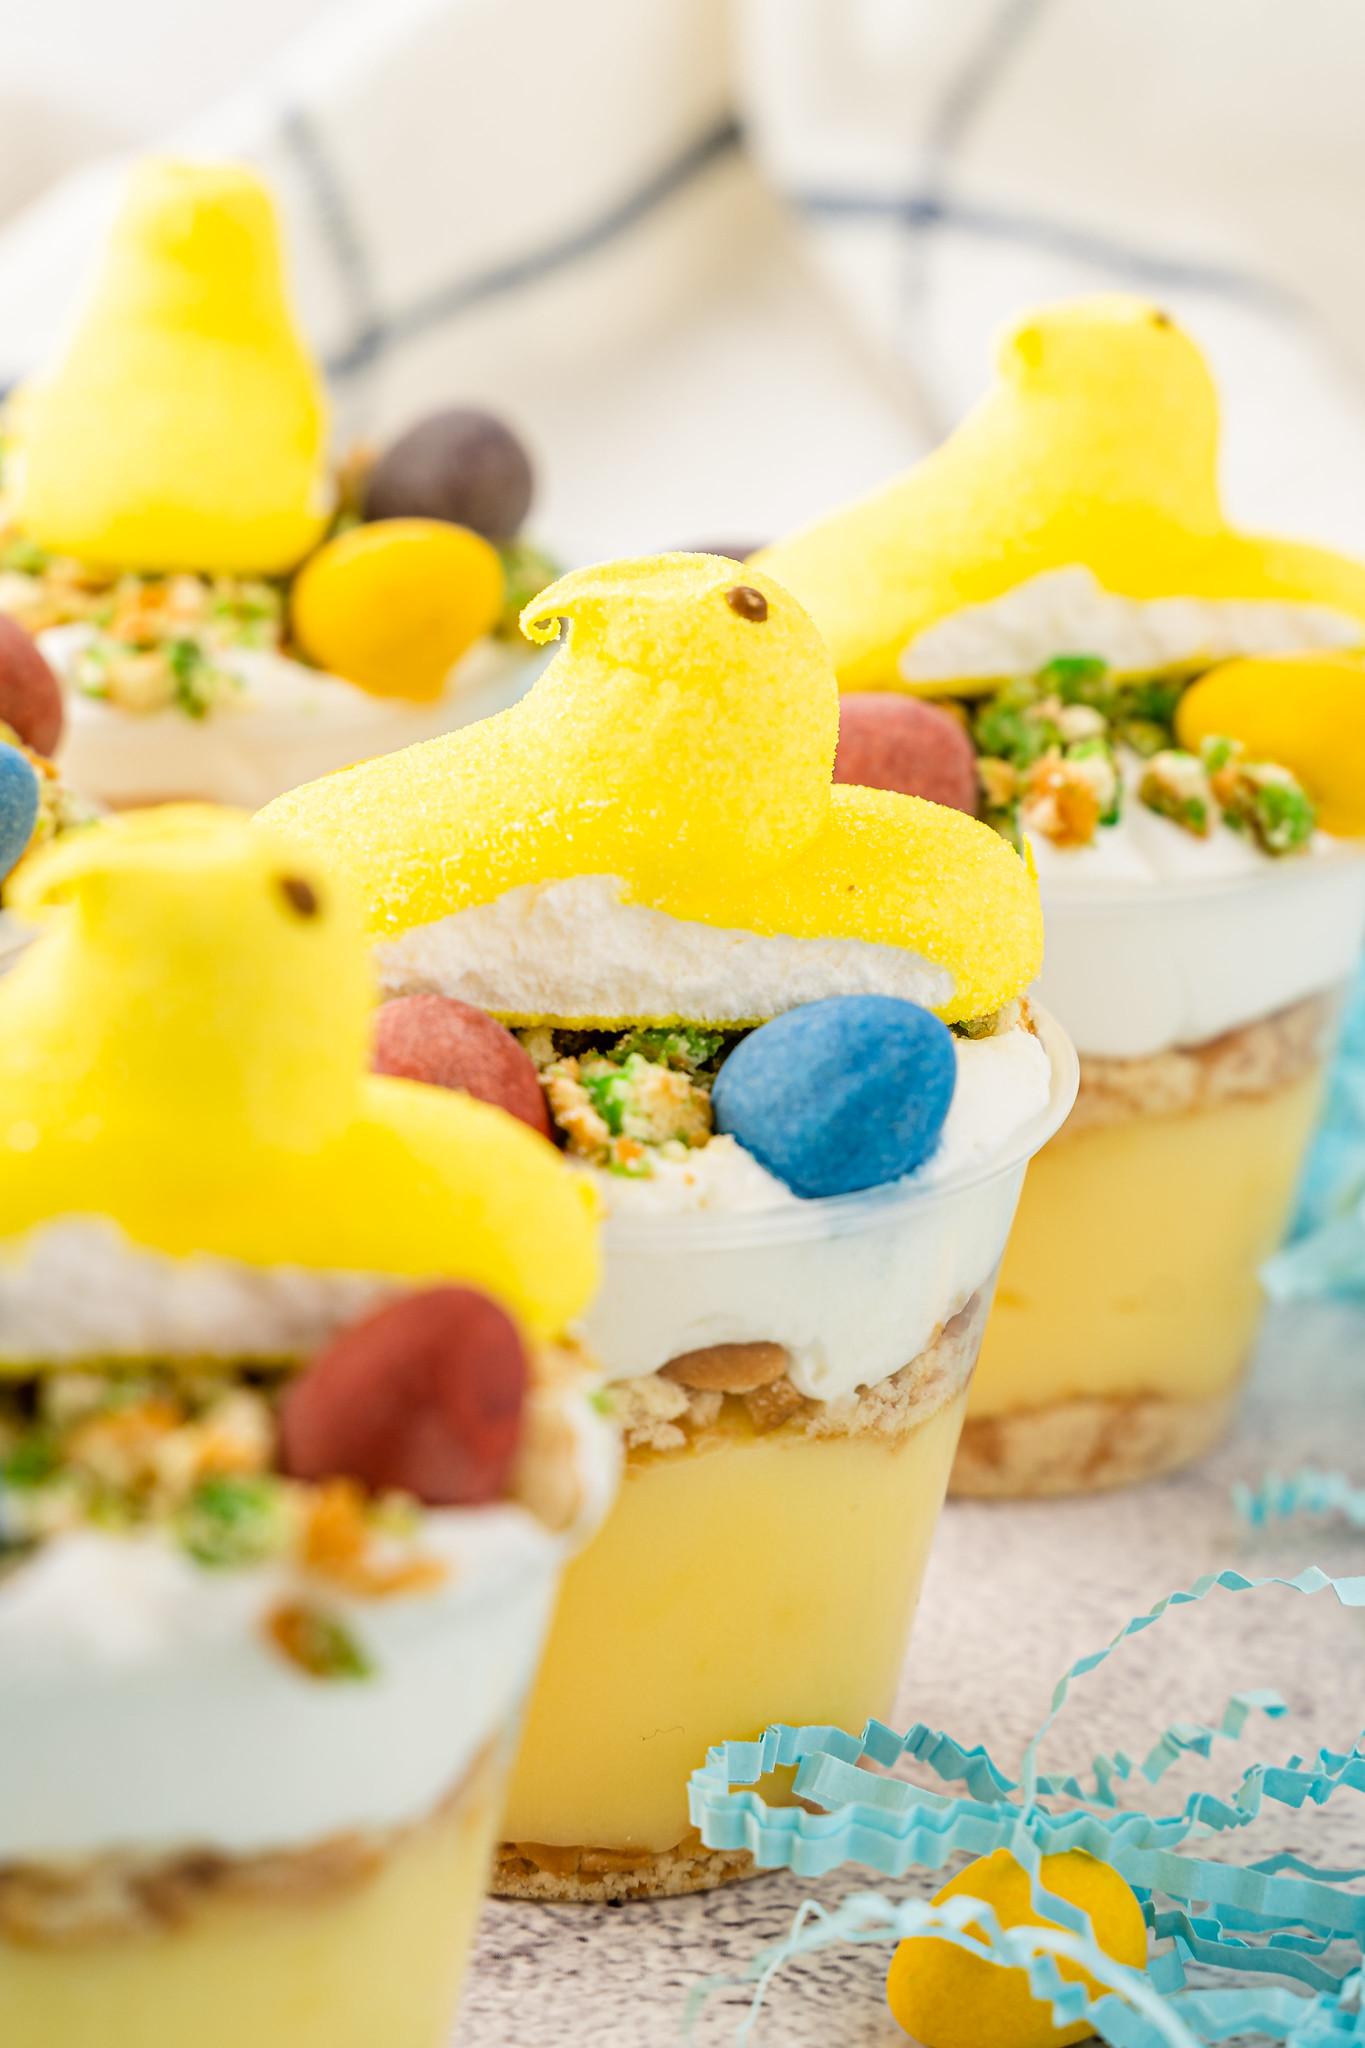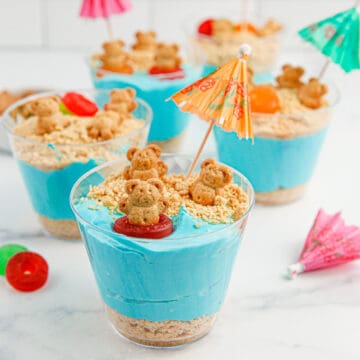
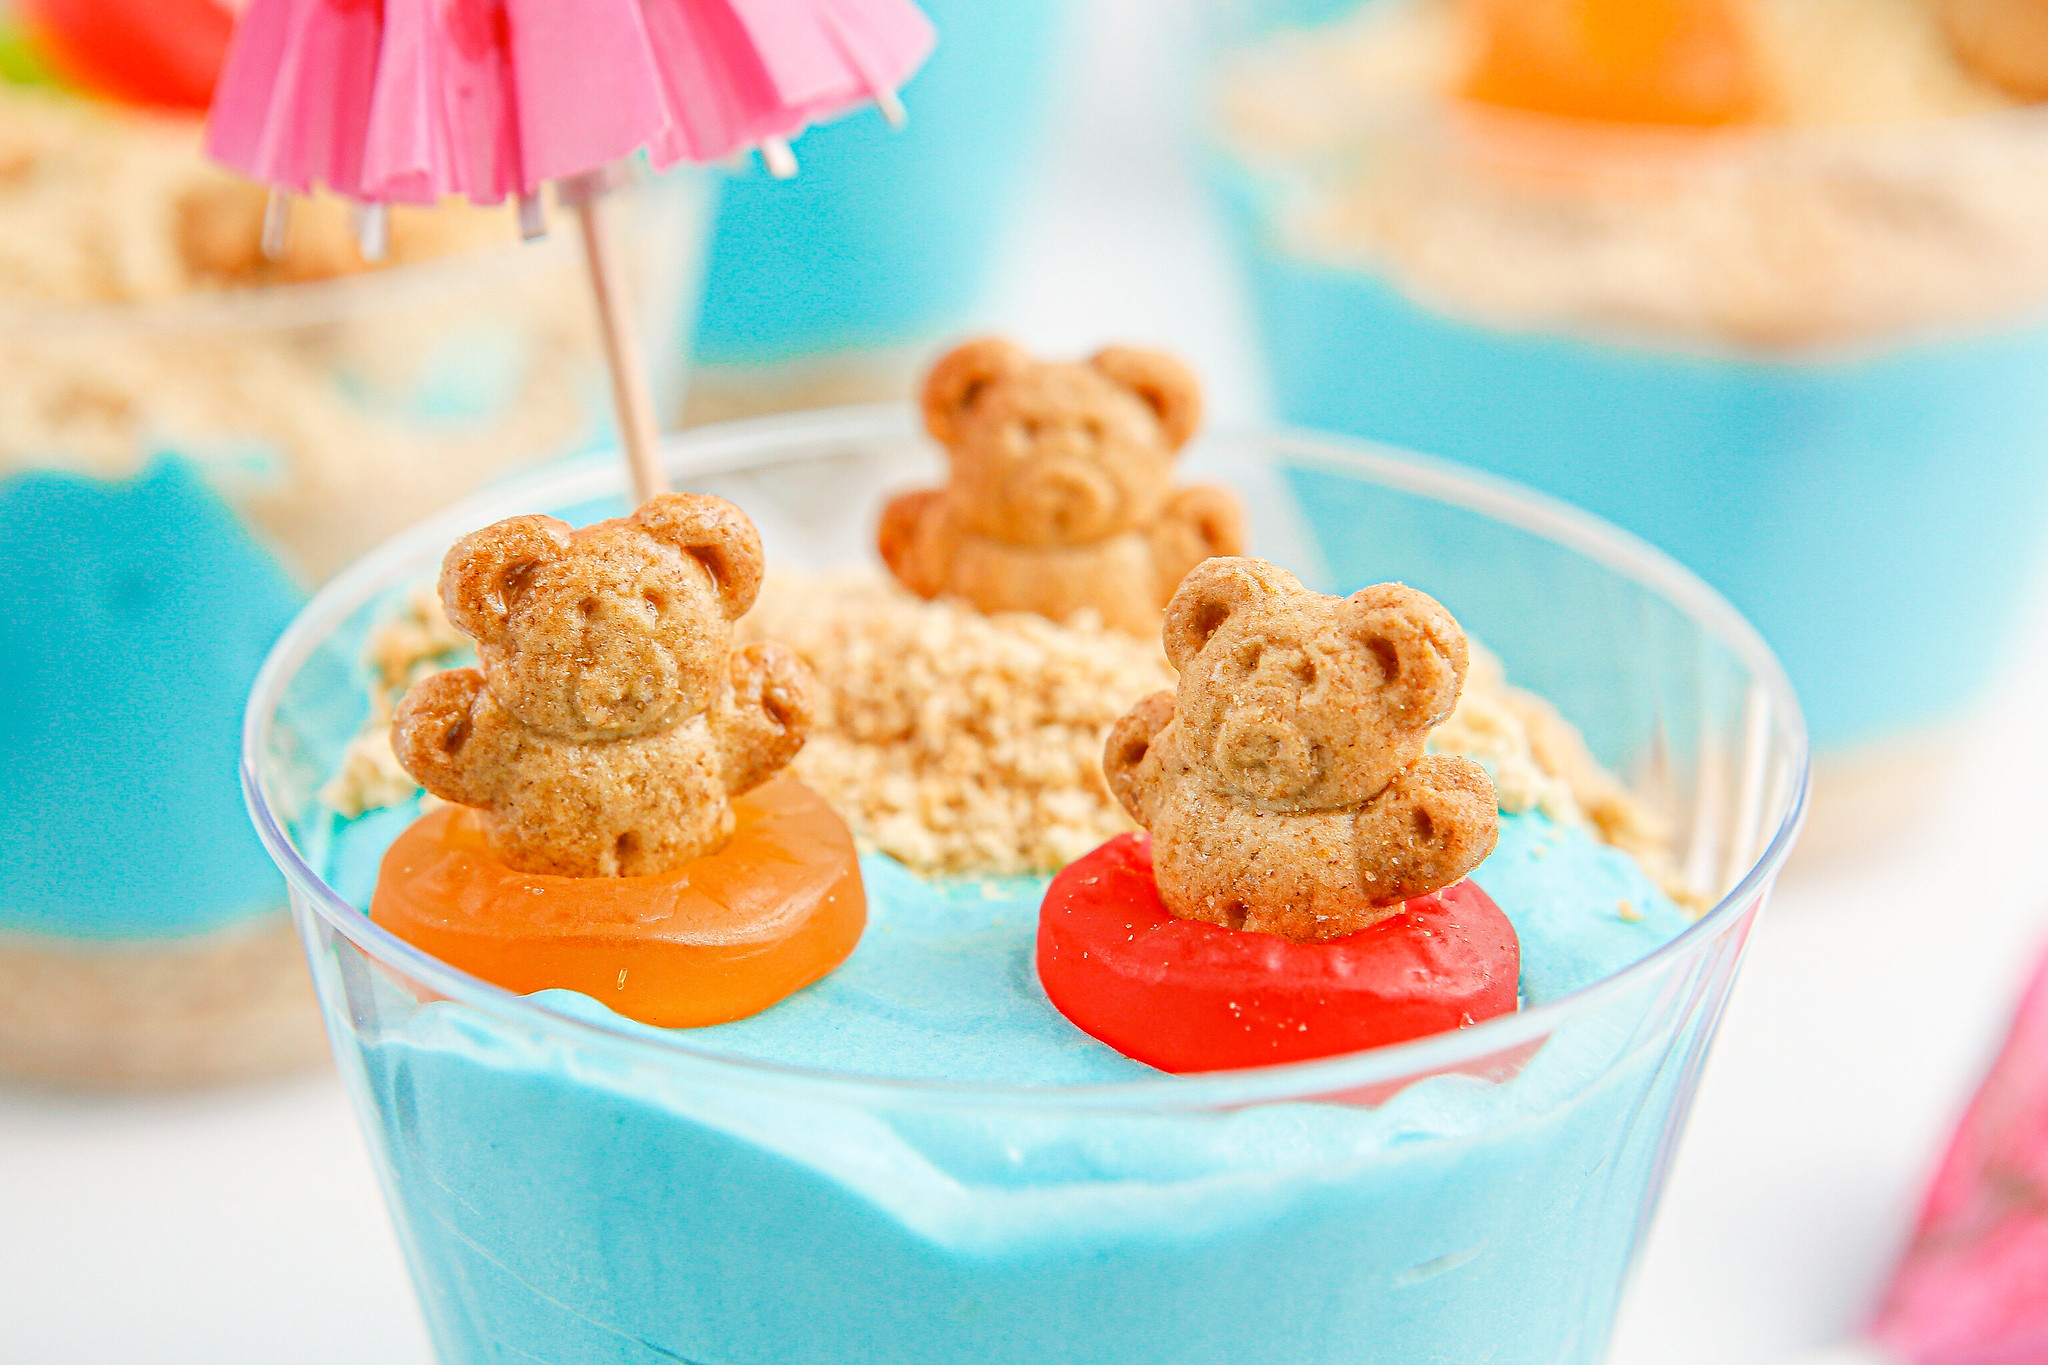
The cutest summer dessest! Beach Bear Pudding Cups have layers of crushed graham crackers and pudding, topped with gummy candy and Teddy Grahams.
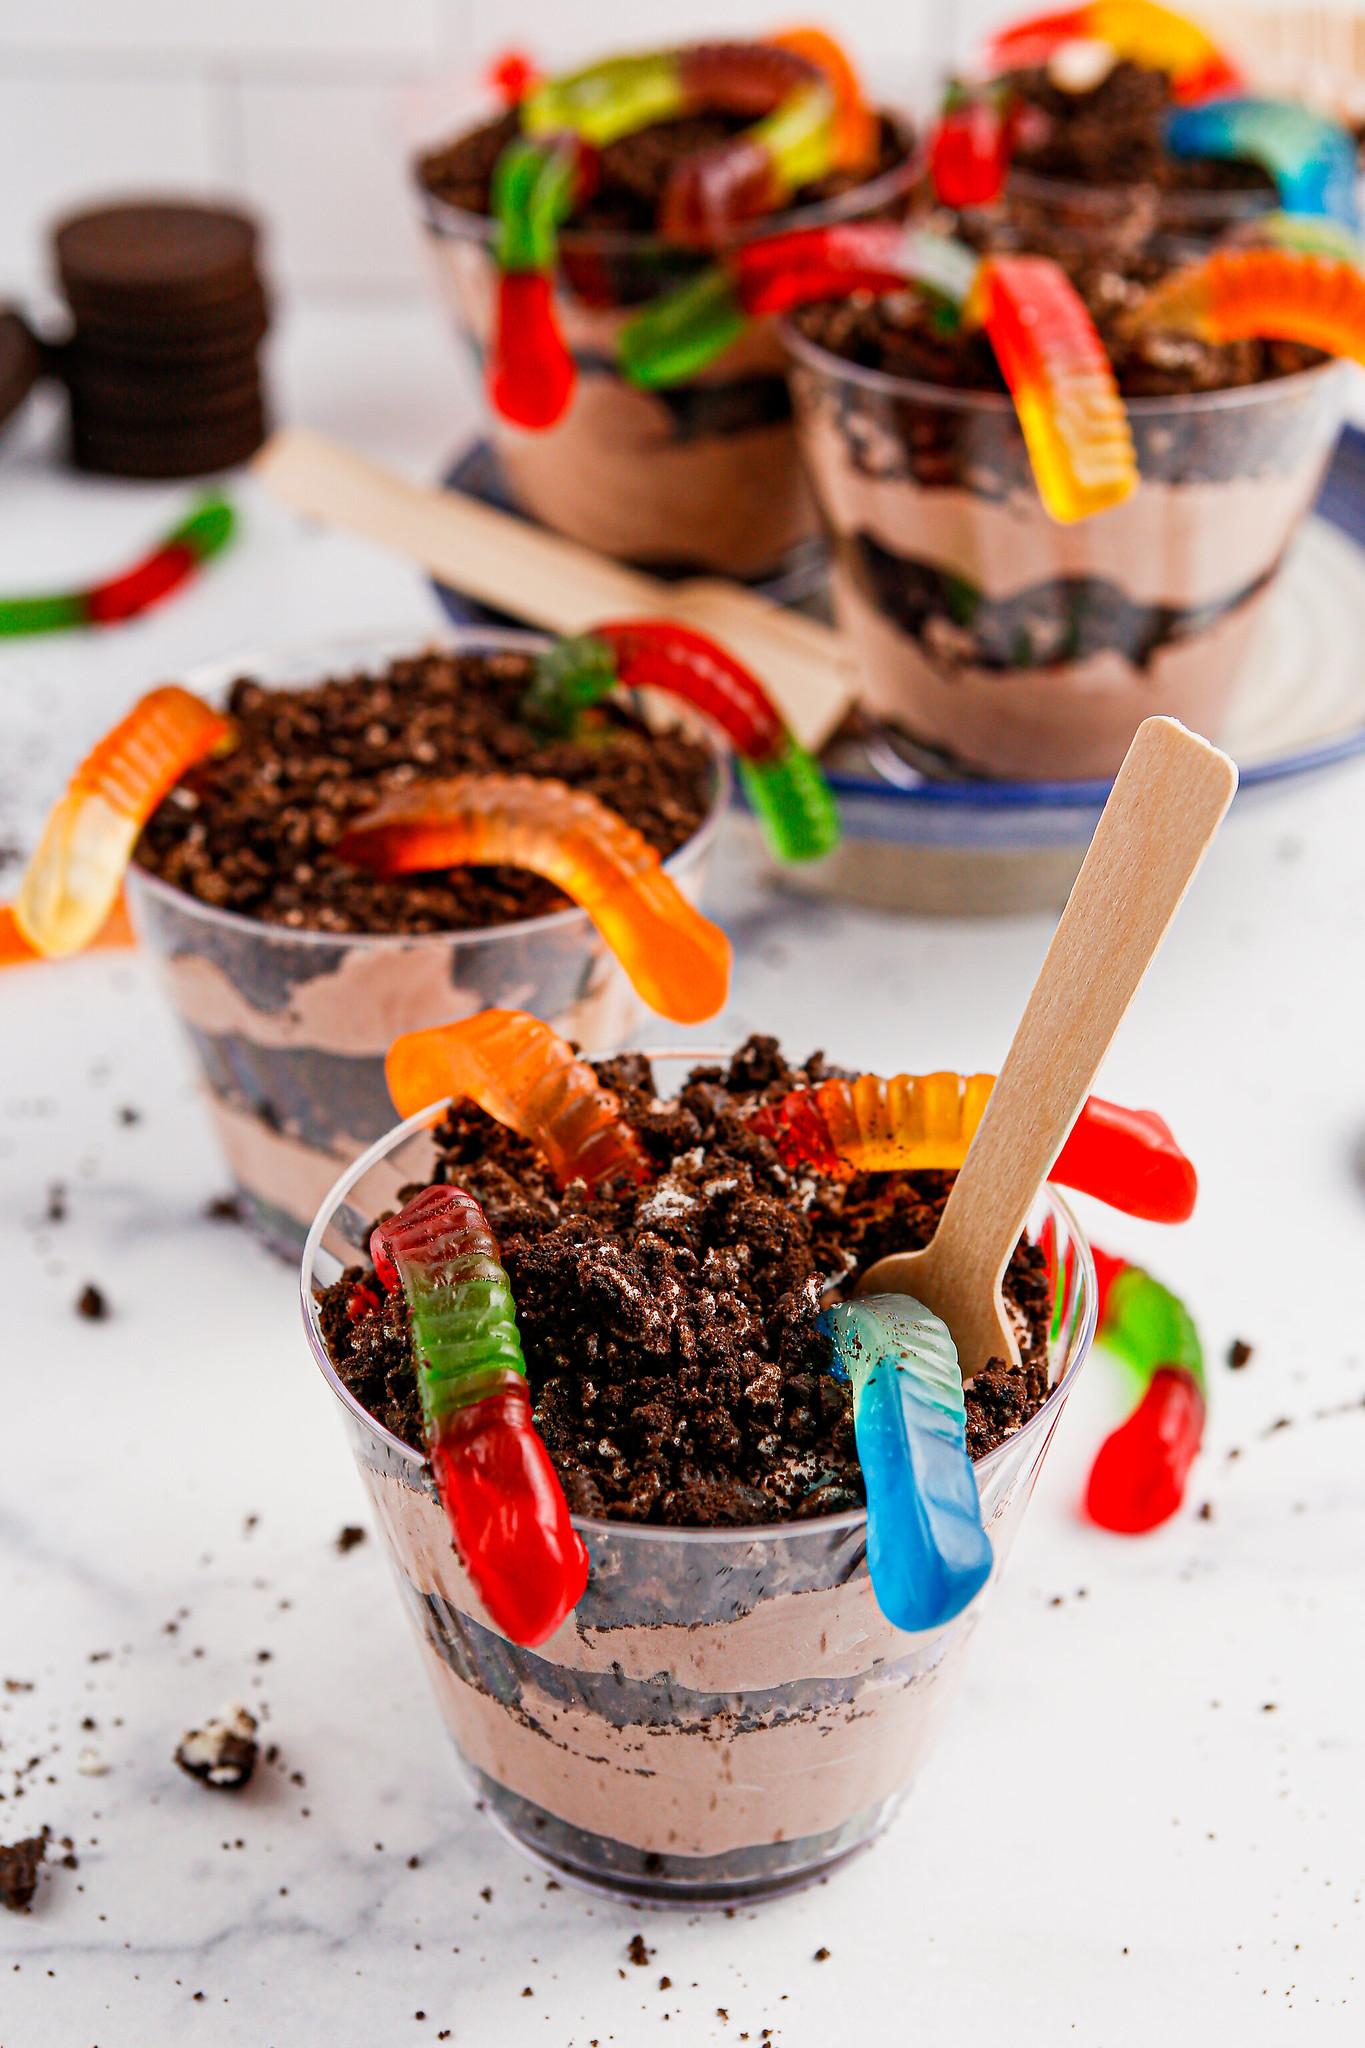
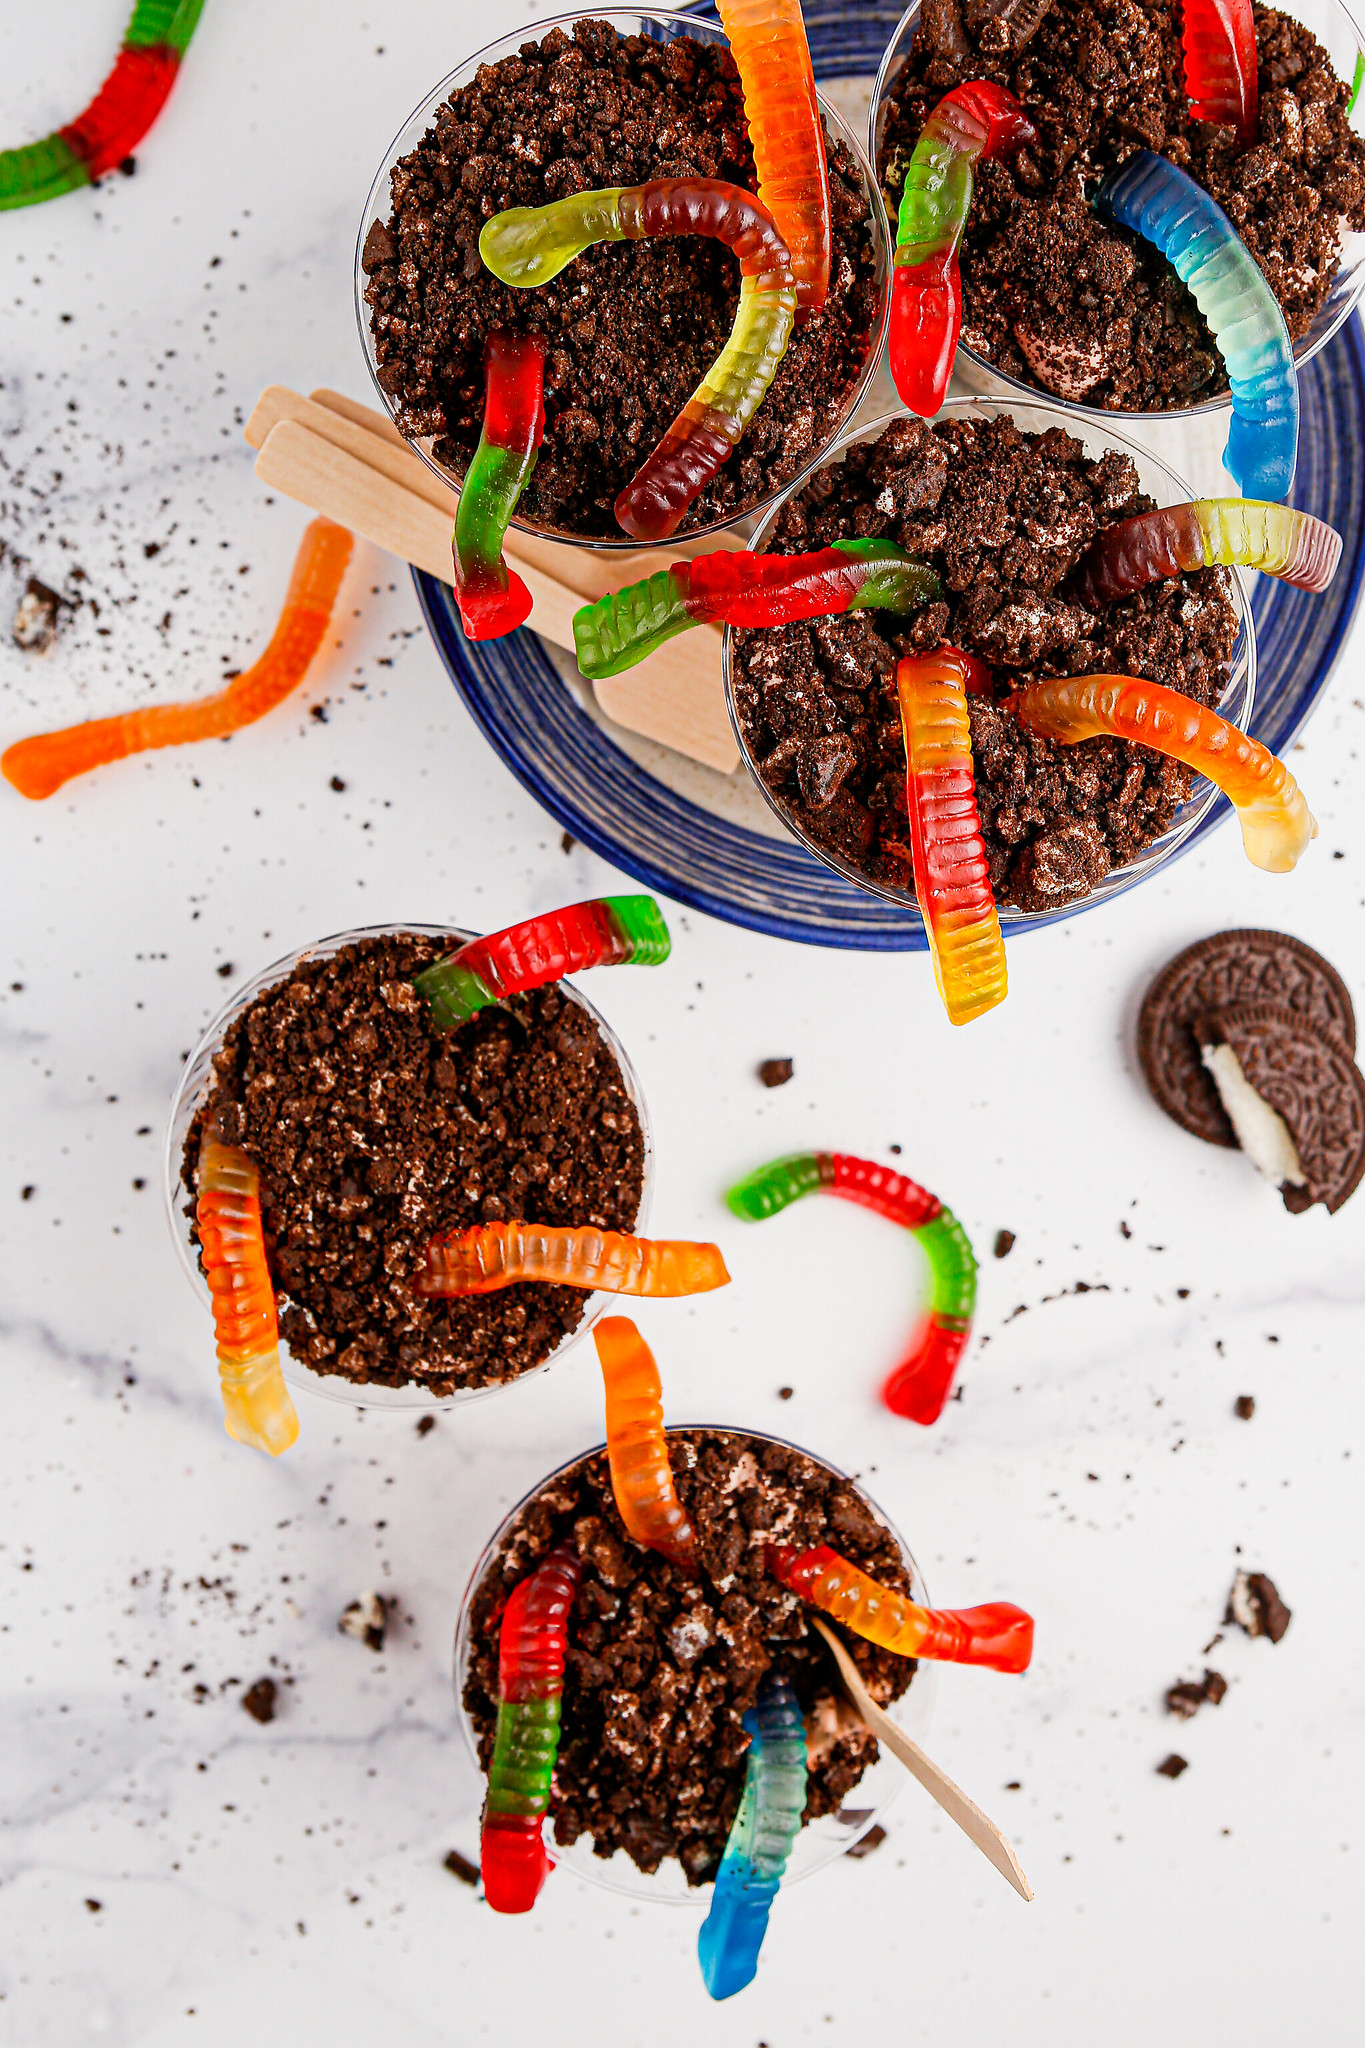
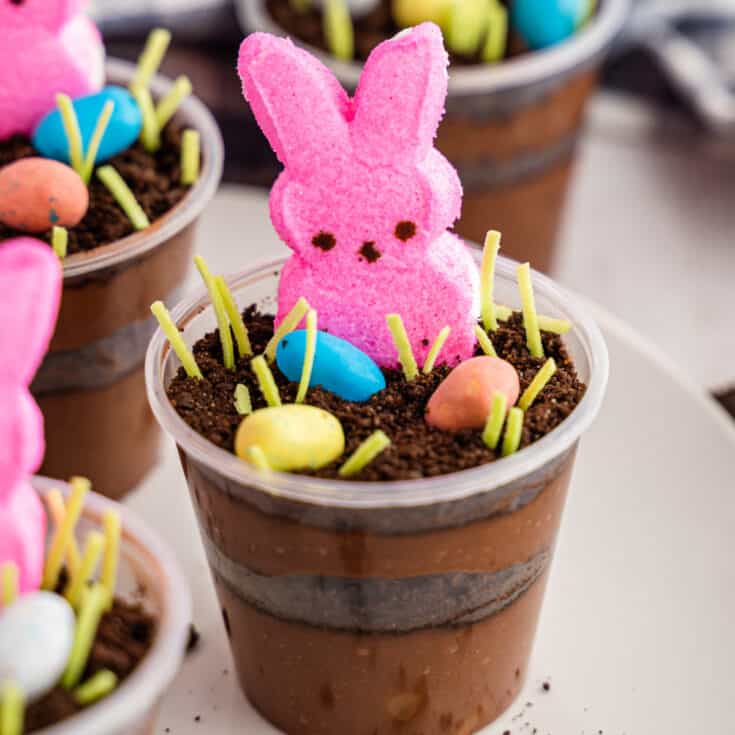
Our Dirt and Worms Pudding Cups and Carrot Patch Dirt Cups are cute and delicious treats, too!
These are my favorite thing I’ve made in a long time. Even my boys (age 16, 13, and 11) thought they were fun. And if teenage boys think things are fun, they really are.
These pudding cups are going to be perfect for any summer party, BBQ, 4th of July, anywhere you’re going this summer.
And they’re so easy! I made them in about 20 minutes and put the cookies and candy on top right before serving.

Why You’re Going To Love This Recipe
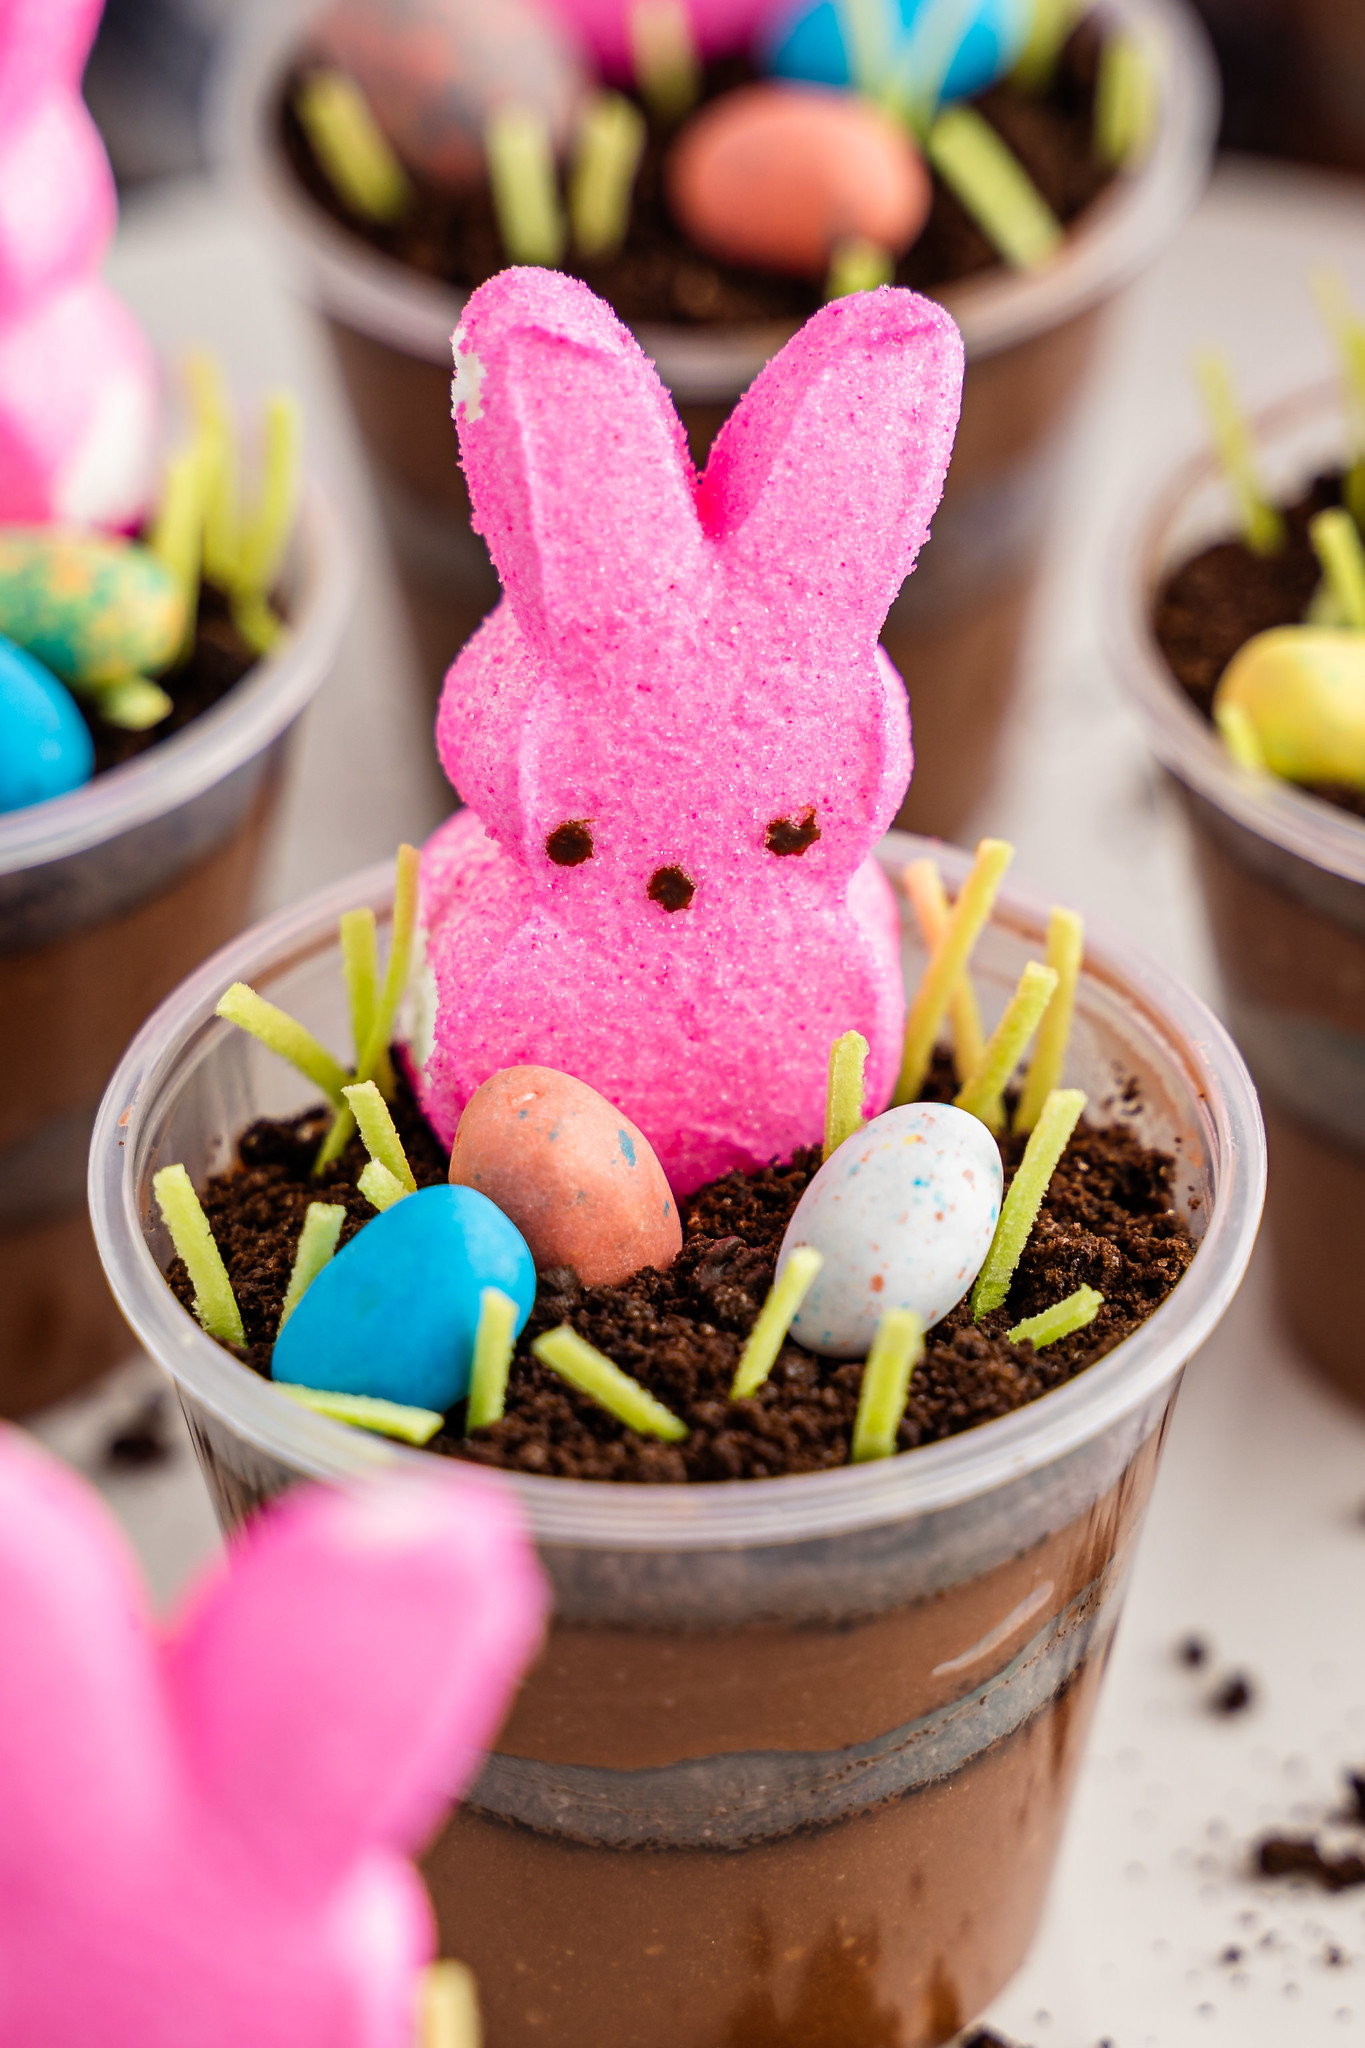
- They are SO CUTE. So cute, I can’t even handle it.
- Pudding cups by nature are delicious. It’s pudding with graham cracker crumbs and candy and cookies on top! Of course it’s delicious.
- Your kids (nieces, nephew, neighbors, whoever!) are going to think you are so fun if you make these or let them help you make them.

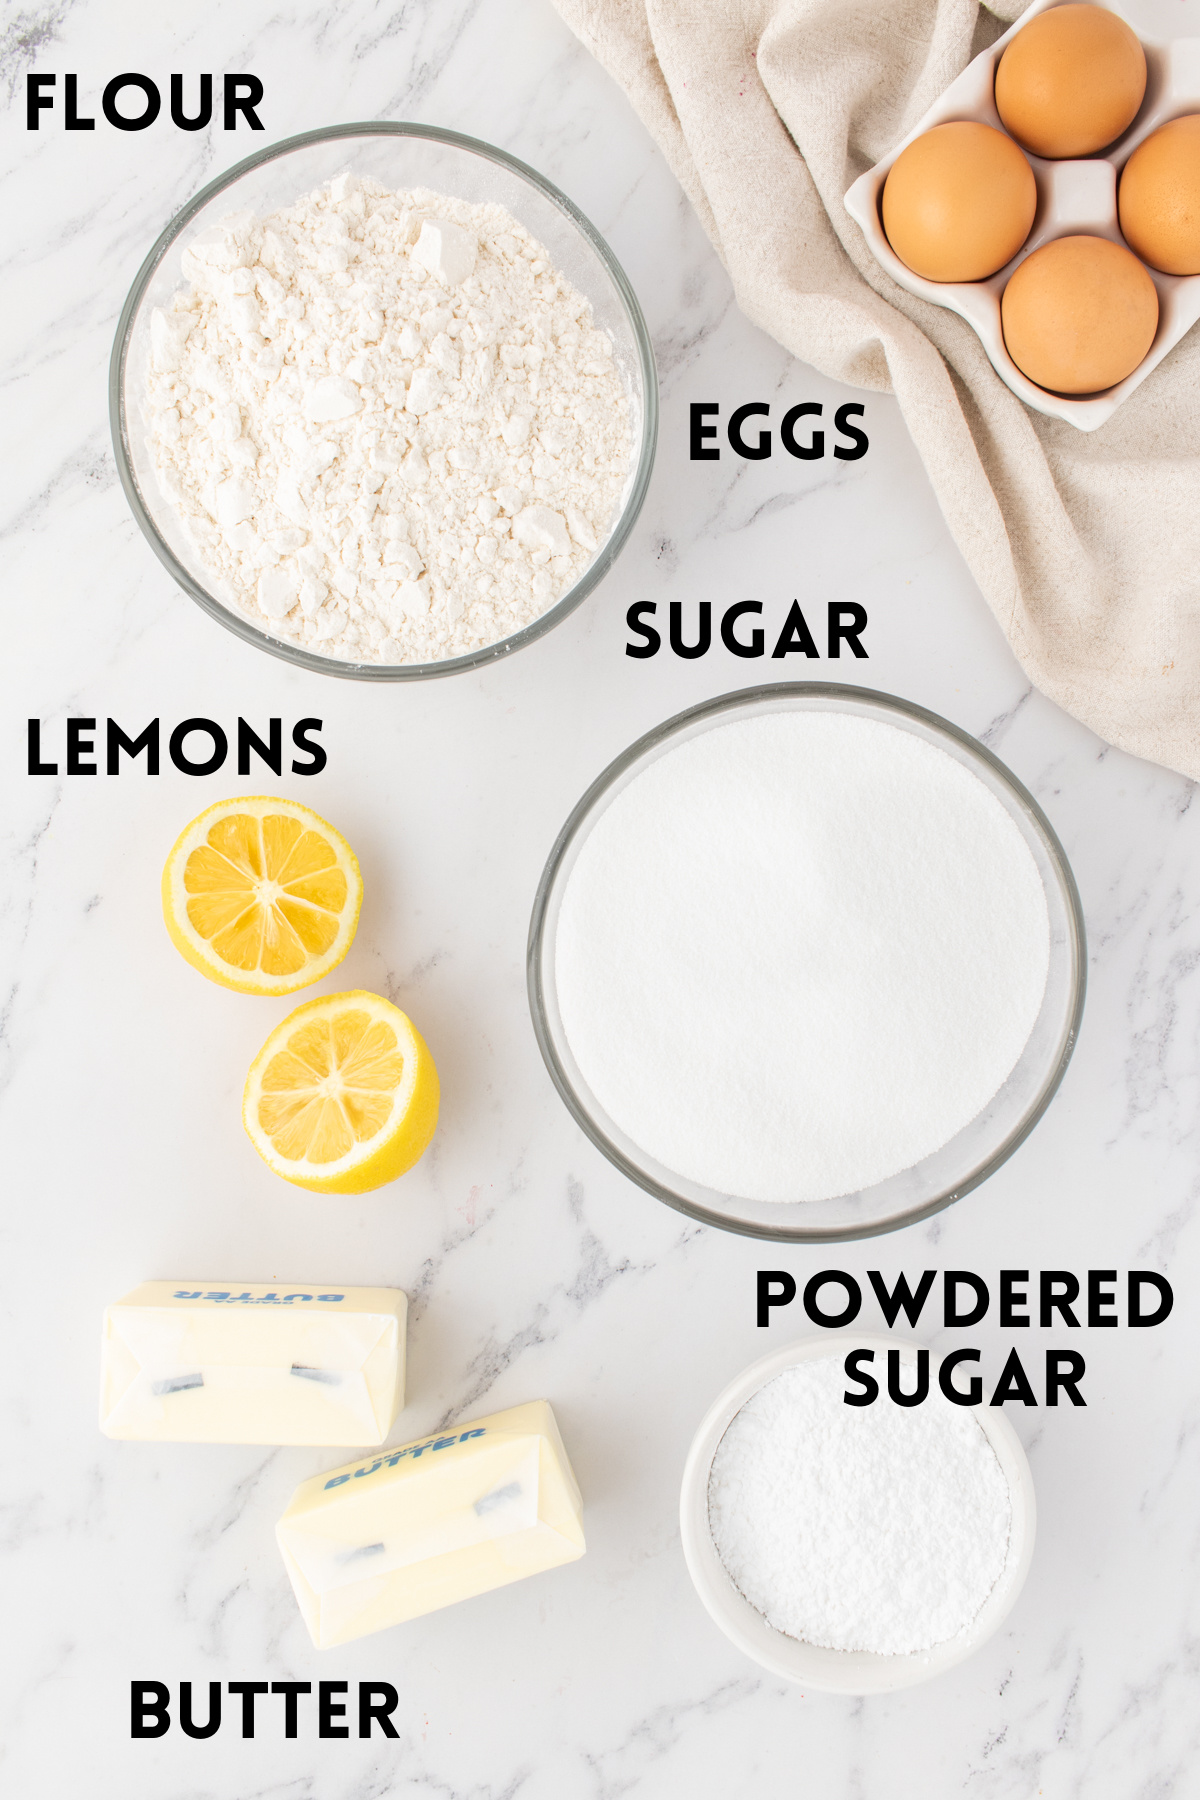
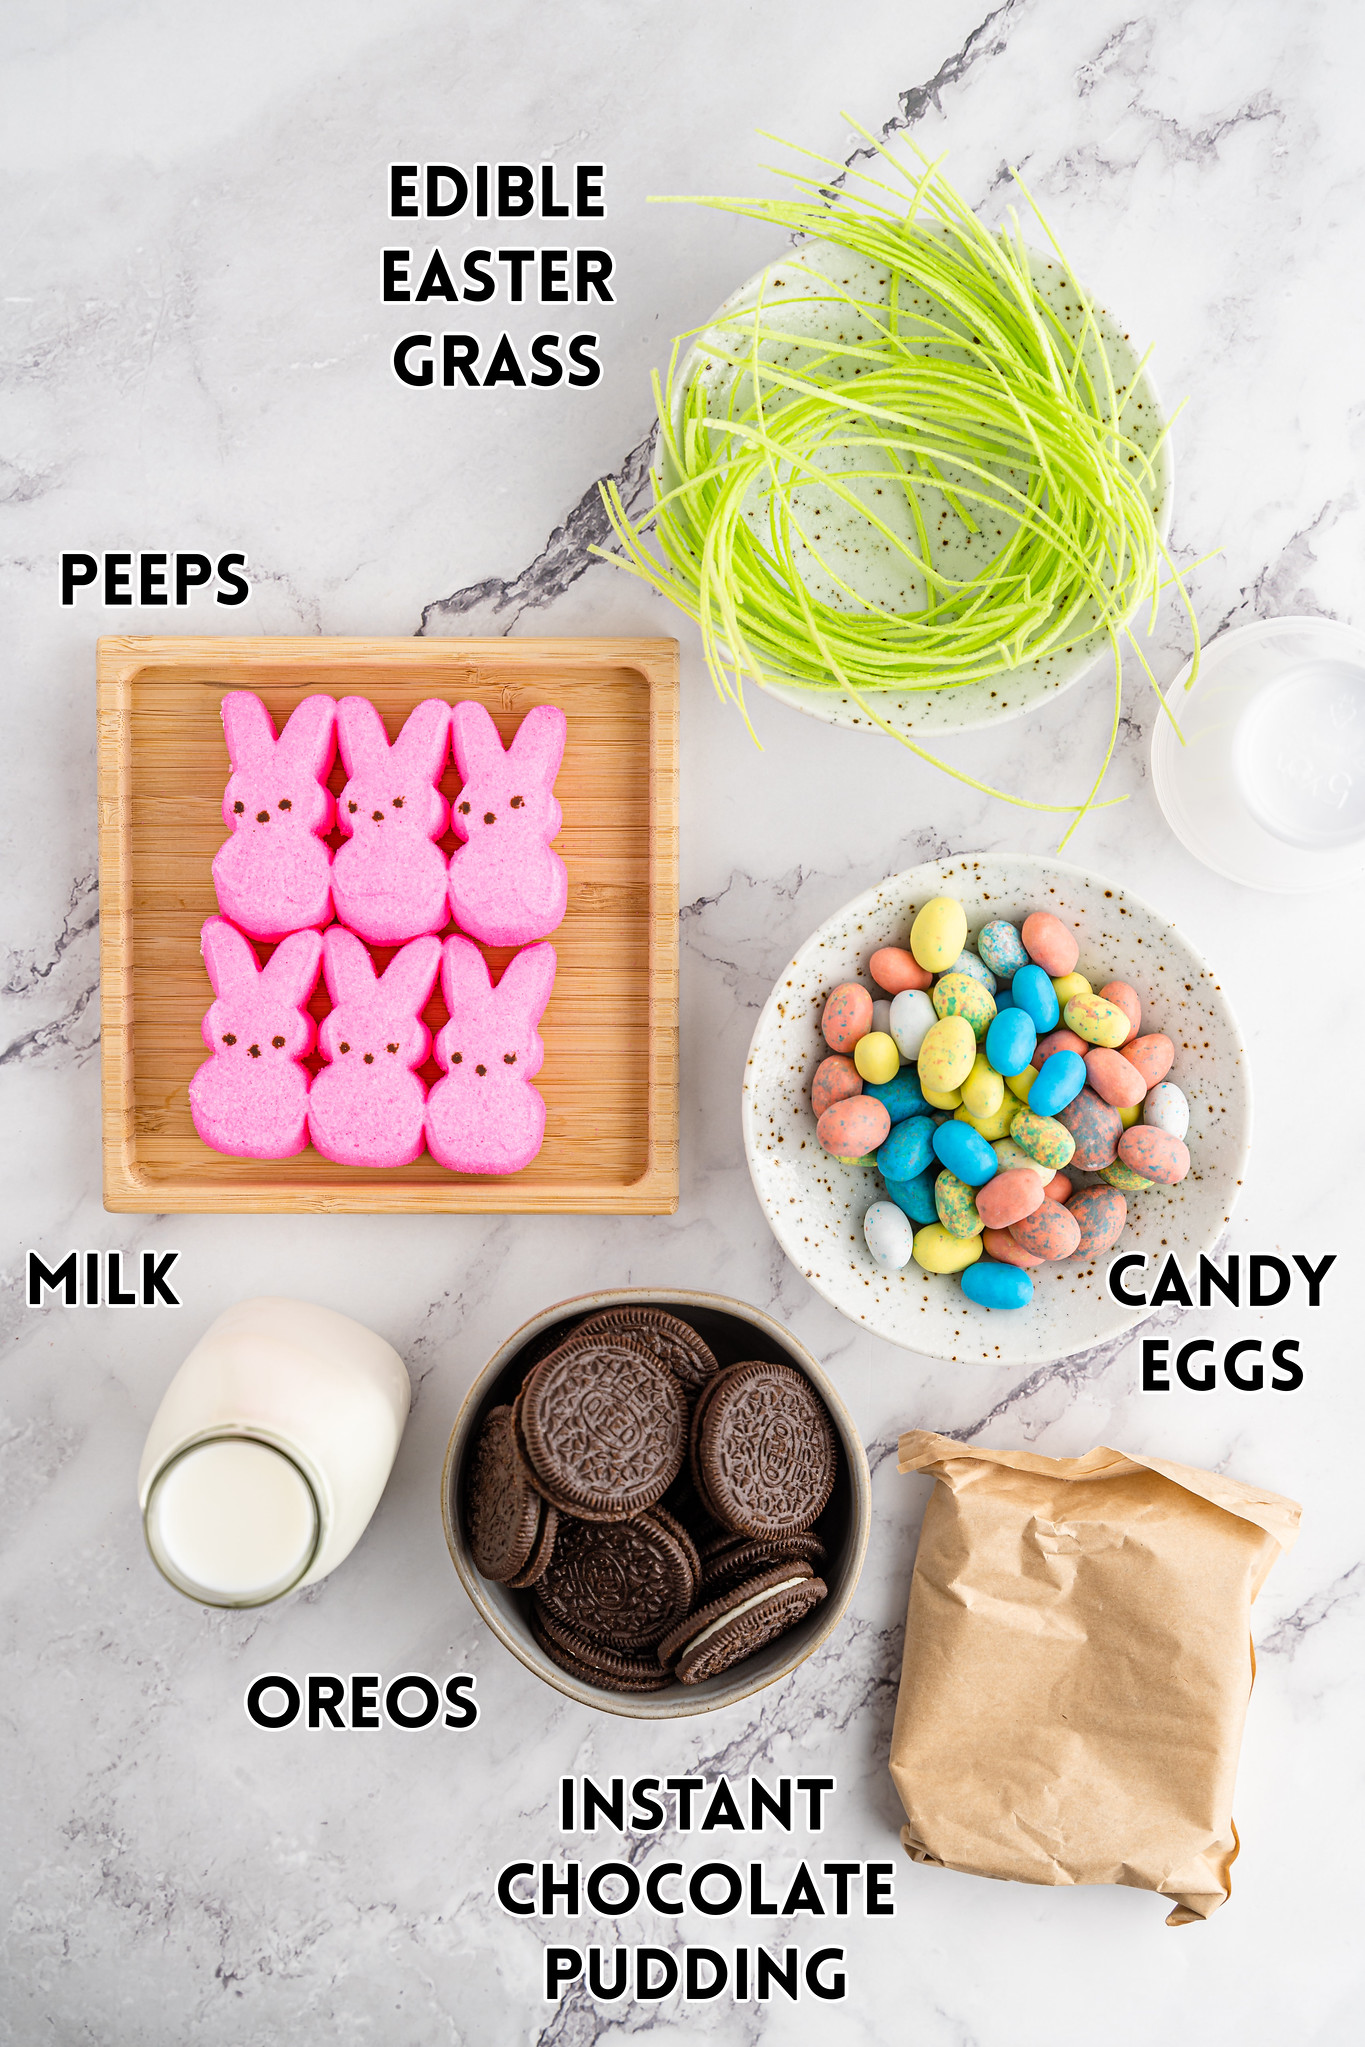
Ingredients
- Instant vanilla pudding mix – you can use any of the white puddings. Cheesecake would be delicious! You just want to be able to dye it blue.
- Cold milk – this is to mix with the pudding.
- Cool Whip – this gets folded into the pudding mixture. I don’t recommend homemade whipped cream because it doesn’t have the stabilizers that Cool Whip has and won’t stay fluffy for very long.
- Blue gel food coloring – I like gel because it doesn’t thin out the pudding but if liquid is what you have, just don’t add too much.
- Crushed graham crackers – you can buy graham cracker crumbs or crush them yourself.
- Teddy graham cracker bears – any flavor you like!
- 16 Lifesaver gummy rings – or any other gummy ring.
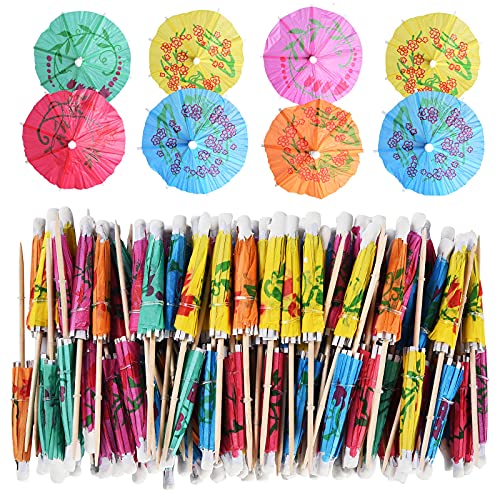
- Cocktail umbrellas – I buy these at Michael’s but you can also order them online.
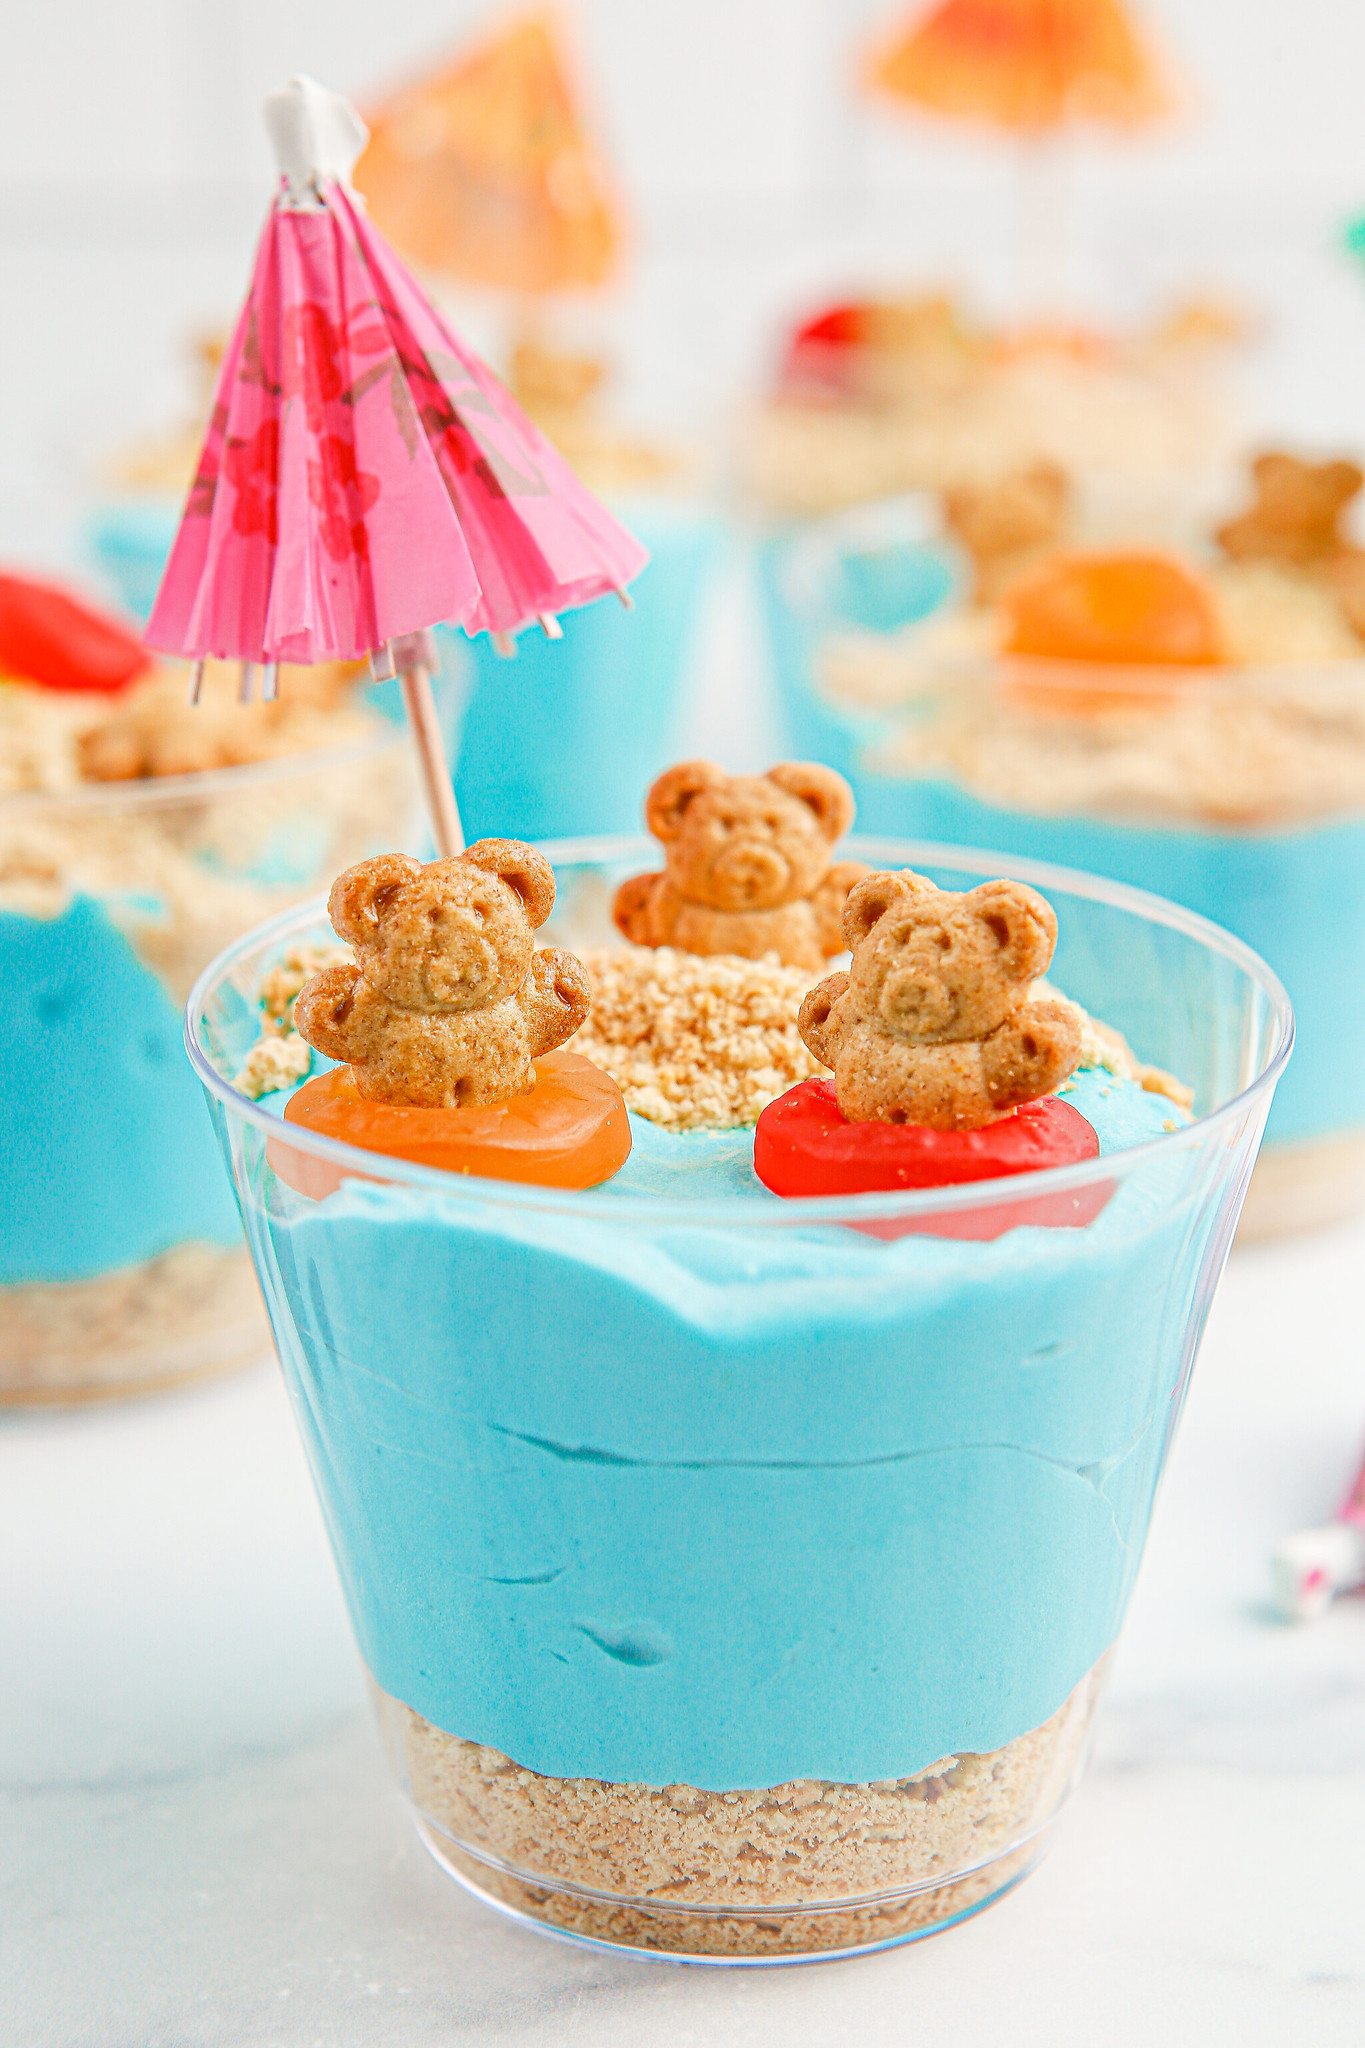
- plastic cups – you want clear plastic cups so you can see the fun layers.

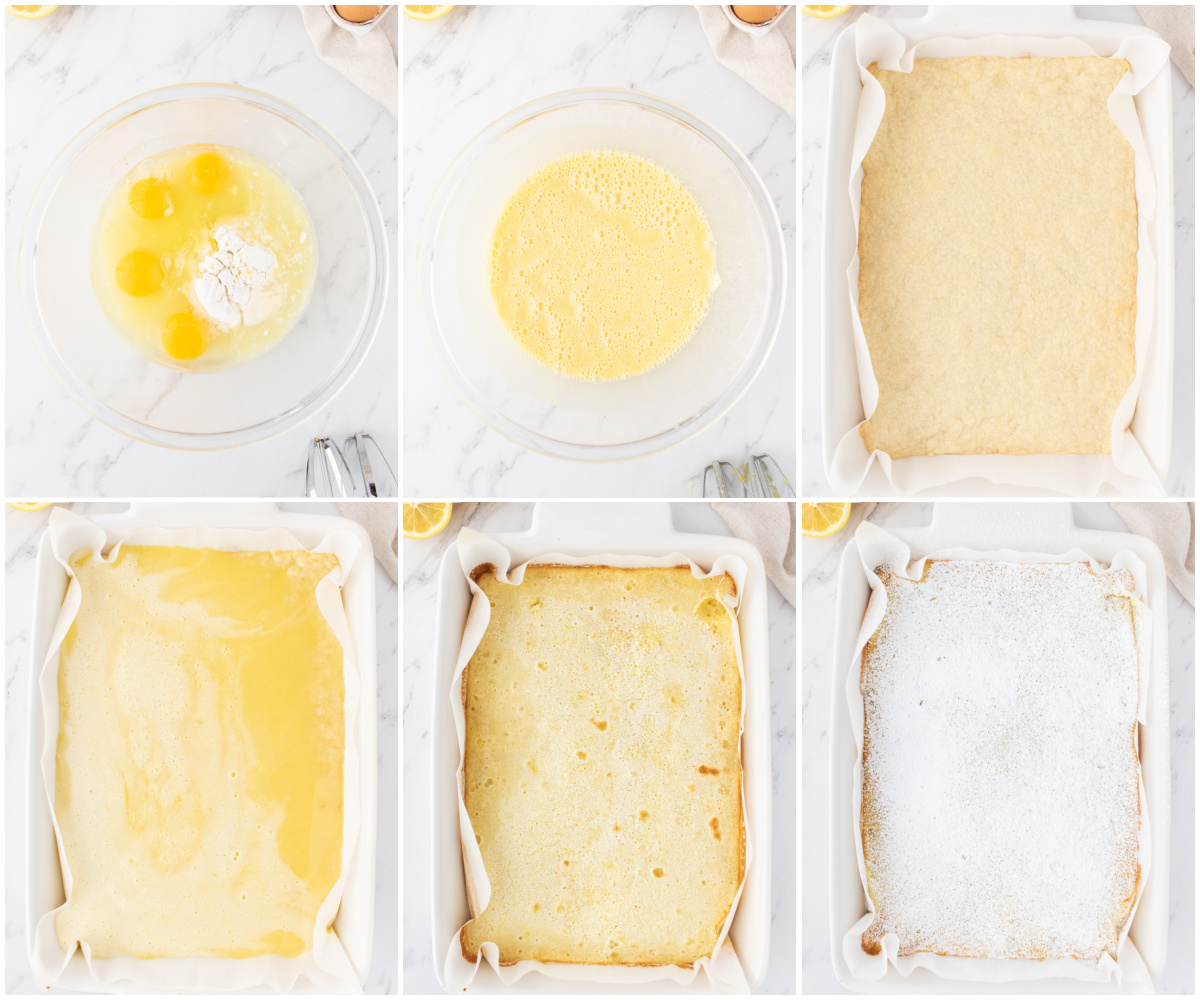
How To Make Beach Bear Pudding Cups
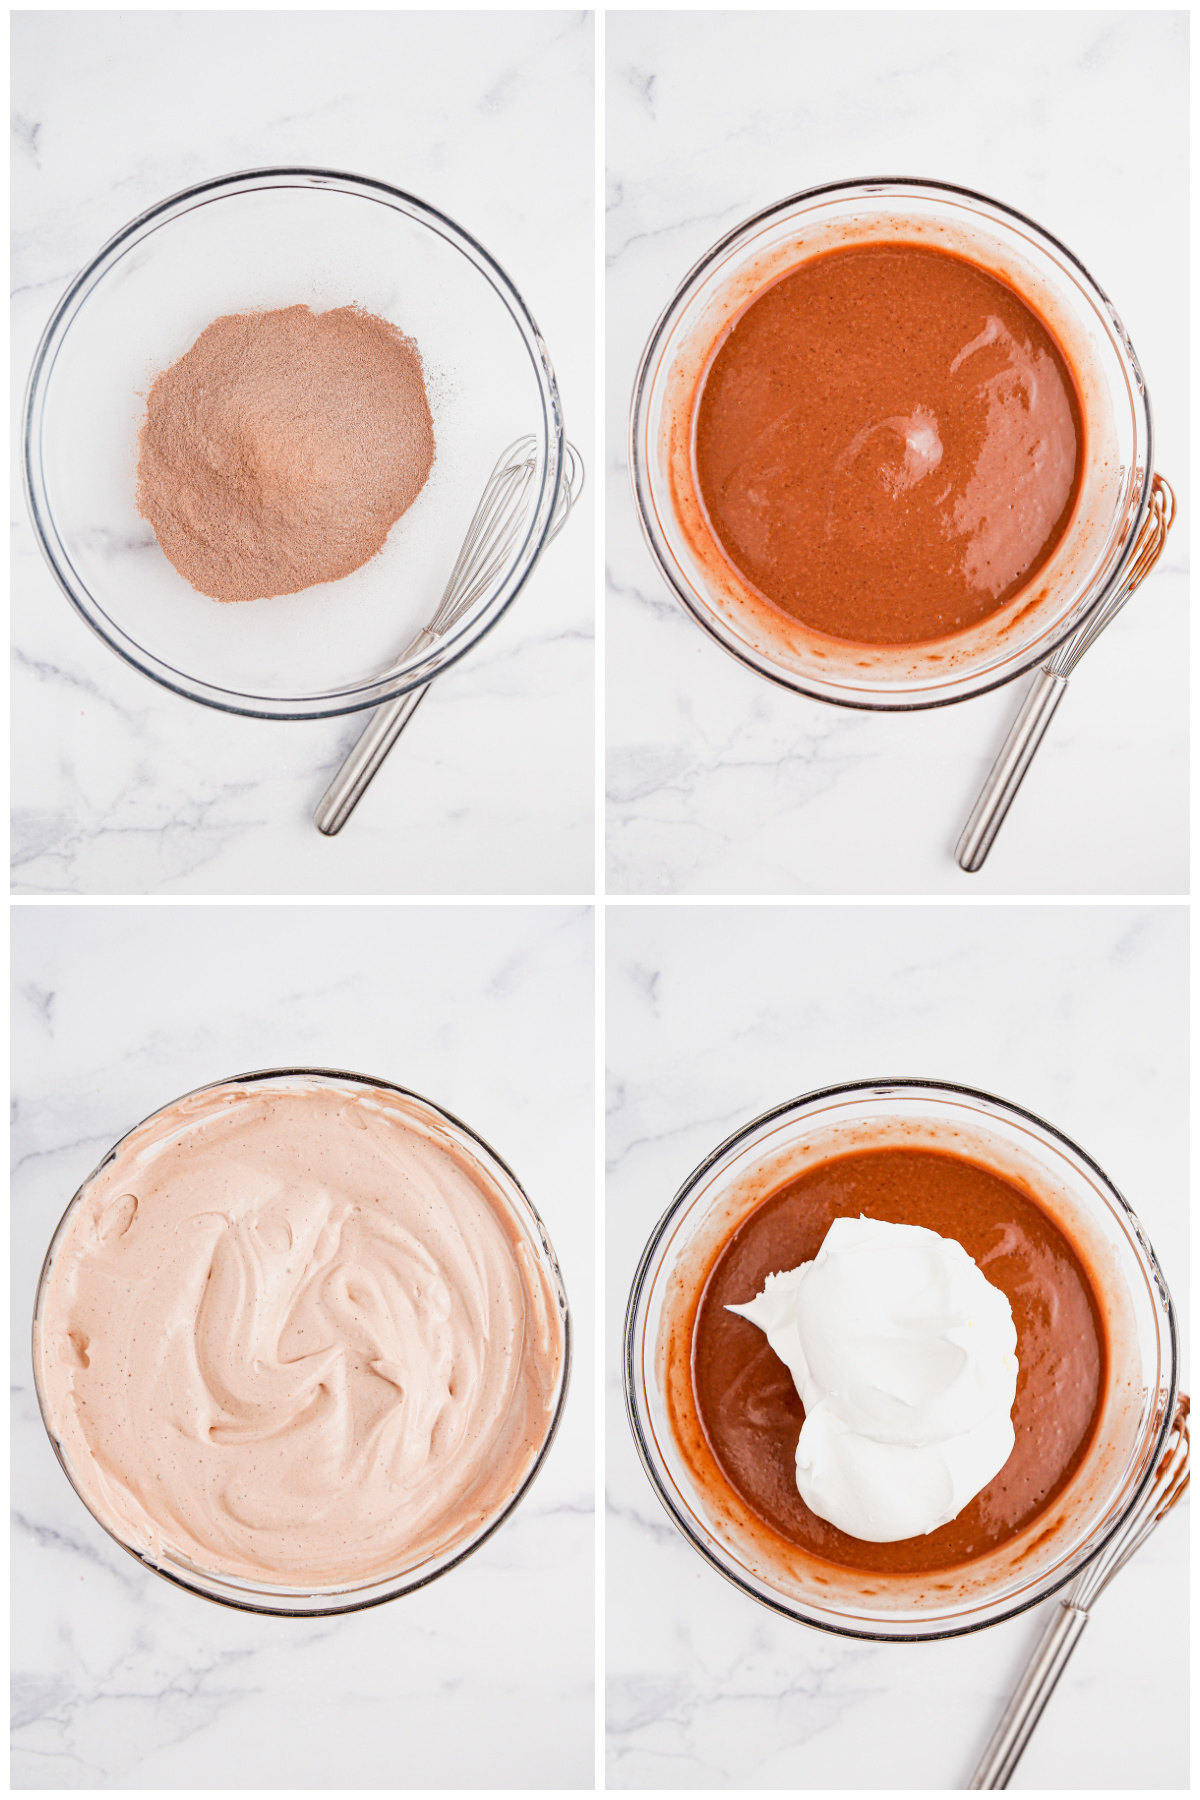
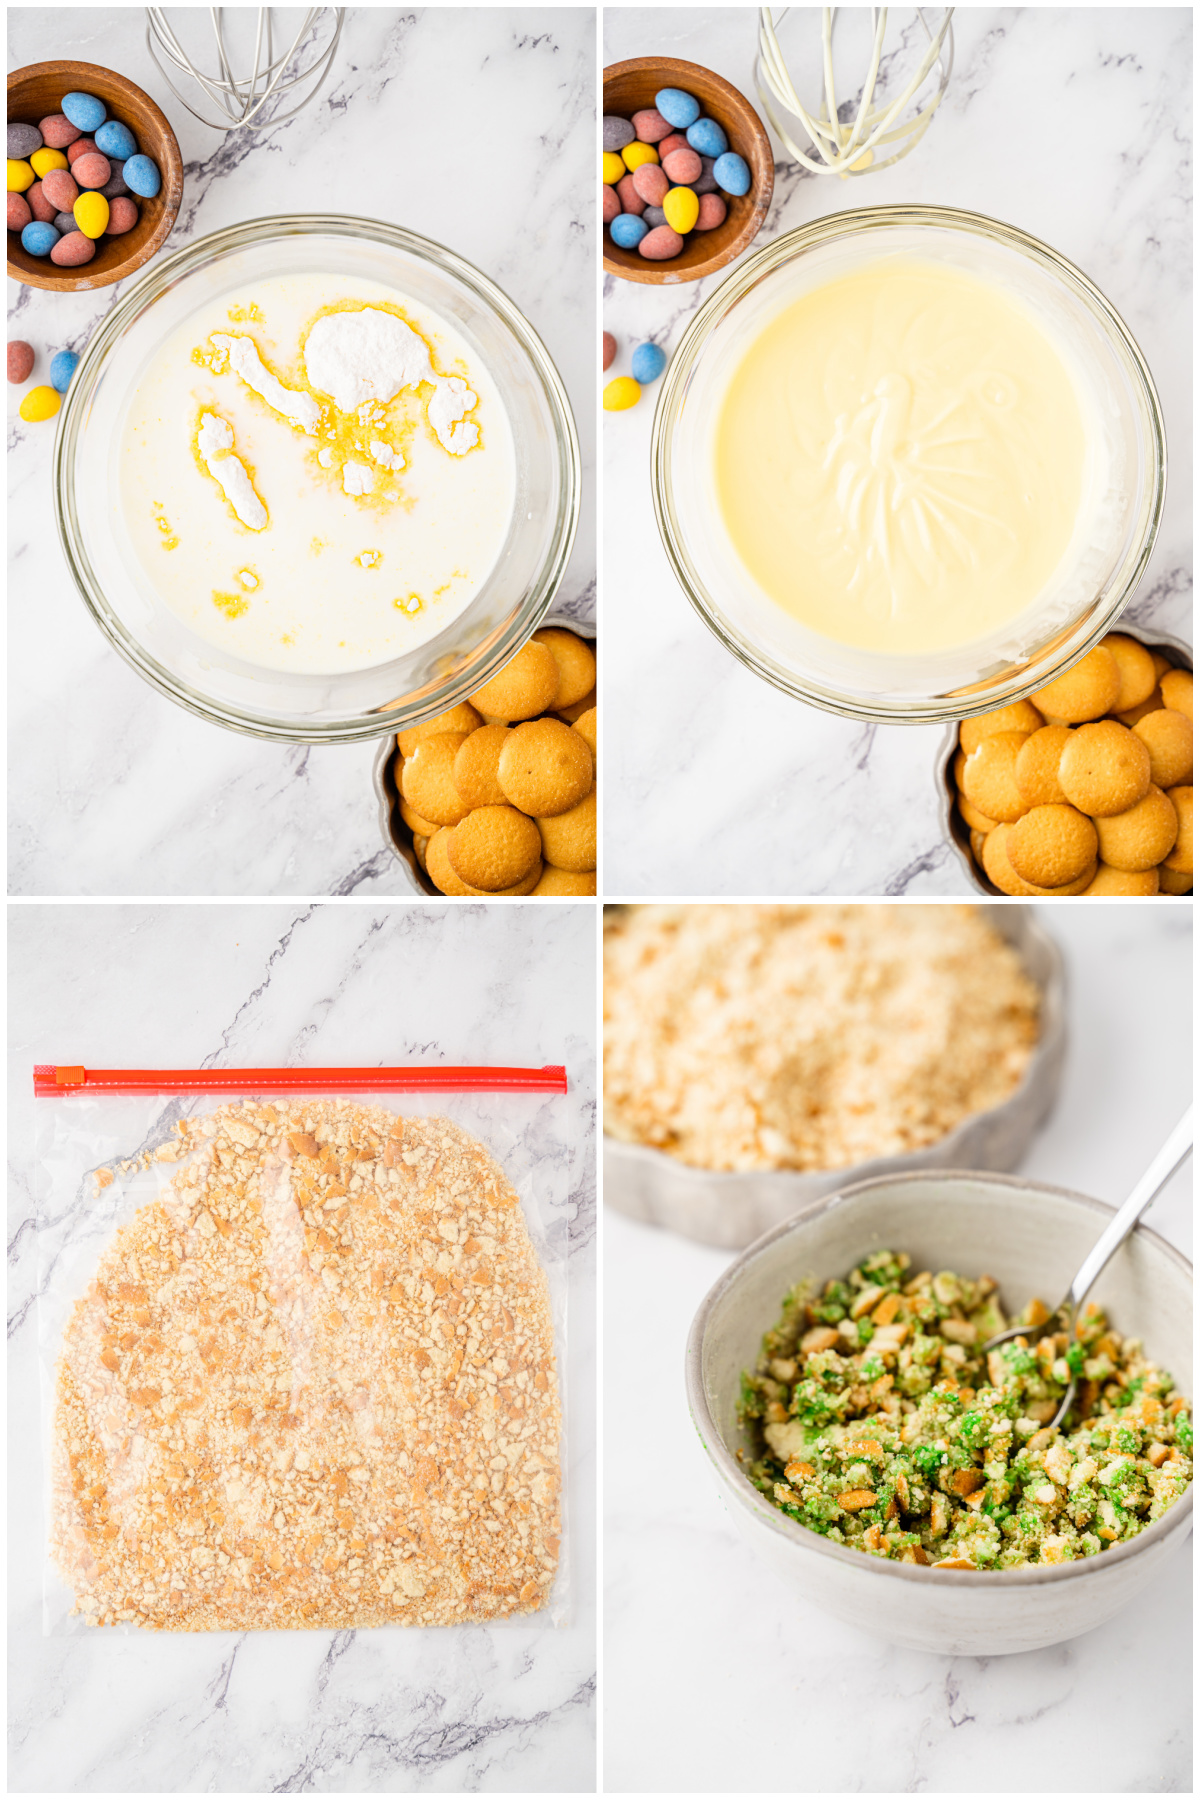
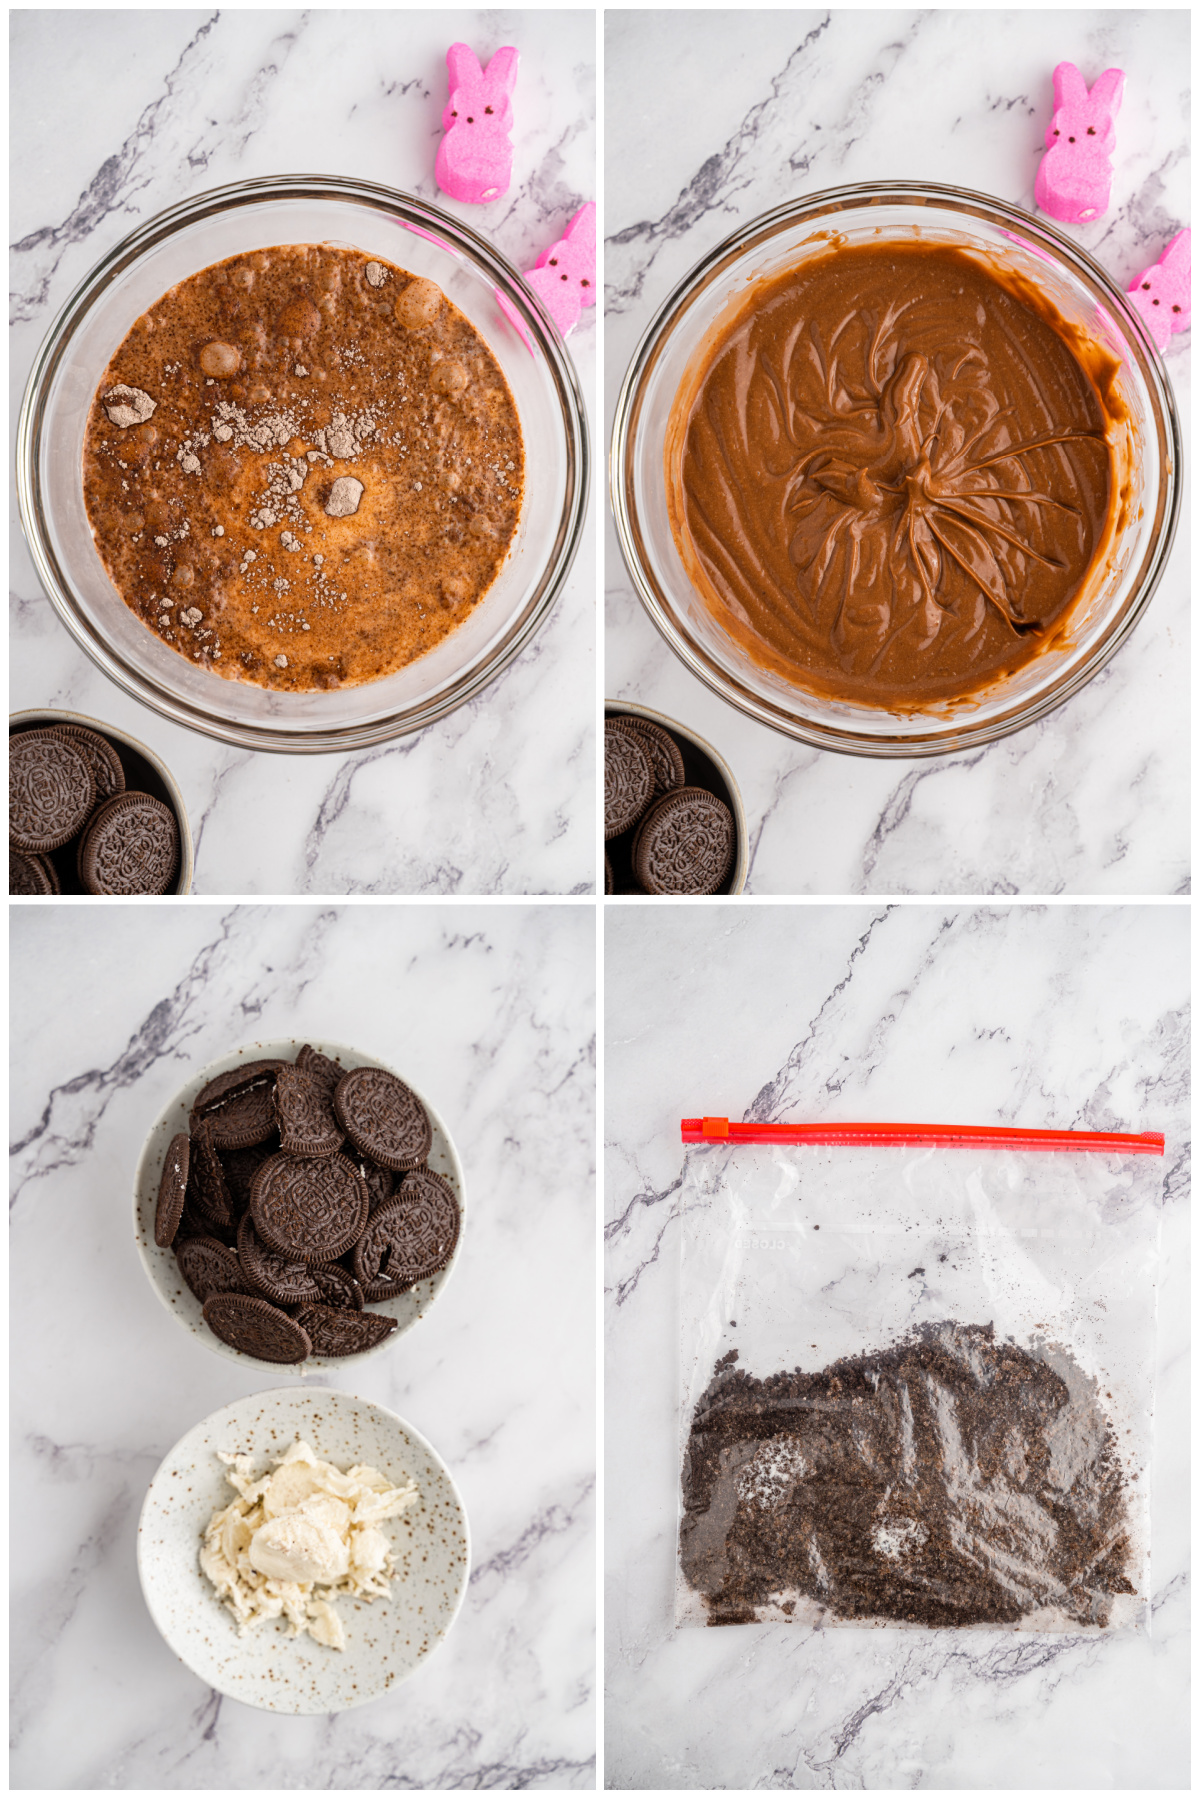
- Make pudding. Whisk pudding mix and milk together until smooth. Chill for 5 minutes.
- Add Cool Whip. Mix the Cool Whip into the pudding until just combined.
- Make it blue. Stir in the blue gel food coloring.
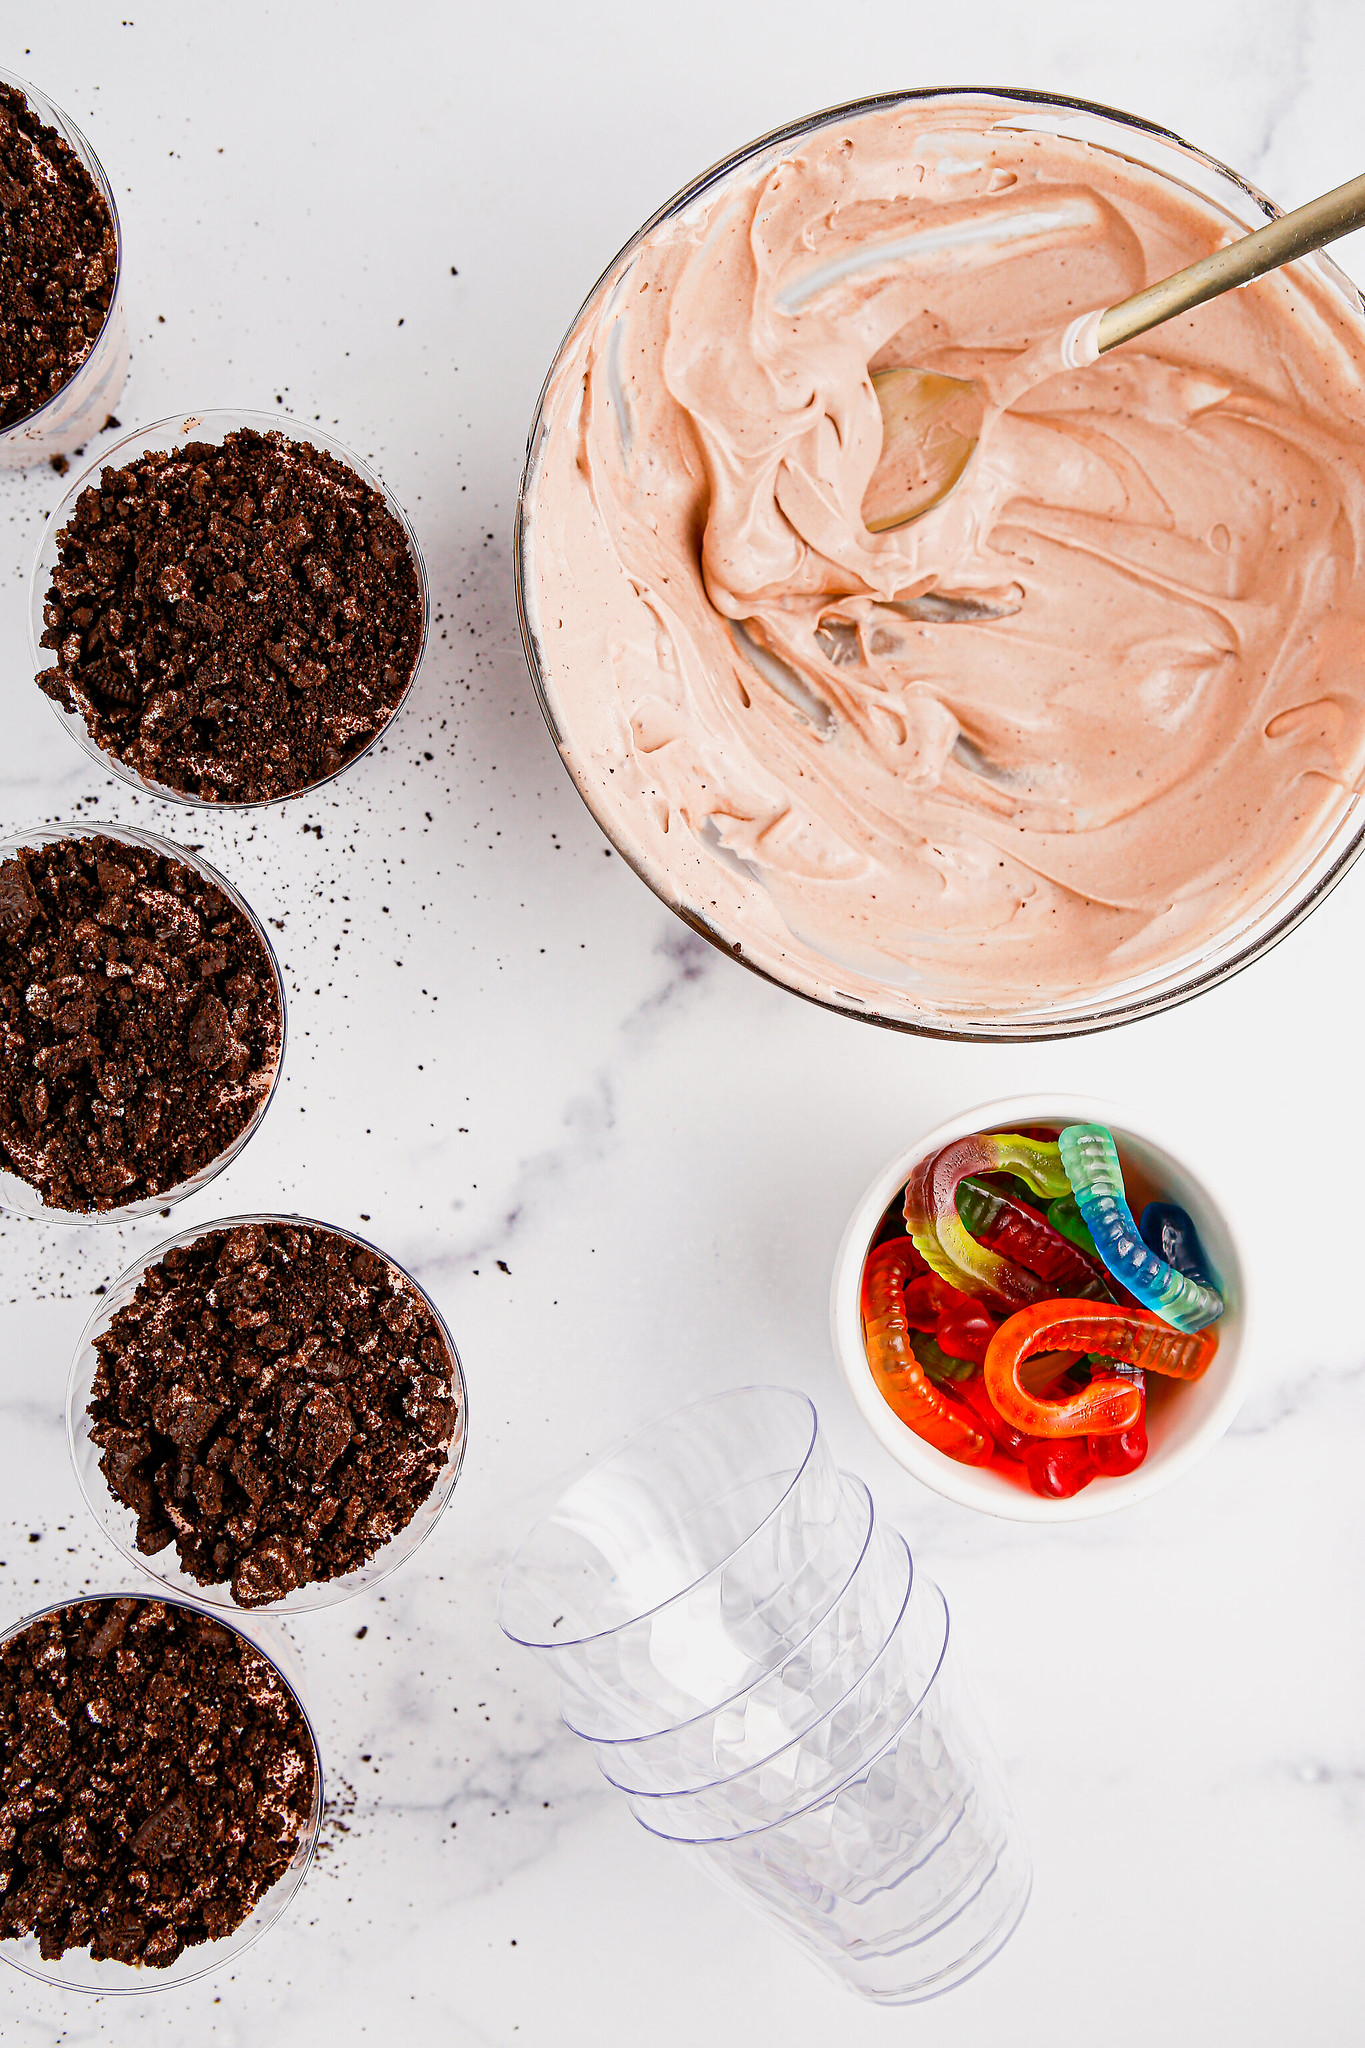
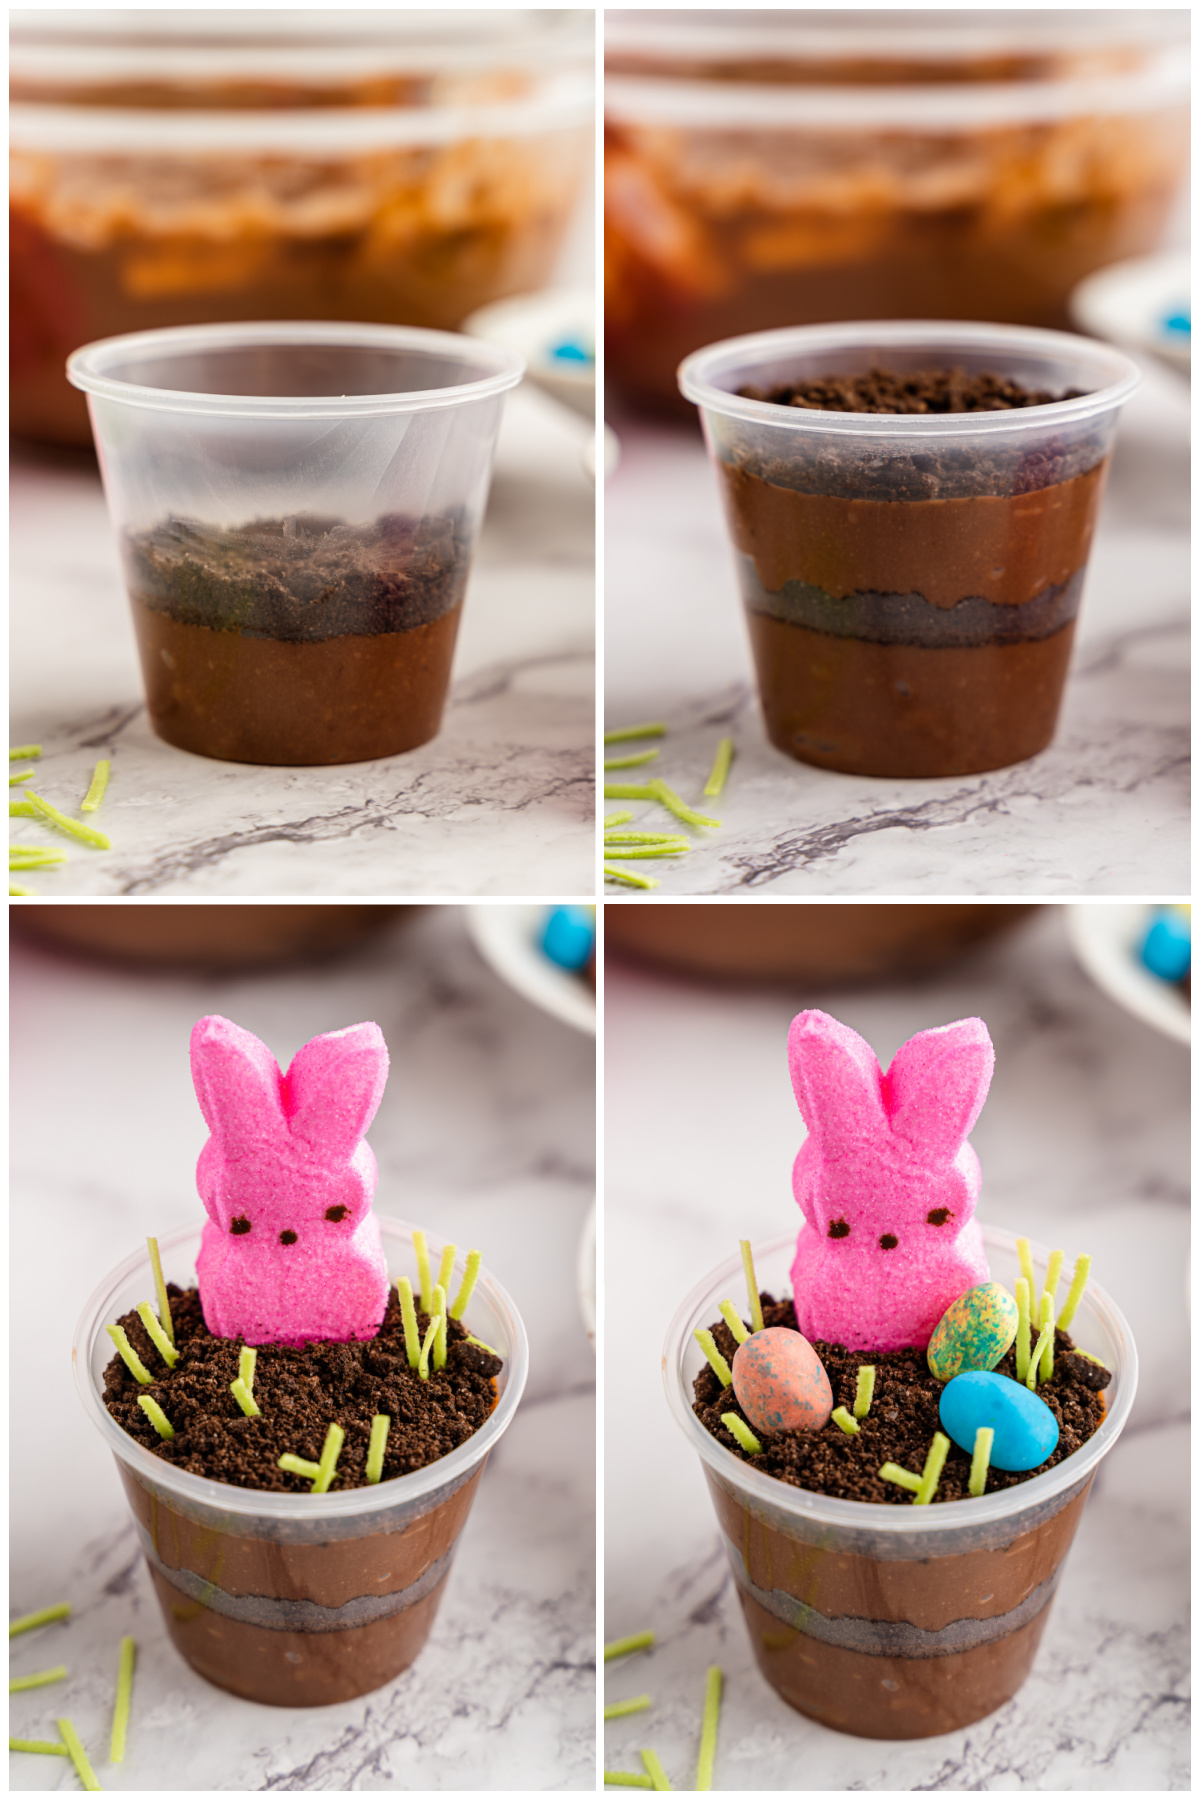
- Assemble. Add a couple tablespoons of the crushed graham crackers into the cups.
- Add pudding. Divide the pudding mixture evenly between your serving cups.
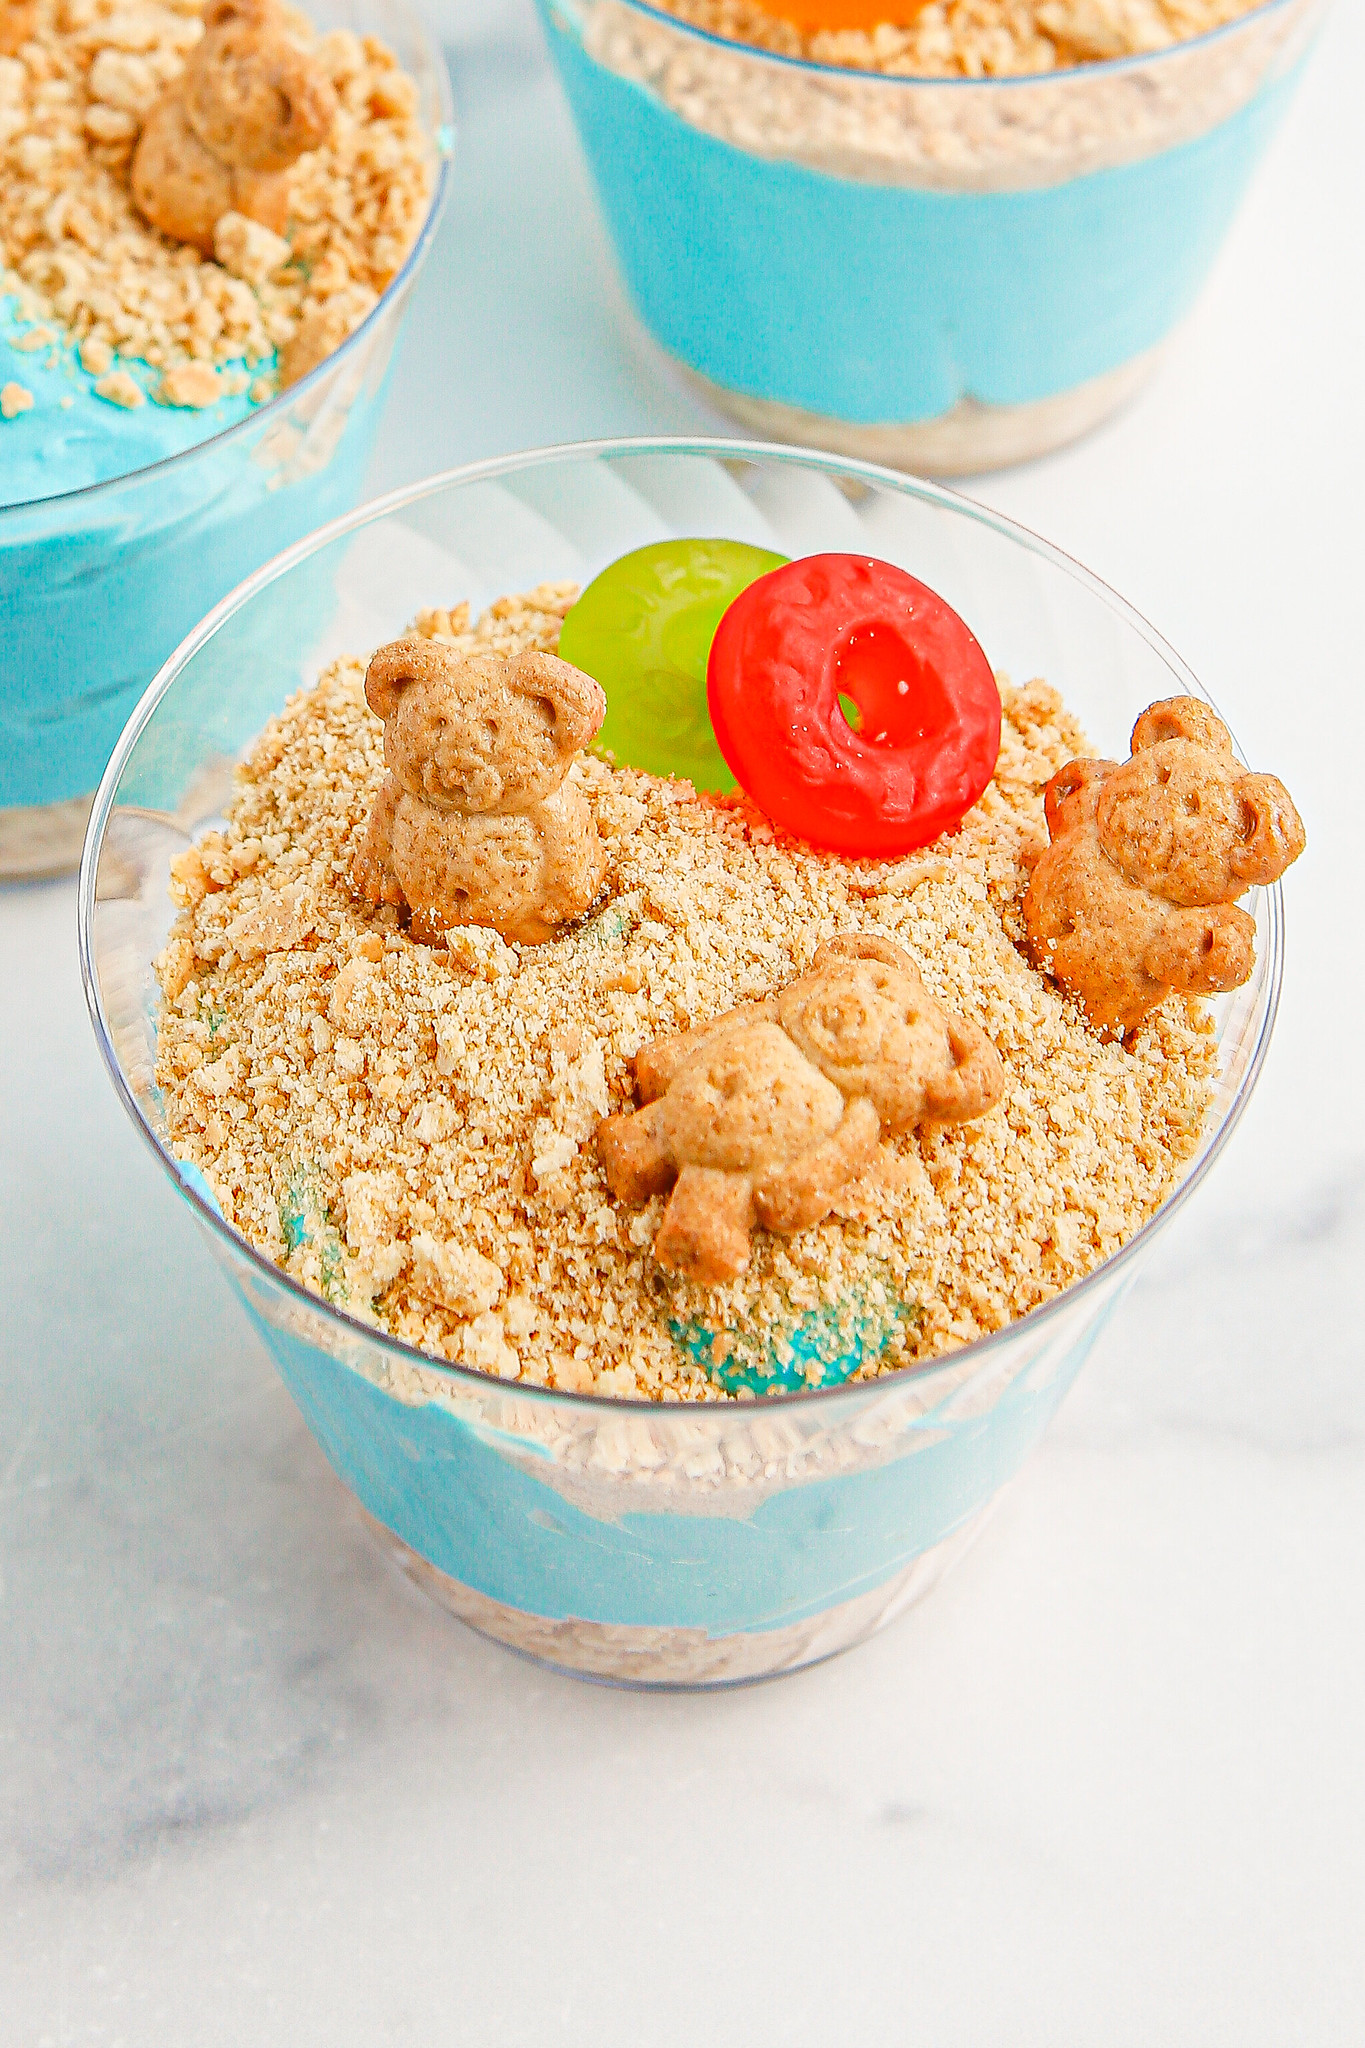
- Decorate. Add the remaining crushed graham crackers to the top of each cup.
- Chill. Chill in the refrigerator until ready to serve.
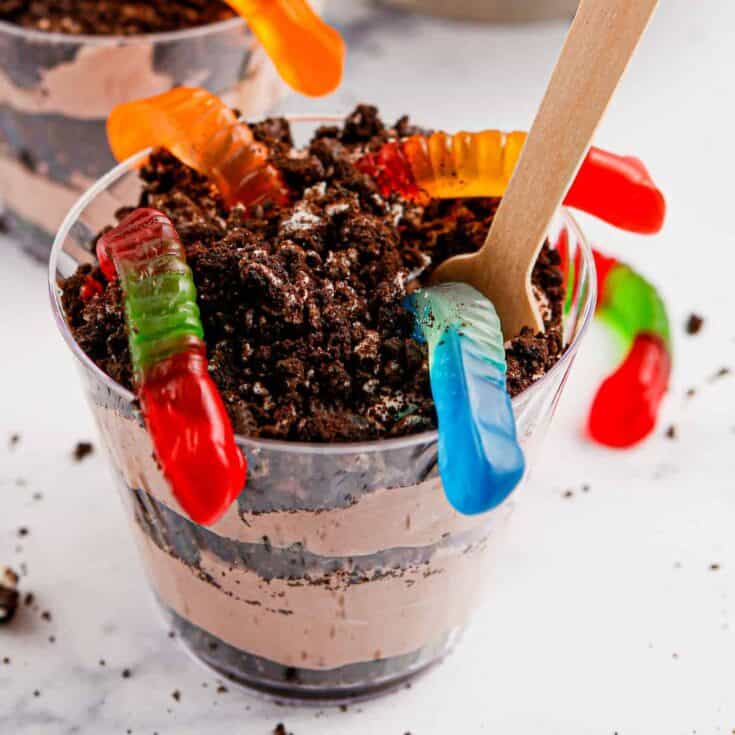
- Garnish. Garnish the top of each pudding cup with a couple Teddy graham bears inserted inside of the Lifesaver gummy rings, and a cocktail umbrella.
How Long Are They Good For?
These pudding cups will be good for 2 – 3 days in the fridge. Make sure to cover them tightly.
Can Pudding Cups Be Frozen?
No, I don’t recommend trying to freeze these.
Can You Make Them Ahead?
If you need to make these ahead, you can prep the pudding and store it covered in the fridge until you are ready to serve.
I don’t recommend assembling them ahead because the graham cracker crumbs will become soggy as they sit in the fridge.
More Kid Friendly Treats
- Sand Pudding
- Dirt and Worms Chex Mix
- Lucky Charms Treats
- Funfetti Muddy Buddies
- Graham Cracker Cookie Sandwiches
Make sure you subscribe to my email list to get all my new recipes delivered right to your inbox!
You can also follow me on Instagram, Facebook, or Pinterest for even more!
📖 Recipe
Beach Bear Pudding Cups

Ingredients
- 1 (3.4 ounce) instant vanilla pudding mix
- 2 cups cold milk
- 1 (8 ounce) tub Cool Whip
- Blue gel food coloring
- 2 cups crushed graham crackers
- 16-24 Teddy graham cracker bears
- About 16 Lifesaver gummy rings
- 8 Cocktail umbrellas
- 8 plastic cups, for serving
Instructions
- Whisk together pudding mix and cold milk in a large mixing bowl until smooth and no lumps remain.
- Chill mixture in the refrigerator for 5 minutes to thicken up.
- Mix the Cool Whip into the pudding until just combined.
- Stir in the blue gel food coloring until you reach the desired shade of blue.
- Add a couple tablespoons of the crushed graham crackers into the bottom of your 8 serving cups.
- Divide the pudding mixture evenly between your serving cups.
- Add the remaining crushed graham crackers to the top of each cup.
- Chill in the refrigerator until ready to serve. Garnish the top of each pudding cup with a couple Teddy graham bears inserted inside of the Lifesaver gummy rings, and a cocktail umbrella before serving, enjoy!
Recommended Products
As an Amazon Associate and member of other affiliate programs, I earn from qualifying purchases.