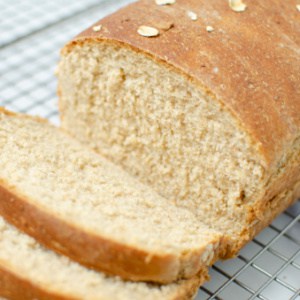
Fluffy oatmeal bread flavored with maple and honey. This Vermont Oatmeal Maple-Honey Bread makes the best French toast! Or use it for sandwiches, toast, it’s delicious for anything!

This post originally posted July 27, 2010. Updated March 30, 2021.
I haven’t made a yeast bread in a long, long time.
Well, I make these dinner rolls probably every other month or so but an entire loaf of bread? It’s been awhile.
I think making a loaf of bread is the most satisfying thing you can make in the kitchen. Taking just basic ingredients and rolling them around on your counter (or in a mixer) for a little while and it somehow turning into a loaf of bread? It never gets old.
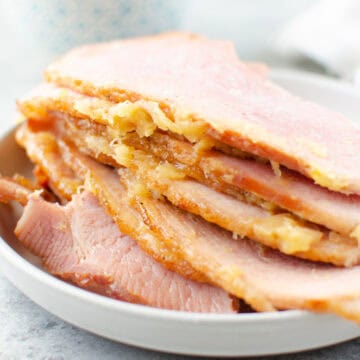
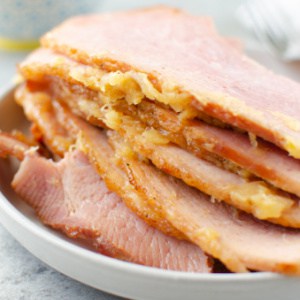
This is an old favorite that I’ve made many, many times. It had whole wheat and oats so it’s pretty hearty and it’s flavored with maple and honey! It’s sweet but not so sweet that you can’t spread butter on it and serve it with dinner or make a ham sandwich with it.
I highly recommend using it to make French toast.

Ingredients
- Boiling water
- Rolled Oats
- Brown sugar
- Maple flavoring
- Honey
- Unsalted butter
- Salt
- Cinnamon
- Instant yeast
- Whole wheat flour
- All-purpose flour
Instructions
- In a large mixing bowl, combine boiling water, oats, brown sugar, maple flavoring, honey, butter, salt, and cinnamon; let cool to lukewarm
- Add yeast and flours, stirring to form a rough dough
- Knead about 10 minutes by hand or 5 – 7 minutes with a machine, until the dough is smooth and shiny
- Transfer to a lightly greased bowl; cover and let dough rise for 1 hour (it should double in size)
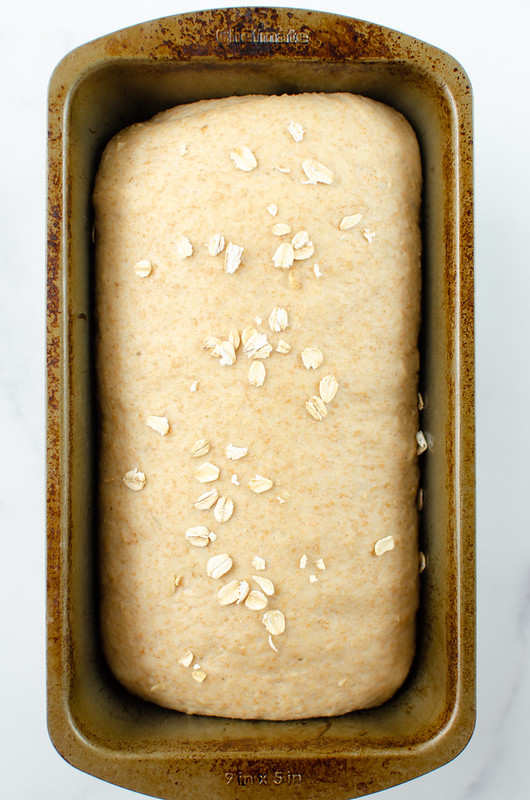
- Divide the dough in half and shape each half into a loaf; place in greased loaf pans
- Sprinkle with oats if desired
- Cover and let rise about 1 hour (they should double again)
- Preheat the oven to 350F
- Bake for 35 – 40 minutes; they should be golden brown and the interior should register 190F
- Let cool completely before slicing and serving

Tips and Tricks
- I always recommend weighing your ingredients for bread if possible. I have this food scale – it’s under $15 and stores easily in my baking cabinet.
- If your house is cold, let your dough rise on top of the counter with the dishwasher running. The heat will help it along. I’ve also let dough rise in the laundry room with the dryer going.
Can You Freeze Homemade Bread?
This recipe makes 2 loaves so you’re probably going to want to freeze one.
I think the best way to freeze bread is to wrap the entire loaf tightly in aluminum foil and then place it in a freezer bag. Make sure to squeeze out as much air as possible before you put it in the freezer.
The homemade bread will be good in the freezer for up to 6 months. When you’re ready to eat it, let it defrost at room temperature until it’s completely defrosted.
More Yeast Bread Recipes
Make sure you subscribe to my email list to get all my new recipes delivered right to your inbox!
You can also follow me on Instagram, Facebook, or Pinterest for even more!

📖 Recipe
Vermont Oatmeal Maple-Honey Bread

Fluffy oatmeal bread flavored with maple and honey. This Vermont Oatmeal Maple-Honey Bread makes the best French toast! Or use it for sandwiches, toast, it's delicious for anything!
Ingredients
- 2 ¼ to 2 ½ cups (18 to 20 ounces) boiling water
- 1 cup (3 ½ ounces) rolled oats, plus more for top of bread
- ½ cup (4 ounces) brown sugar
- ½ teaspoon maple flavoring
- 1 ttbsp honey
- 4 tablespoon unsalted butter, melted
- 1 tablespoon salt
- 1 teaspoon cinnamon
- 1 tablespoon instant yeast
- 1 ½ cups (7 ¾ ounces) whole wheat flour
- 4 cups (17 ounces) all-purpose flour
Instructions
- In a large mixing bowl, combine the water, oats, brownsugar, maple flavoring, honey, butter, salt, and cinnamon. Let cool to lukewarm.
- Add the yeast and flours, stirring to form a rough dough. Knead (about 10 minutes by hand, 5 to 7 minutes by machine) until the dough is smooth and satiny.
- Transfer the dough to a lightly greased bowl, cover the bowl with a lightly greased plastic wrap and let the dough rise for 1 hour; it should double in bulk.
- Divide the dough in half and shape each half into a loaf. Place the loaves in 2 greased 8 ½ x 4 ½-inch bread pans. Sprinkle with oats if desired.
- Cover the pans with lightly greased plastic wrap (or a proof cover) and allow the loaves to rise until they've crowned about 1 inch over the rim of the pan, about 1 hour.
- Preheat the oven to 350F.
- Bake the loaves for 35 to 40 minutes.
- Remove them from the oven when they are golden brown and the interior registers 190F on an instant-read thermometer.
- Let cool completely before slicing and serving
Recommended Products
As an Amazon Associate and member of other affiliate programs, I earn from qualifying purchases.


Nutrition Information:
Yield:
2Serving Size:
1Amount Per Serving: Calories: 1635Total Fat: 29gSaturated Fat: 15gTrans Fat: 0gUnsaturated Fat: 11gCholesterol: 61mgSodium: 3586mgCarbohydrates: 298gFiber: 14gSugar: 13gProtein: 42g