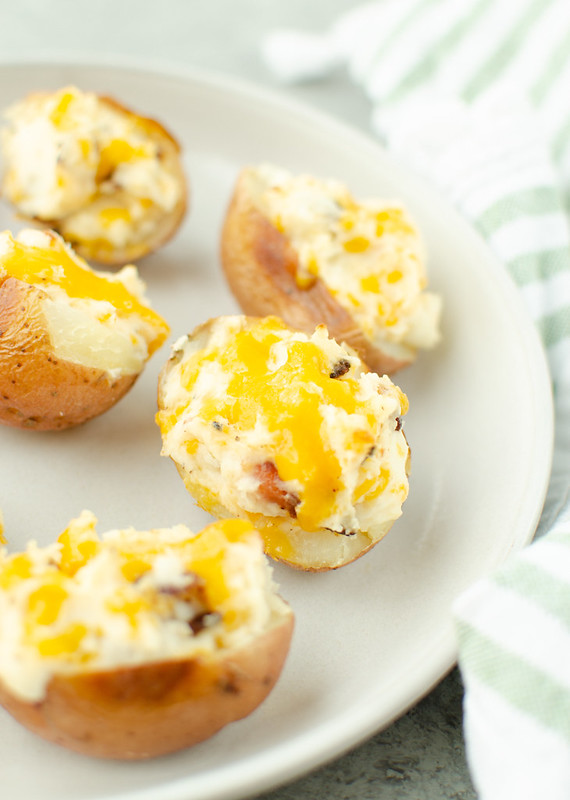
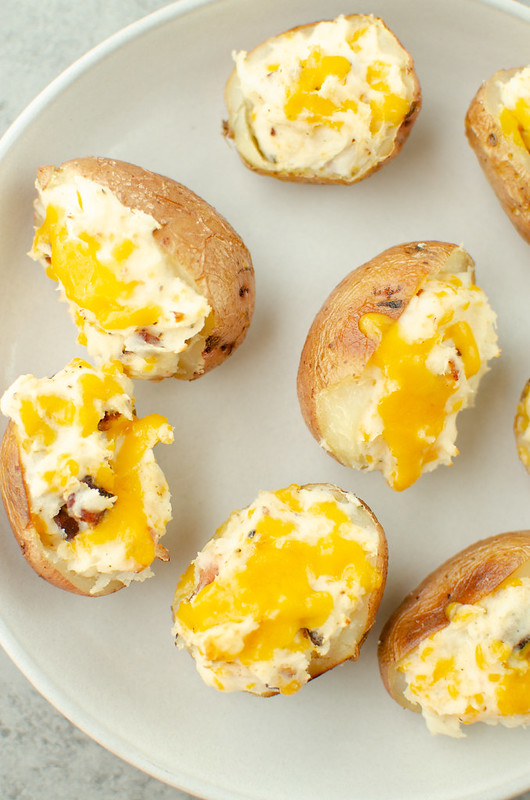
Creamy, cheesy mashed potatoes with bacon stuffed into crispy red potato skins and baked until hot and delicious! Twice Baked Red Potatoes are the perfect side dish for any meal.
Originally published October 6, 2015. Updated April 26, 2021.
We got a ton of red potatoes in our Farm Box Delivery this past week. (Not sponsored but if you’re in the DFW area and want fruit & veggies delivered to your doorstep once a week, check it out! )
My 9 year old immediately starts talking about twice baked potatoes whenever he sees a potato so that’s what we did with them.
Twice baked potatoes are just the perfect side dish for practically every meal. Crispy potato skins filled with creamy, cheesy bacon filling – I mean, how can you go wrong?
And I love that I can prep them ahead and just do that final 10 minute bake right before I’m ready to serve dinner.
If you love baked potatoes as much as my 9 year old, my Baked Potato Salad is a favorite during grilling season!
🥔Ingredients
- Red potatoes – if you can help it, try not to get super tiny red potatoes because that will create so much more work for you. The medium size ones work best for these.
- Cream cheese
- Sour cream
- Cheddar cheese
- Garlic powder – you can use fresh garlic if you prefer.
- Salt and pepper
- Bacon – you can use pork or turkey bacon, whichever you prefer.
👩🏼🍳 Instructions
- Prepare potatoes. Wash potatoes and use a fork to poke several holes in each potato.
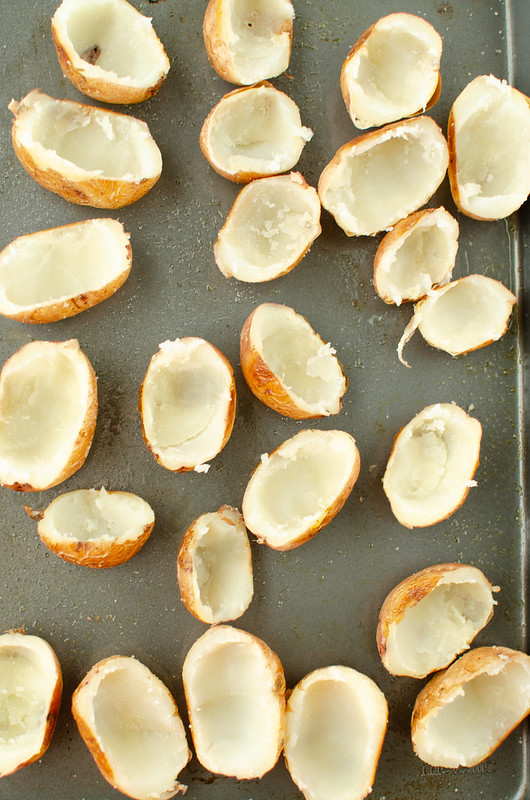
- Bake potatoes. Place potatoes on baking sheet and bake at 400F for 40 – 50 minutes or until a knife can easily go through the potatoes. Cool almost completely.
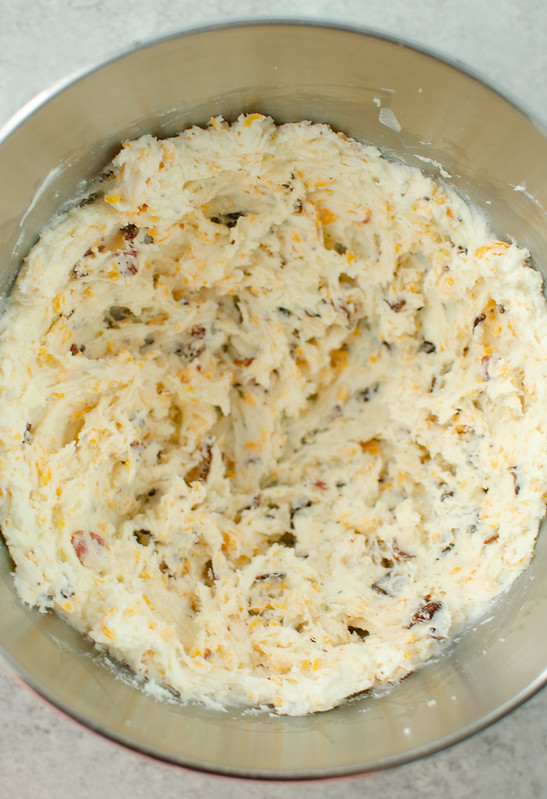
- Prepare filling. Once the potatoes are cool, beat cream cheese and sour cream together with an electric mixer until smooth. Beat in 1 cup cheddar cheese, garlic powder, salt, and pepper. Stir in bacon.
- Add potatoes to filling. Slice potatoes in half. Scoop out the inside of the potatoes, leaving a enough to hold the potato skin upright. Add the scooped out potato to the cream cheese mixture and beat to combine. Stir in bacon.
- Fill potatoes. Spoon the mixture into the potato shells. Sprinkle with remaining cheese.
- Bake and serve! Bake about 10 minutes or until the cheese is melted. Serve while hot.
⏲ How Long Are Twice Baked Potatoes Good For?
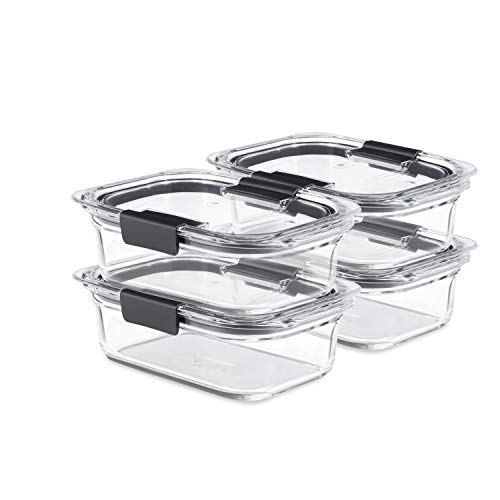
These potaotes will stay good in the fridge for 3 – 4 days. Make sure to store them in an airtight container (these glass ones are my favorite for storing leftovers) to keep them fresh as long as possible.
❔ Can You Prep Ahead?
Yes! You can prep everything ahead up until you bake the final product.
So spoon the filling into the potatoes and then I would put them on the rimmed baking sheet you plan on using to bake them. Then cover them with plastic wrap and put them in the fridge unti you are ready to bake them.
I wouldn’t plan to store them unbaked in the fridge longer than 2 days.
❄ Can You Freeze Twice Baked Red Potatoes?
Yes, these can be frozen. The easiest way to do it is to fill the potatoes and then put them on a rimmed baking sheet. Pop that in the freezer for an hour or so, until the potatoes are pretty frozen.
From there, I recommend wrapping them in plastic wrap and then putting them in a freezer ziploc bag.
They will be fine in the freezer for up to 3 months.
When you’re ready to bake them, bake directly from frozen but you will need to add more time to the baking time listed in the recipe.
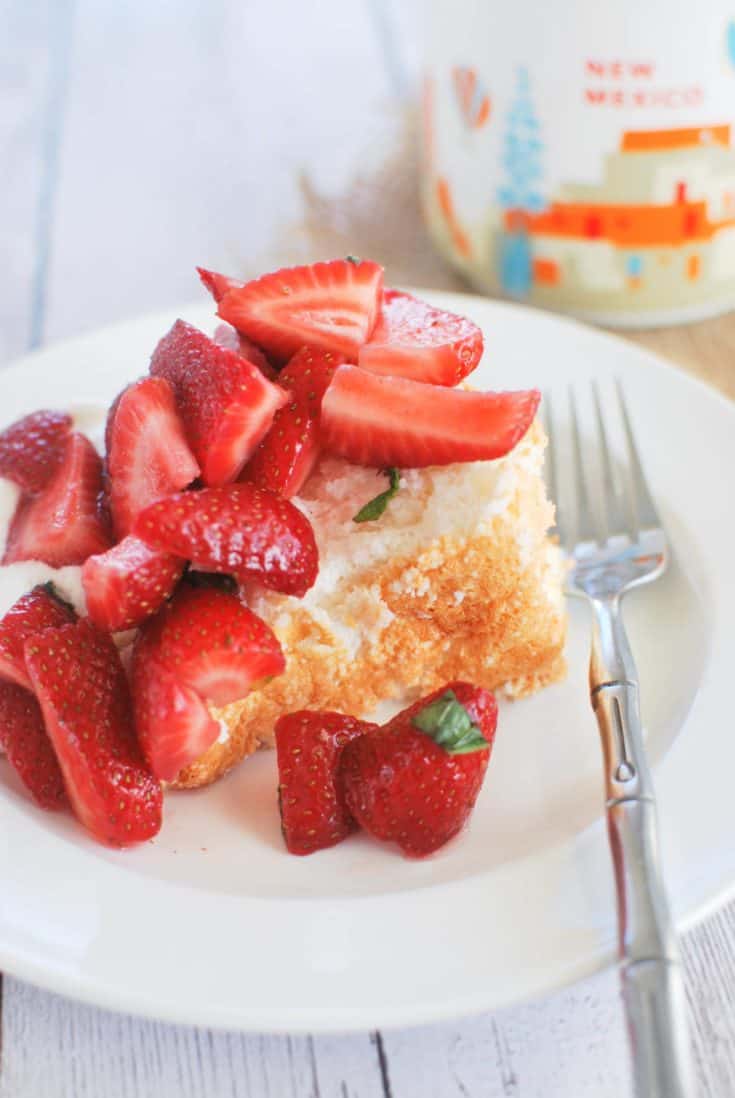
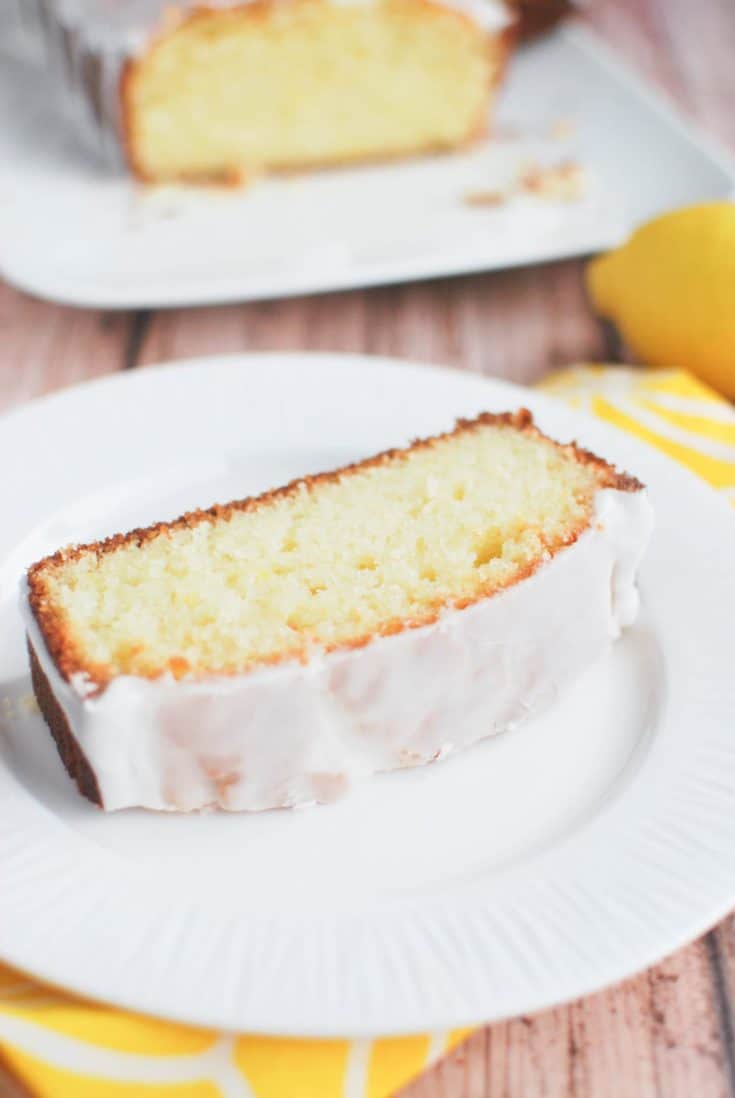
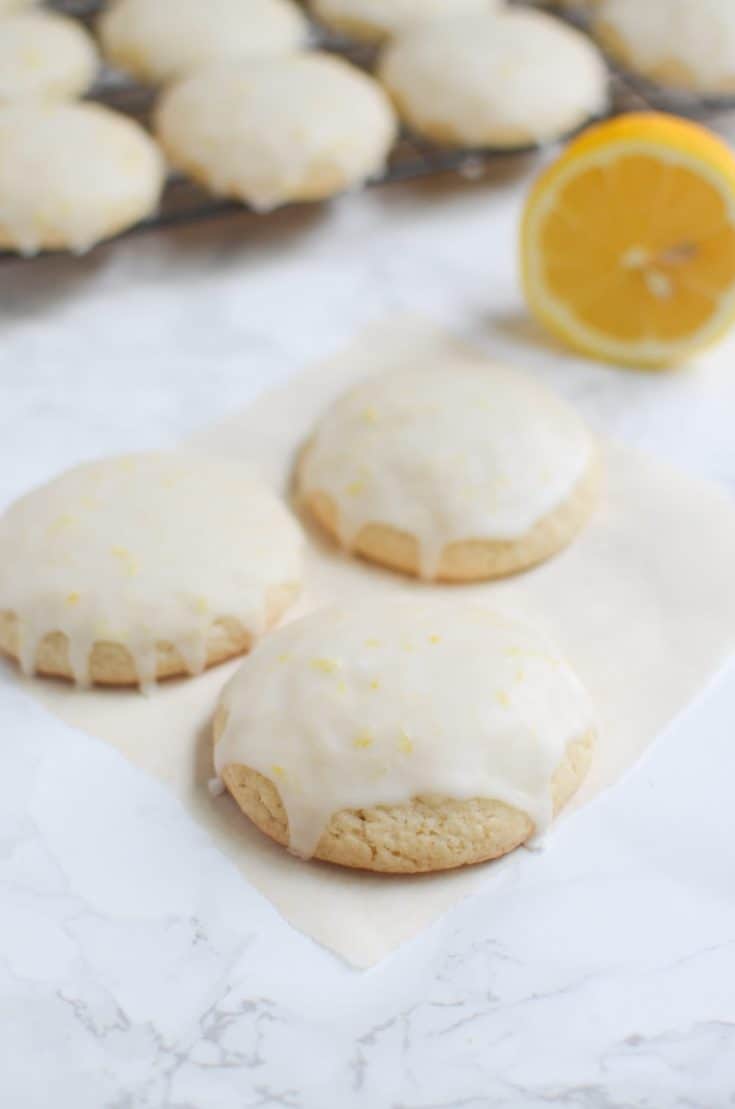
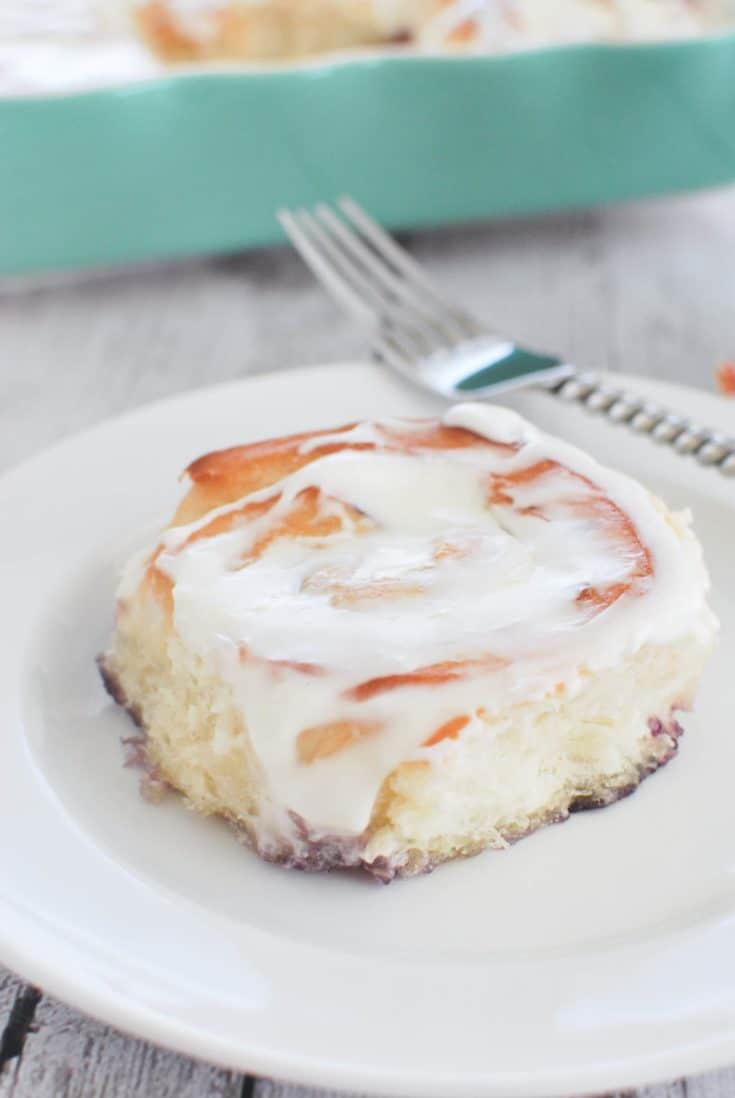
🍴 More Side Dish Recipes
Make sure you subscribe to my email list to get all my new recipes delivered right to your inbox!
You can also follow me on Instagram, Facebook, or Pinterest for even more!
📖 Recipe
Twice Baked Red Potatoes

Ingredients
- cooking spray
- 2 pounds medium-sized red potatoes
- 2 ounces cream cheese, softened
- ½ cup sour cream
- 1 ¼ cup sharp cheddar cheese, divided
- ¼ teaspoon garlic powder
- ½ teaspoon salt
- ¼ teaspoon black pepper
- 6 slices bacon, cooked and crumbled
Instructions
- Preheat oven to 400F. Spray a rimmed baking sheet with cooking. Wash potatoes and use a fork to poke several holes in each potato.
- Place potatoes on baking sheet and bake 40 - 50 minutes or until a knife can easily go through the potatoes. Cool almost completely.
- Once the potatoes are cool, beat cream cheese and sour cream together with an electric mixer until smooth. Beat in 1 cup cheddar cheese, garlic powder, salt, and pepper. Stir in bacon.
- Slice potatoes in half. Scoop out the inside of the potatoes, leaving a enough to hold the potato skin upright. Add the scooped out potato to the cream cheese mixture and beat to combine. Stir in bacon.
- Spoon the mixture into the potato shells. Sprinkle with remaining cheese.
- Bake about 10 minutes or until the cheese is melted.
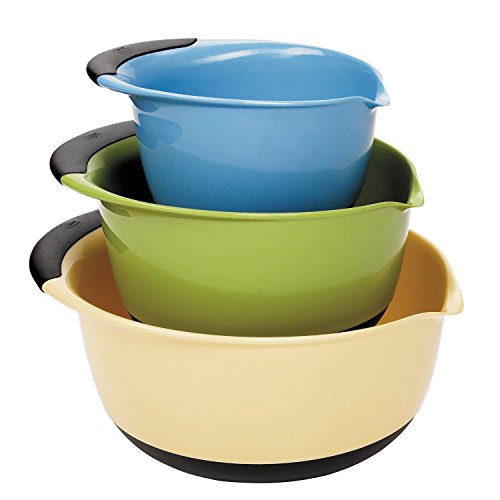
Recommended Products
As an Amazon Associate and member of other affiliate programs, I earn from qualifying purchases.


Nutrition Information:
Yield:
8Serving Size:
1Amount Per Serving: Calories: 312Total Fat: 18gSaturated Fat: 9gTrans Fat: 0gUnsaturated Fat: 6gCholesterol: 52mgSodium: 500mgCarbohydrates: 24gFiber: 2gSugar: 2gProtein: 13g